
PSM wagon

General Pimpin'
iTrader: (7)
Joined: May 2003
Posts: 23,019
From: Knee deep in beer. subabrew crew, ca.
Car Info: MY04 aspen wrx wagon.
I originally got the idea since they sell black ones, but then there's a member on here who just sprayed theirs all black too and I saw him in SJ. With them all black it looks OK too, but kind of just looks Audi like too, like they are big openings. I figured if I didn't like it with the strip at the top, I could just paint the whole thing after, but I kinda like them that way.
And there's another dude with a white one that did the grill treatment like the audi. And there was another white one out in san jose. Charlie. And way back in the day there was a blue STI that did the JDM fogs with black covers. He was the first one I ever saw go that route. That was in 04.
I run mine with sti fog covers during the summer and my jdm fogs during the winter. Love it. Just need some side splitters like you have. Makes a HUGE difference to the front of the wagon... plus... you can put lips on. LOL!
Thread Starter
If in doubt, FLAT OUT
iTrader: (33)
Joined: Oct 2010
Posts: 7,046
From: Nor Cal SJ
Car Info: 2010 Hatch, 2011 Sedan
Those are the instructions I went by and everything is right except cutting the inner lip of the splitter IMO. They don't actually need to be cut, they just need to be mounted right. Basically what he did was cut them and mount them too far forward and I didn't like that idea. That's why the lip and the splitters don't line up on his. I can give you a few other tips if you like. Haven't gotten around to doing a write up on how I did mine.
Thread Starter
If in doubt, FLAT OUT
iTrader: (33)
Joined: Oct 2010
Posts: 7,046
From: Nor Cal SJ
Car Info: 2010 Hatch, 2011 Sedan
I remounted the front part of the splitters with rubber bushings I picked up at Winchester Auto and it seemed to do the trick perfectly. Will get pics this evening and hopefully a write up.
Bushings I found:

I cut them down to 3/8" thick which was the same as the previous hard bushings. They allow a little compression, letting the splitters tuck up nice to the bumper.
I used the previous video as a guide, but like I mentioned, I didn't like some of what he did. The top inside uses a bolt, so you don't need the first clip (nearest to the wheel well), so I cut the first clip off and only cut two slots into the bumper. It holds so tight just with those two that it wasn't going to come off. The slots were cut only wide enough for the clips to fit into. No bolt on the bottom, there's nothing to bolt it to really, but it doesn't need it.
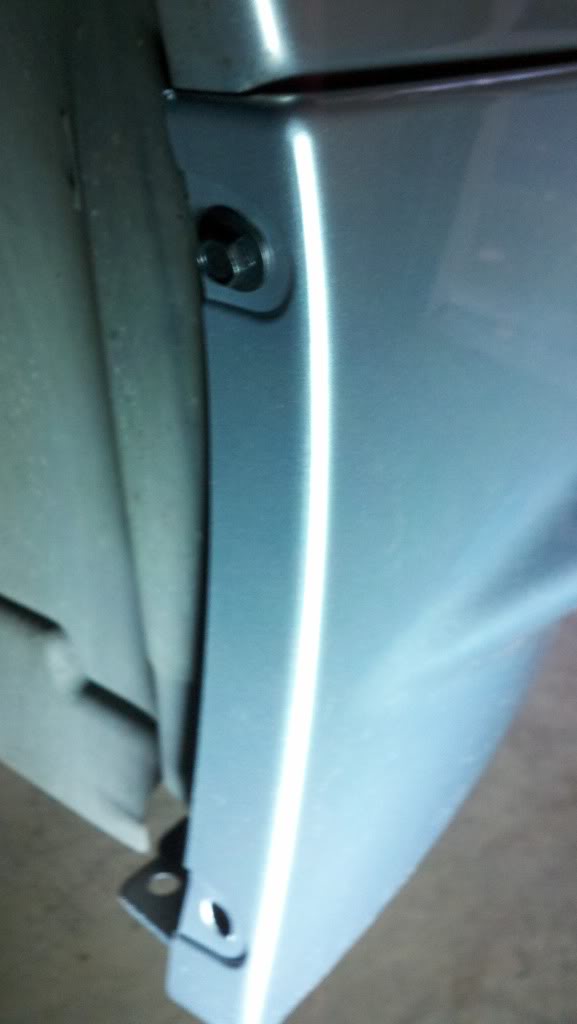
On the bottom, there's one spot where the splitter has a hole and the bumper does not, so I just screwed one bolt in and used the included clip and it holds tight.
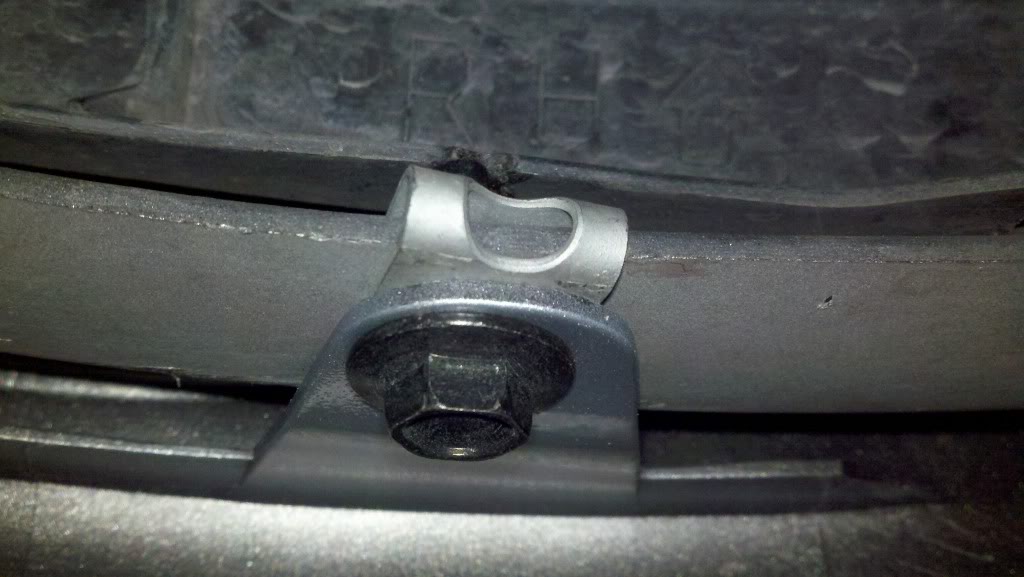
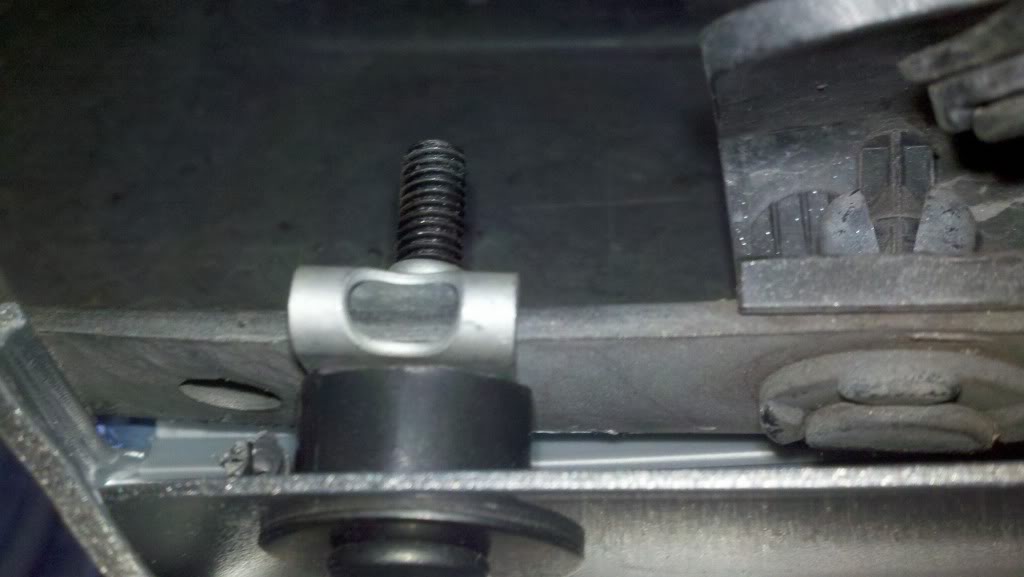
Per the previous pic, for the front edge, I used a stainless bolt with a large washer on the bottom, the bushing from above between the splitter and the bumper and the clip installed on the bumper. I lined up the hole that was already in the splitter and again just drilled into the bumper (you will never see these if the splitters were removed) and the clip on the bumper. (old pic, but same config)
It took longer to do, but I don't like to do things half way.
Bushings I found:
I cut them down to 3/8" thick which was the same as the previous hard bushings. They allow a little compression, letting the splitters tuck up nice to the bumper.
I used the previous video as a guide, but like I mentioned, I didn't like some of what he did. The top inside uses a bolt, so you don't need the first clip (nearest to the wheel well), so I cut the first clip off and only cut two slots into the bumper. It holds so tight just with those two that it wasn't going to come off. The slots were cut only wide enough for the clips to fit into. No bolt on the bottom, there's nothing to bolt it to really, but it doesn't need it.
On the bottom, there's one spot where the splitter has a hole and the bumper does not, so I just screwed one bolt in and used the included clip and it holds tight.
Per the previous pic, for the front edge, I used a stainless bolt with a large washer on the bottom, the bushing from above between the splitter and the bumper and the clip installed on the bumper. I lined up the hole that was already in the splitter and again just drilled into the bumper (you will never see these if the splitters were removed) and the clip on the bumper. (old pic, but same config)
It took longer to do, but I don't like to do things half way.
Last edited by 04GG; Apr 29, 2013 at 08:02 PM.
Thread Starter
If in doubt, FLAT OUT
iTrader: (33)
Joined: Oct 2010
Posts: 7,046
From: Nor Cal SJ
Car Info: 2010 Hatch, 2011 Sedan
Other than the cutting, the install was pretty simple. I was really undecided about cutting it, but I just did it.
Thread Starter
If in doubt, FLAT OUT
iTrader: (33)
Joined: Oct 2010
Posts: 7,046
From: Nor Cal SJ
Car Info: 2010 Hatch, 2011 Sedan
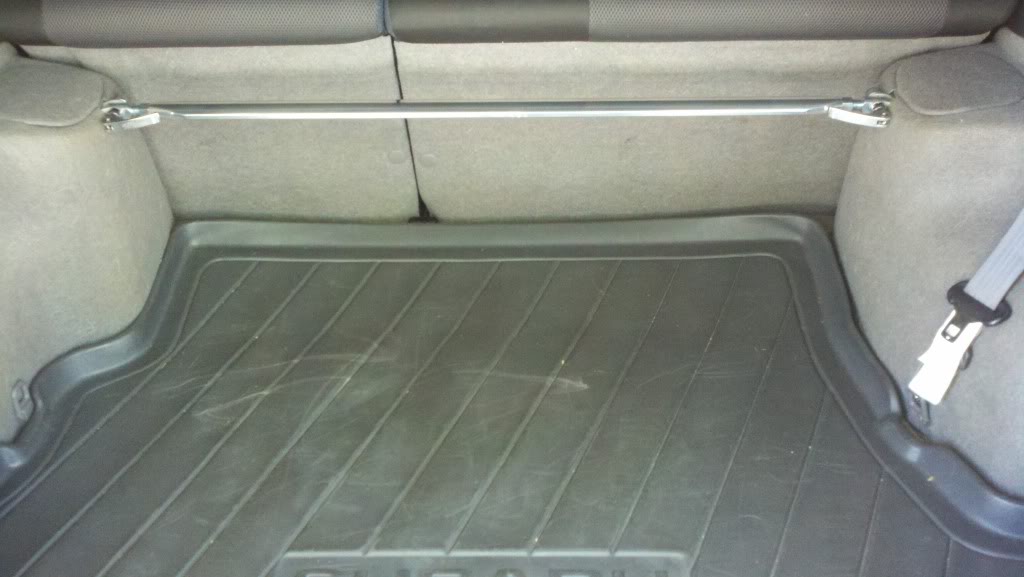
Kind of surprised by the Whiteline rear STB. The way it is designed, you can't add tension to it really (not sure that would be 100% necessary though), so I figured it wouldn't be that noticeable. I don't notice it so much driving normal, but throwing it hard in to a turn and I can definitely tell the difference with the back end. It feels less twitchy back there and just seems to stay a little more planted. Very pleased with what it does.
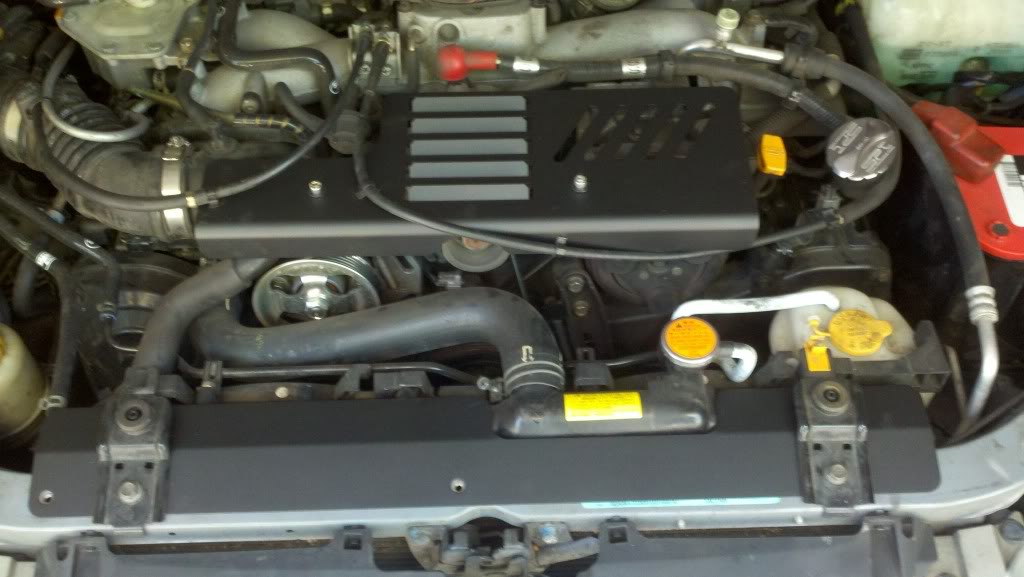
WC Lathewerks shield and radiator shroud are very nicely built parts.
WC Lathewerks shield and radiator shroud are very nicely built parts.
Last edited by 04GG; May 18, 2013 at 11:23 PM.
Thread Starter
If in doubt, FLAT OUT
iTrader: (33)
Joined: Oct 2010
Posts: 7,046
From: Nor Cal SJ
Car Info: 2010 Hatch, 2011 Sedan
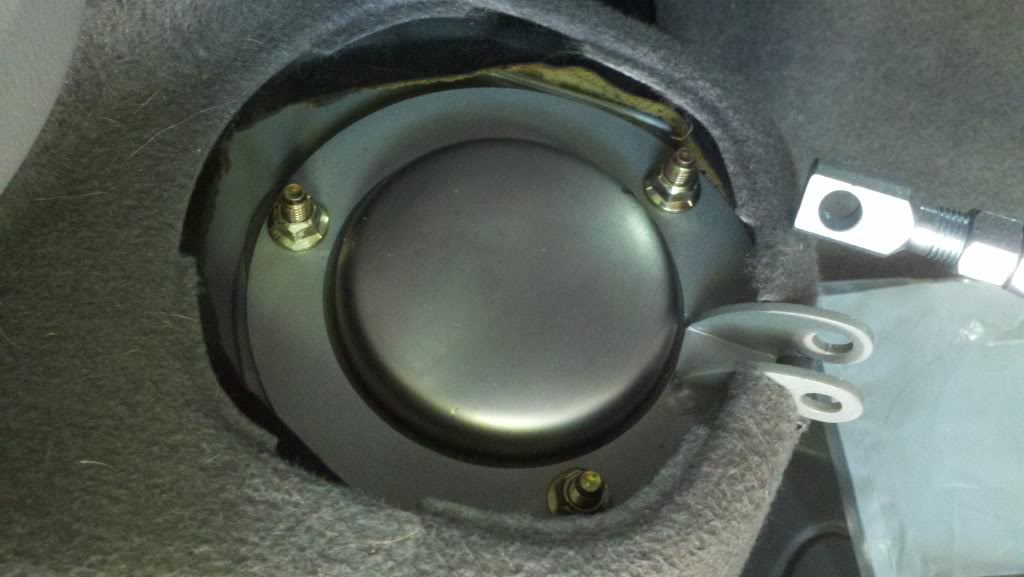
Yeah, but the bracket has holes on both sides, so it doesn't actually quick release like a bike. They would have to be slots for it to work. Still, it does make it a lot easier to remove without tools.
Last edited by 04GG; May 19, 2013 at 02:18 PM.
Thread Starter
If in doubt, FLAT OUT
iTrader: (33)
Joined: Oct 2010
Posts: 7,046
From: Nor Cal SJ
Car Info: 2010 Hatch, 2011 Sedan
Cut a hole for the post
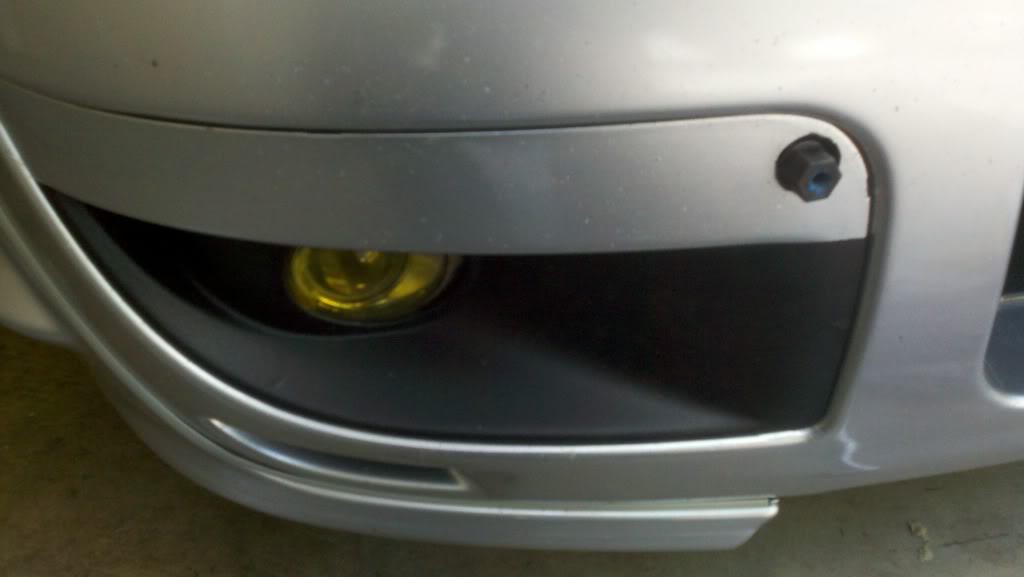
To install the Grimmspeed plate relocate and added a little instant ghetto bumper trim until I pick up a real trim piece.
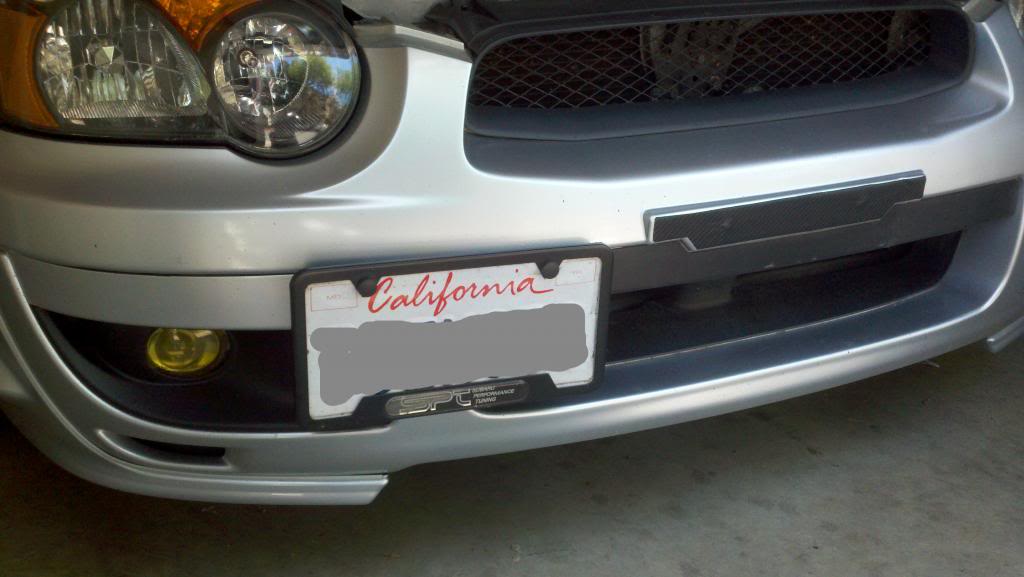
To install the Grimmspeed plate relocate and added a little instant ghetto bumper trim until I pick up a real trim piece.
Thread Starter
If in doubt, FLAT OUT
iTrader: (33)
Joined: Oct 2010
Posts: 7,046
From: Nor Cal SJ
Car Info: 2010 Hatch, 2011 Sedan
And it is at the shop again... If I listed all the stuff I've fixed on this car, I probably wouldn't like to know how much that all added up to, because I could have built a track car for that kind of coin. The sad thing is, it is all "normal" age/heat related stuff that has been happening at 125K. Car is fun, but frustrating. Gotta pay to play  Current estimate $700.
Current estimate $700.
 Just Saying.