
Chicken's Crosstrek


Thread Starter
Churro Aficionado
iTrader: (38)
Joined: Feb 2008
Posts: 54,661
From: IG - @thomas.teammoist
Car Info: IG - @TEAMMOISTOFFICIAL
Nothing major done.
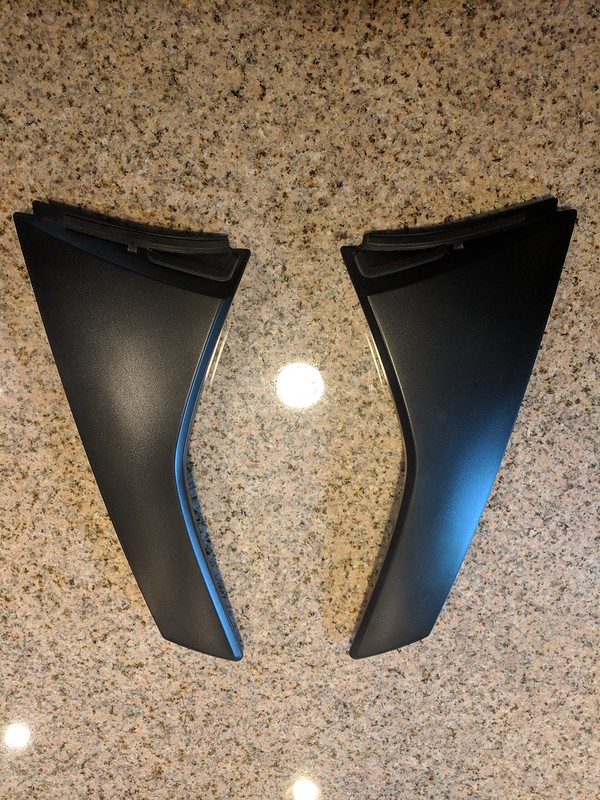
Had been thinking about doing this a while ago, then I was reminded about it when another forum member asked a question about these pieces.
Small wrap jobs continue.
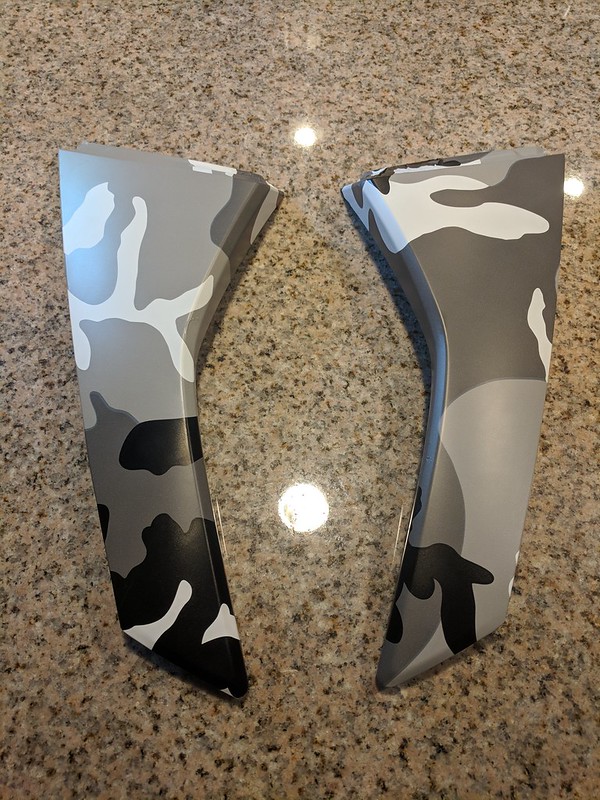
Had been thinking about doing this a while ago, then I was reminded about it when another forum member asked a question about these pieces.
Small wrap jobs continue.
Thread Starter
Churro Aficionado
iTrader: (38)
Joined: Feb 2008
Posts: 54,661
From: IG - @thomas.teammoist
Car Info: IG - @TEAMMOISTOFFICIAL
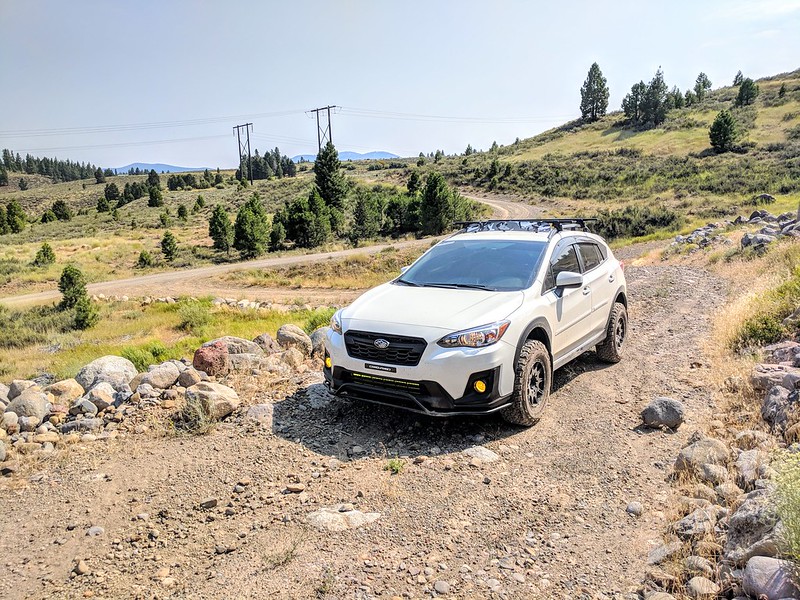
Large photo dump from this last weekend.
Went up to the cabin Friday afternoon. Went shooting and exploring Saturday afternoon. Took a trail ive never been on below the dam I normally cross over.
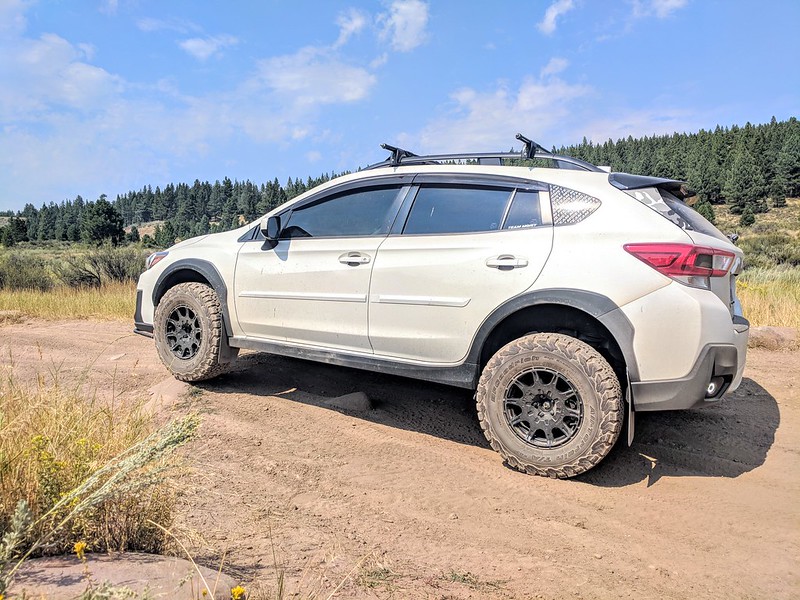
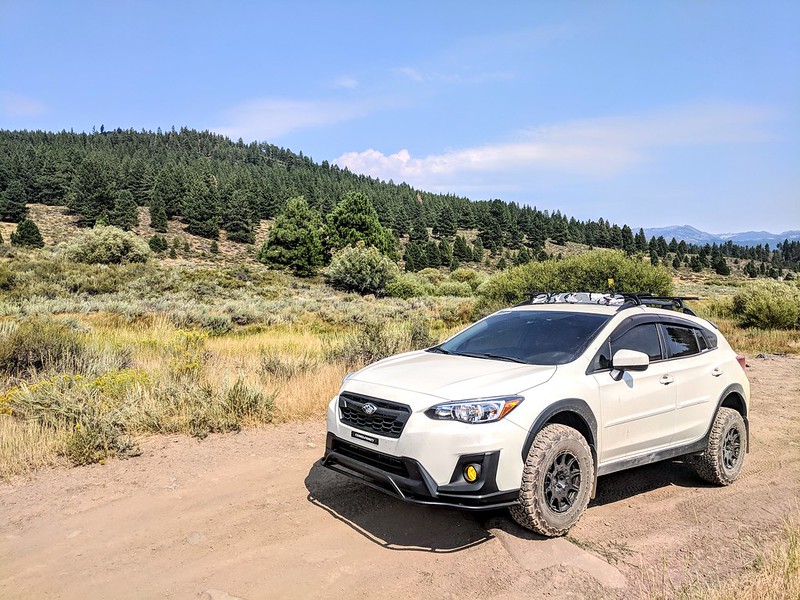
Went up to the cabin Friday afternoon. Went shooting and exploring Saturday afternoon. Took a trail ive never been on below the dam I normally cross over.
Thread Starter
Churro Aficionado
iTrader: (38)
Joined: Feb 2008
Posts: 54,661
From: IG - @thomas.teammoist
Car Info: IG - @TEAMMOISTOFFICIAL
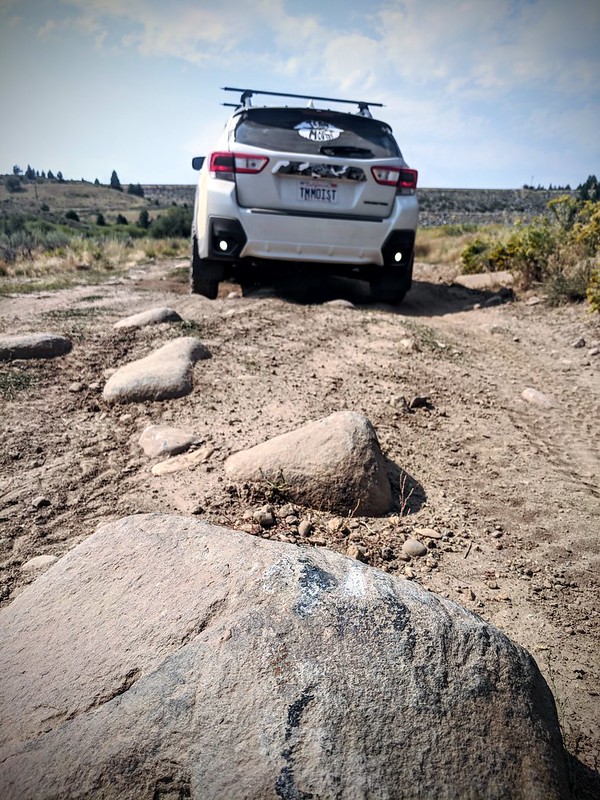
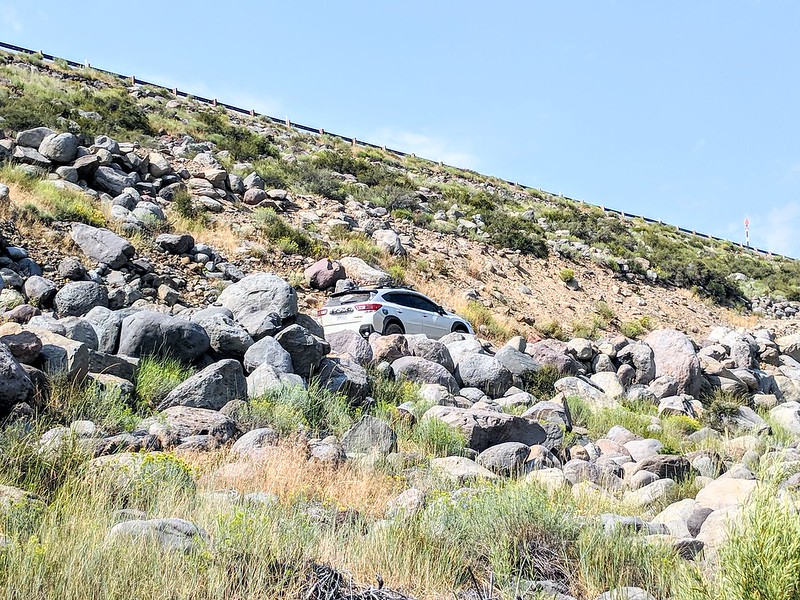
I put the Primitive skid plates to good use lol.
knocked the skids on this large rock and left a nice mark on it.
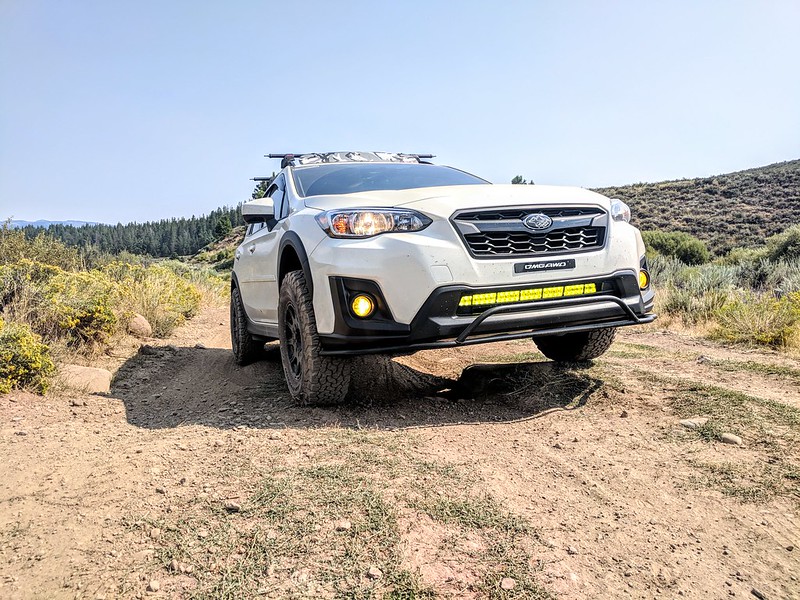
Made my way up this hill. Was much steeper than it looks in the picture. I thought it might have been too much of an angle to hit it head up, and it was lol. The rock thats about half way on the hill behind me, I knocked that lose with the front bumper guard. Rolled back down and hit it again at a slight angle to roll right up.
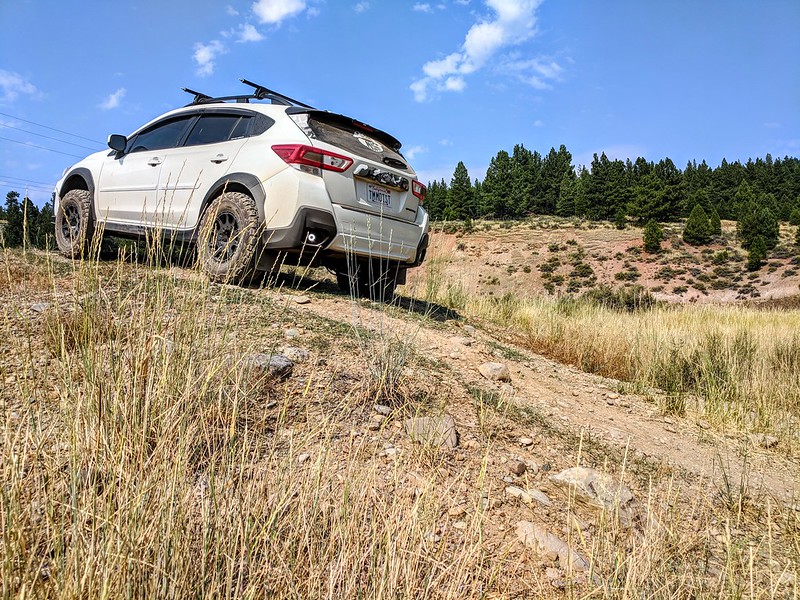
bumper guard did its job on the rock. Now it needs its first touch up paint job hehe

knocked the skids on this large rock and left a nice mark on it.
Made my way up this hill. Was much steeper than it looks in the picture. I thought it might have been too much of an angle to hit it head up, and it was lol. The rock thats about half way on the hill behind me, I knocked that lose with the front bumper guard. Rolled back down and hit it again at a slight angle to roll right up.
bumper guard did its job on the rock. Now it needs its first touch up paint job hehe

Thread Starter
Churro Aficionado
iTrader: (38)
Joined: Feb 2008
Posts: 54,661
From: IG - @thomas.teammoist
Car Info: IG - @TEAMMOISTOFFICIAL
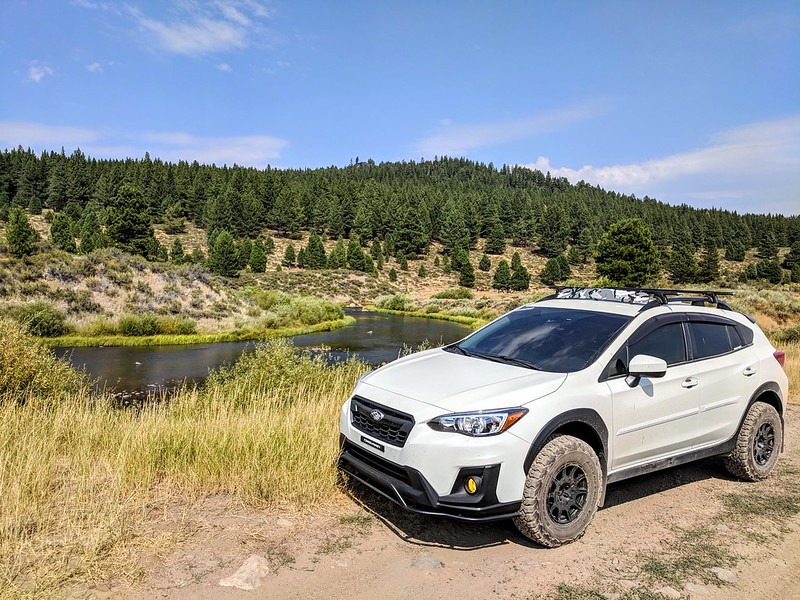
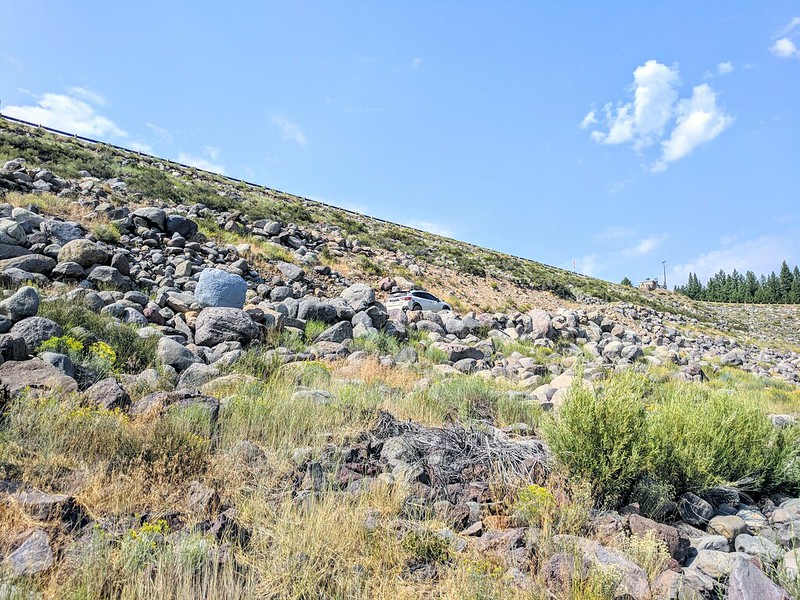
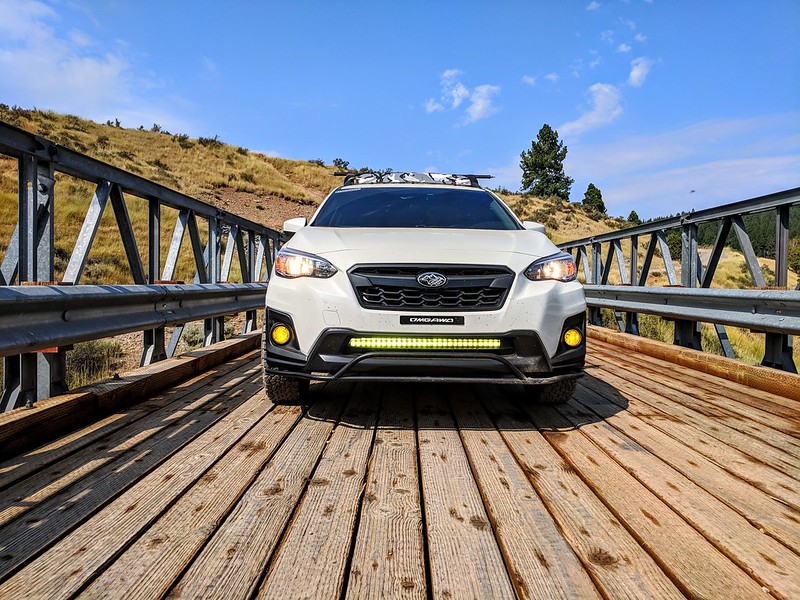
Found a fun bridge. It was all blocked off with large rocks, I squeezed through on one end. I probably could have made it over the others on the other side of the bridge, but I didnt want to push it (the lady was ready to go back to the cabin lol).
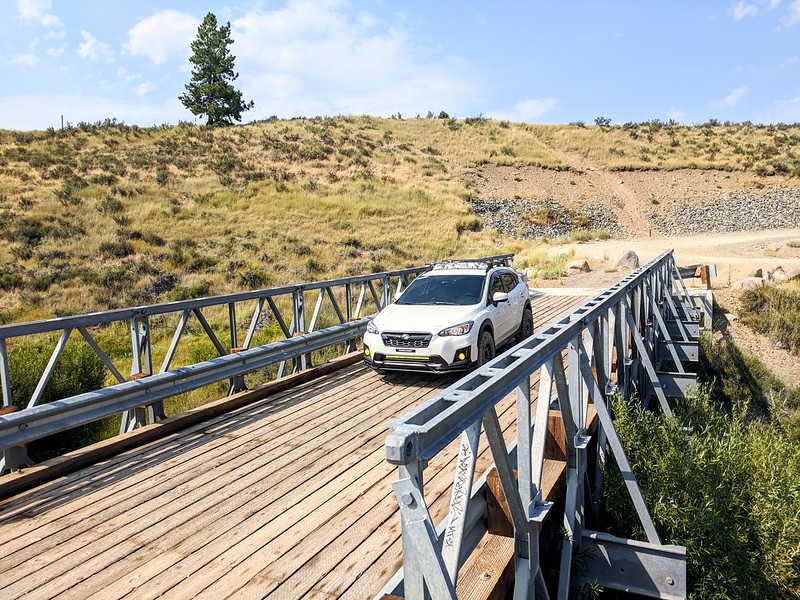
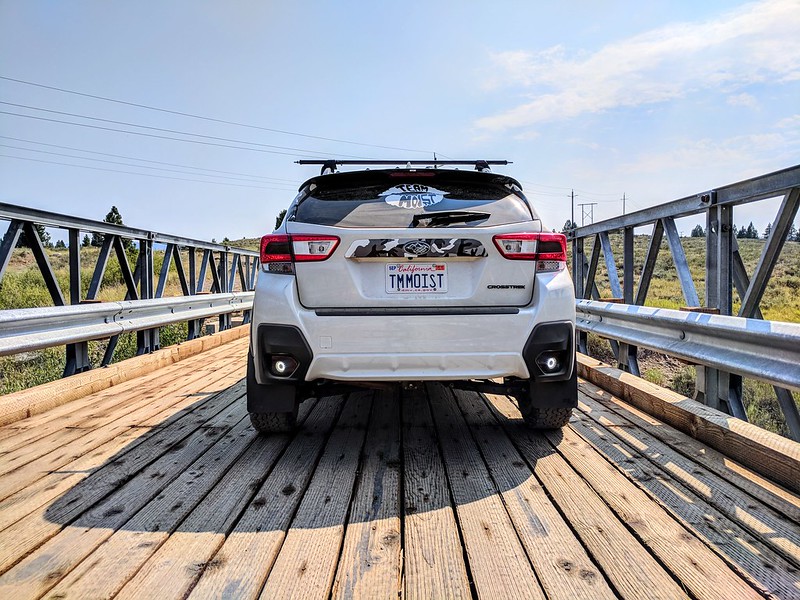
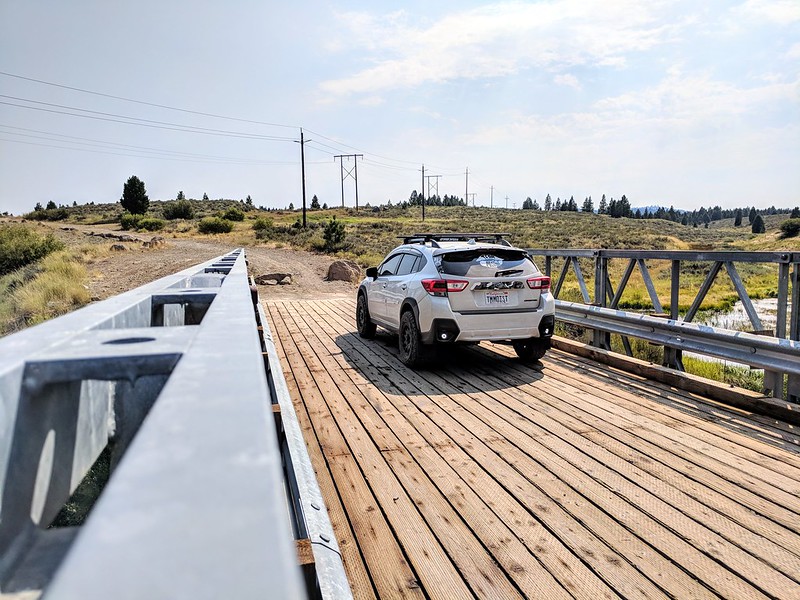
I also ticked over 16,000 miles on the car.
I also ticked over 16,000 miles on the car.

Thread Starter
Churro Aficionado
iTrader: (38)
Joined: Feb 2008
Posts: 54,661
From: IG - @thomas.teammoist
Car Info: IG - @TEAMMOISTOFFICIAL
Just a walk through (with lots of pictures) on how I set up my lights.
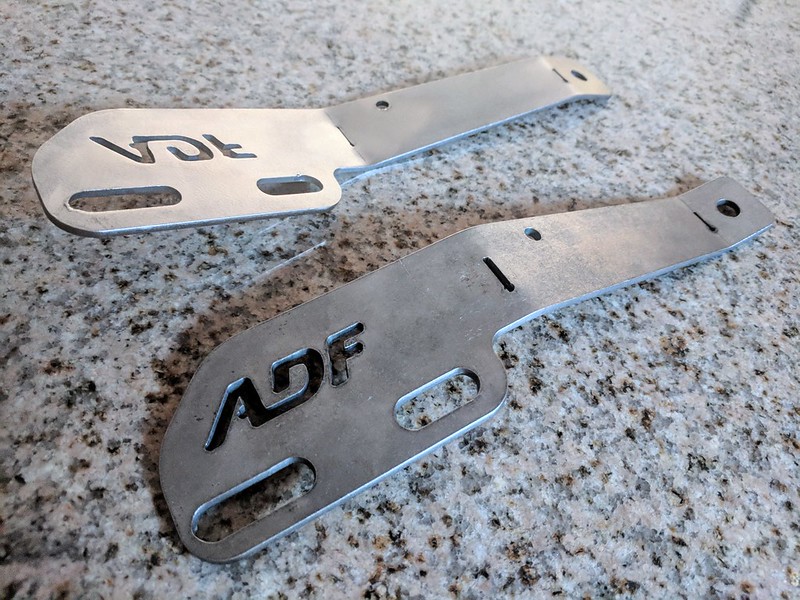
First I bought the ADF light mounts (LP and other companies many them as well) in their raw form.
How they arrived to me
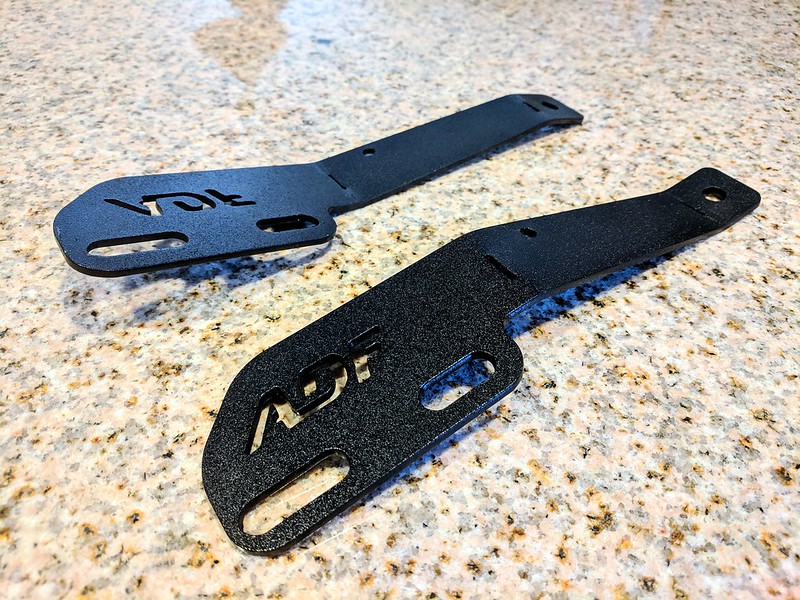
I used the same spray can bed liner that I used on my front bumper guard to cost the brackets
(liner I used: https://amzn.to/2P8BwDD )
Then hopped over to Amazon to find a decent pair of lights to test. Now these are not the end-all-be-all... but for the money ($13 when I bought them..) they had great reviews and was worth a shot! You can always upgrade later too.
Here are the exact ones I bought: https://amzn.to/2vPKIod
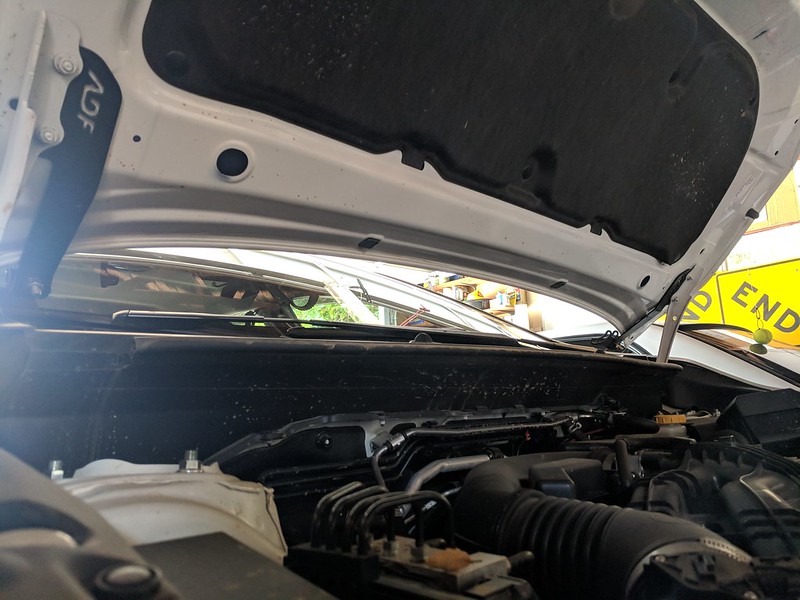
As far as installing the brackets.. it was super simple (and I did it "the hard way" lol). Most people will simply unbolt the nuts holding the hood to the hinge, throw the brackets in, and reinstall the nuts. I decided to sandwich the brackets between the hood and hinges. Either way will work just fine.
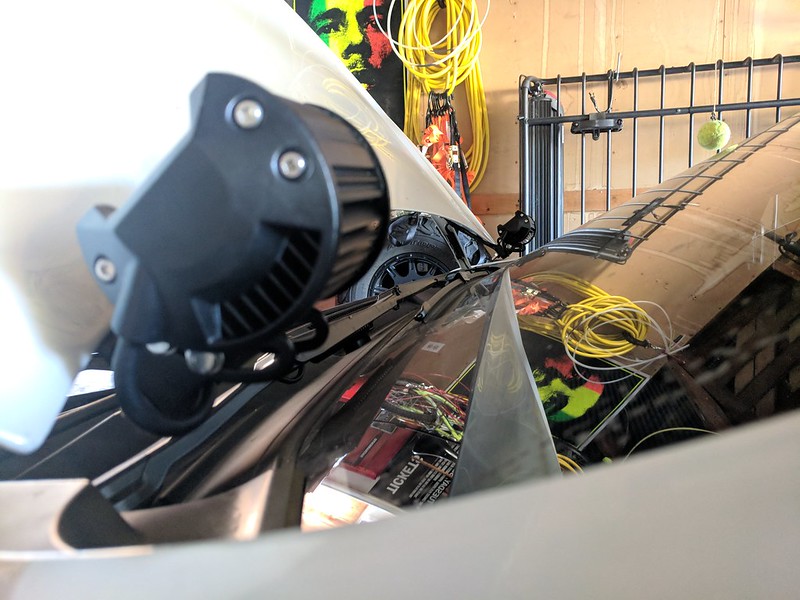
I left the nuts a bit loose for both brackets so I could play with the positioning of them. I wanted them to sit where the light will not touch the hood OR the windshield when the hood is propped ALL THE WAY open (the second - furthest down - notch for the hood prop).
First I bought the ADF light mounts (LP and other companies many them as well) in their raw form.
How they arrived to me
I used the same spray can bed liner that I used on my front bumper guard to cost the brackets
(liner I used: https://amzn.to/2P8BwDD )
Then hopped over to Amazon to find a decent pair of lights to test. Now these are not the end-all-be-all... but for the money ($13 when I bought them..) they had great reviews and was worth a shot! You can always upgrade later too.
Here are the exact ones I bought: https://amzn.to/2vPKIod
As far as installing the brackets.. it was super simple (and I did it "the hard way" lol). Most people will simply unbolt the nuts holding the hood to the hinge, throw the brackets in, and reinstall the nuts. I decided to sandwich the brackets between the hood and hinges. Either way will work just fine.
I left the nuts a bit loose for both brackets so I could play with the positioning of them. I wanted them to sit where the light will not touch the hood OR the windshield when the hood is propped ALL THE WAY open (the second - furthest down - notch for the hood prop).
Thread Starter
Churro Aficionado
iTrader: (38)
Joined: Feb 2008
Posts: 54,661
From: IG - @thomas.teammoist
Car Info: IG - @TEAMMOISTOFFICIAL
Next it was time for the always fun wiring.
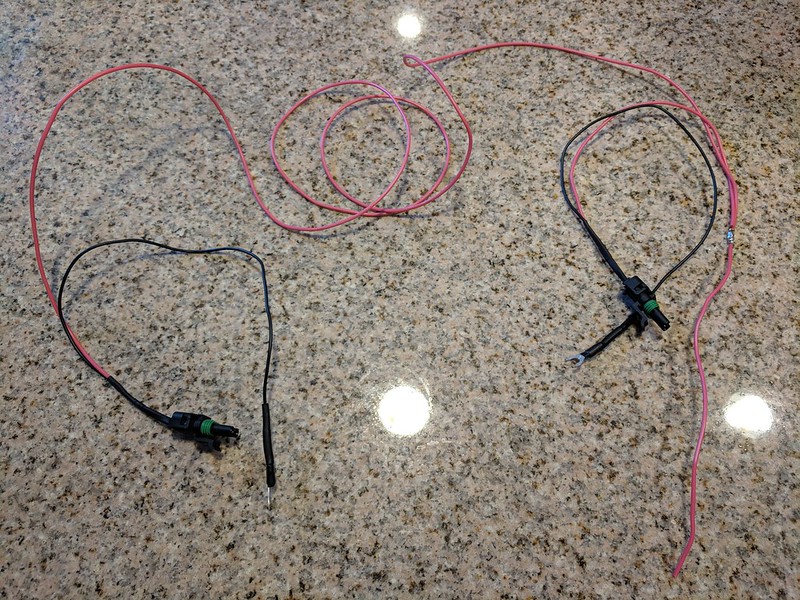
I made my own harness using waterproof connectors from the lights to the harness. So if I ever need to remove/replace the lights, I dont have to take all the wiring with it.
(waterproof connectors Ive been using: https://amzn.to/2BfhXq9 )
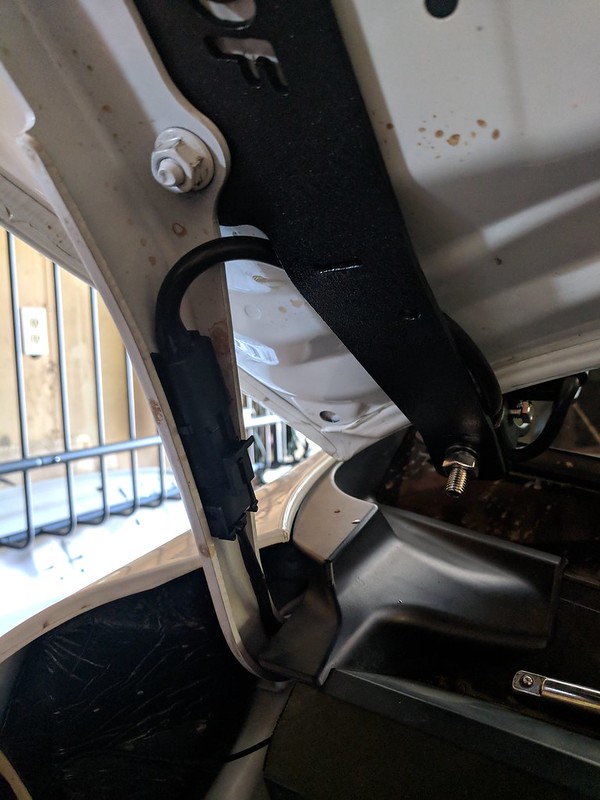
Power and ground from the light come into the connector. Ground gets tied into the strut mount on both sides. The harness (from left to right) goes from the passenger side of the car along the firewall to the drivers side. Both sides are soldered together and the power line goes into my switch system.
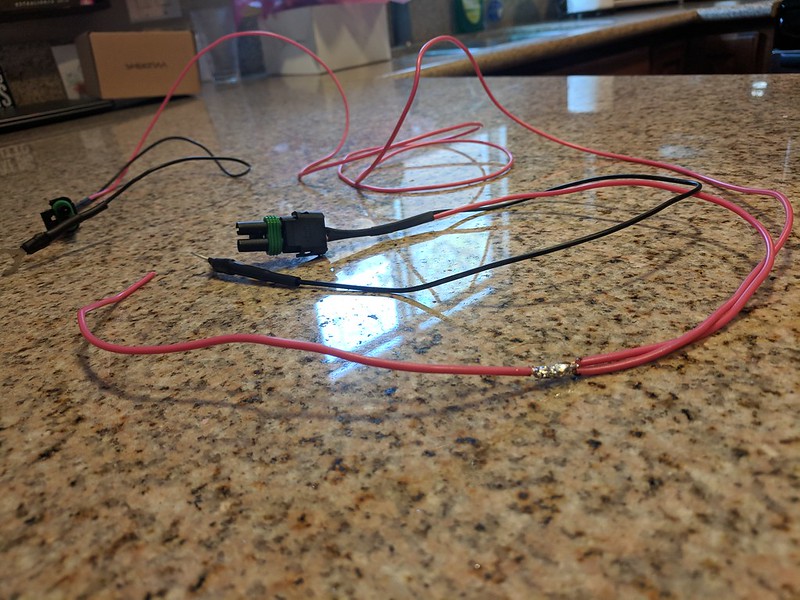
Connections were all soldered and shrink tube covering them all as well.
A shot from the passenger side.
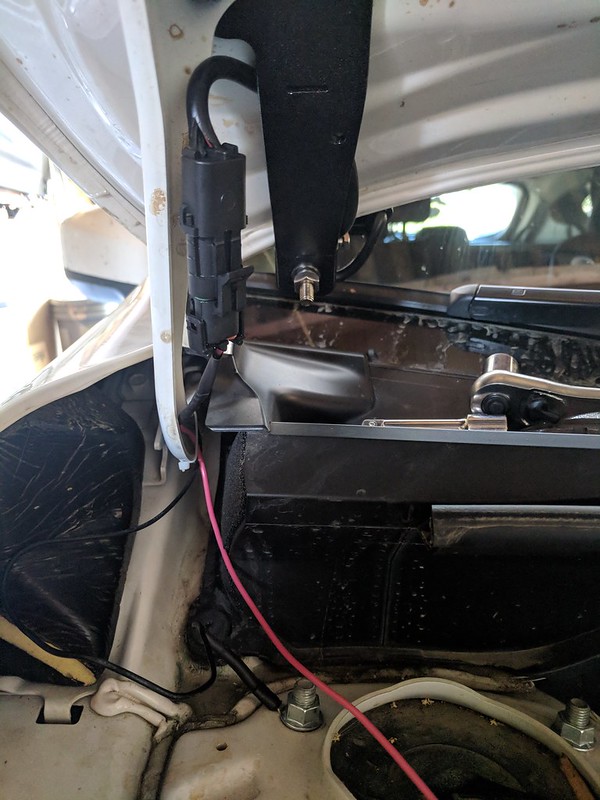
What turned out to be awesome about the connectors I used and linked above, they fit PERFECTLY "inside" the hinges! The hinges get narrower as they go down to the firewall. So I was able to simply place the connectors in the channel of the hinges and slide them down. They are staying in place simply by friction. Easy to remove but strong enough to stay in place.
As an extra level of security if you wanted, you could also use a ziptie around the hinge or a piece of double sided tape to hold it in place.
I made my own harness using waterproof connectors from the lights to the harness. So if I ever need to remove/replace the lights, I dont have to take all the wiring with it.
(waterproof connectors Ive been using: https://amzn.to/2BfhXq9 )
Power and ground from the light come into the connector. Ground gets tied into the strut mount on both sides. The harness (from left to right) goes from the passenger side of the car along the firewall to the drivers side. Both sides are soldered together and the power line goes into my switch system.
Connections were all soldered and shrink tube covering them all as well.
A shot from the passenger side.
What turned out to be awesome about the connectors I used and linked above, they fit PERFECTLY "inside" the hinges! The hinges get narrower as they go down to the firewall. So I was able to simply place the connectors in the channel of the hinges and slide them down. They are staying in place simply by friction. Easy to remove but strong enough to stay in place.
As an extra level of security if you wanted, you could also use a ziptie around the hinge or a piece of double sided tape to hold it in place.
Thread Starter
Churro Aficionado
iTrader: (38)
Joined: Feb 2008
Posts: 54,661
From: IG - @thomas.teammoist
Car Info: IG - @TEAMMOISTOFFICIAL
The lights I bought had a lot of adjust-ability. I flipped them on to get a general idea on how I wanted them pointed, then tightened up all the nuts. I also made sure that they clear the windshield when the hood if fully propped open.
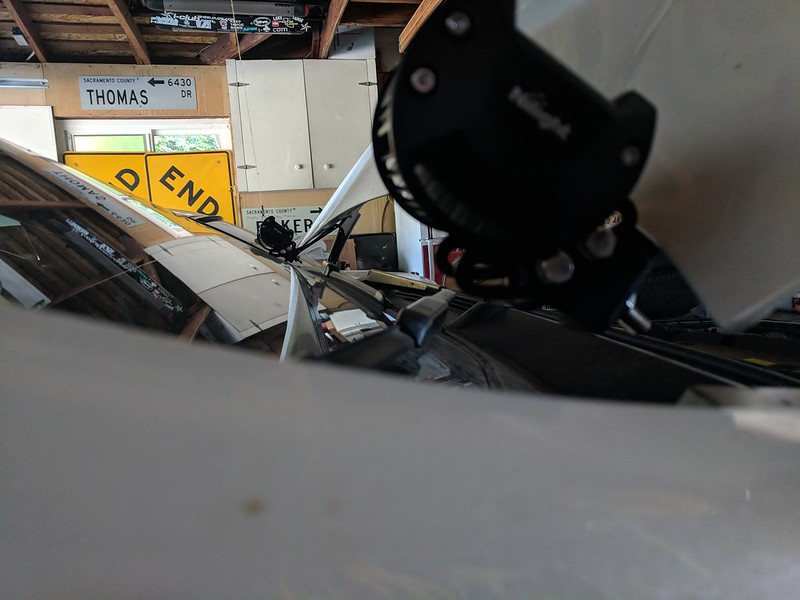
Hood closed

Quick test in the garage. Garage door shut and all lights inside and on the car were off vs just the ditch lights on.
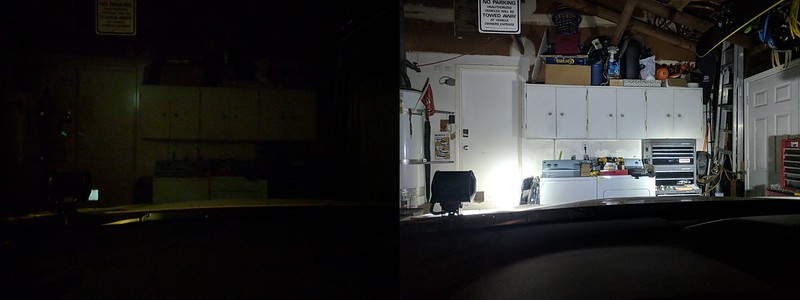
I will need to test them out and about without any light pollution when its dark. From there I will see if I need to adjust the positioning or not.
Whole process took me between 3-4 hours. That also includes putting around the garage putting random stuff away, dealing with the dogs, and generally just working slow lol.
Hood closed
Quick test in the garage. Garage door shut and all lights inside and on the car were off vs just the ditch lights on.
I will need to test them out and about without any light pollution when its dark. From there I will see if I need to adjust the positioning or not.
Whole process took me between 3-4 hours. That also includes putting around the garage putting random stuff away, dealing with the dogs, and generally just working slow lol.