
DIY Front Undertray

Thread Starter
Churro Aficionado
iTrader: (38)
Joined: Feb 2008
Posts: 54,661
From: IG - @thomas.teammoist
Car Info: IG - @TEAMMOISTOFFICIAL
EDIT: Ive had a lot of interest in making these for members. If you're interested feel free to post/PM me.
When I first bought my car, it didnt come with the stock undertray and that never really bothered me until I started taking my car off road. Any time I would drive off road (especially through the mud), my engine bay would be DIRTY! Then if you dont clean everything quickly, all the mud thats caked on drys and its a PITA to clean days or weeks later. Then having to work under the car I was always getting falling dirty in my eyes and thats never fun.
So at first I thought about buying a stock undertray because that would help cut down the amount of dirt that makes it way into the engine bay. Then I thought that the stock one probably wouldnt last too long with the abuse I would put it through. Then I figured I would take a look at aftermarket skid pans/undertrays so they would not only keep dirt out, but also protect a lot of my under body.
Well the cheapest ones I found were $160ish + shipping + wait time to get it. Didnt want to do that. At that I figured I would just make my own.
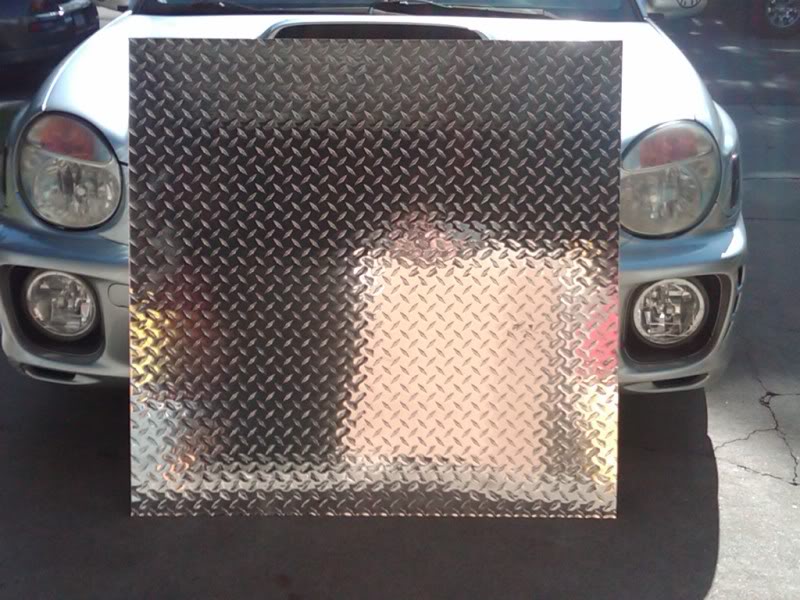
I went out and got some aluminum diamond plate (3ft x 3ft), few new bolts, metal washers, and rubber washers.
materials used:
x1
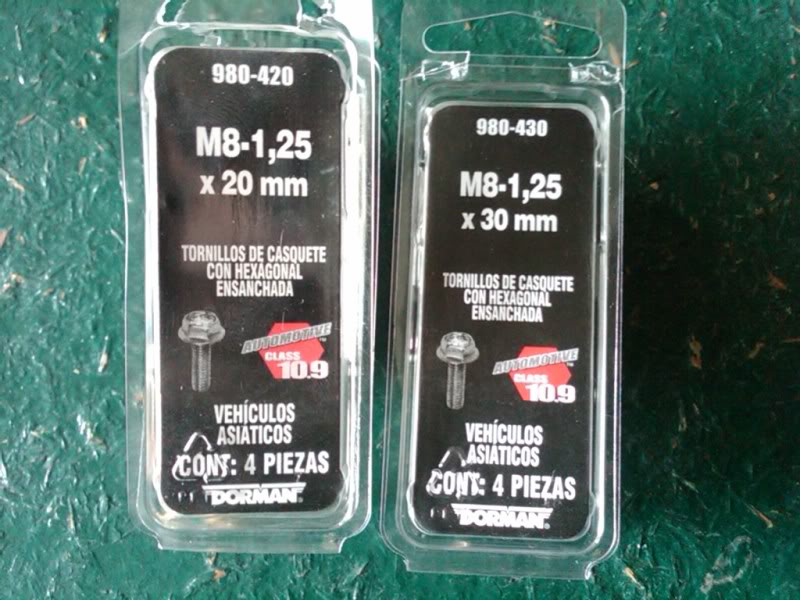
x3 20mm and x2 30mm
x12
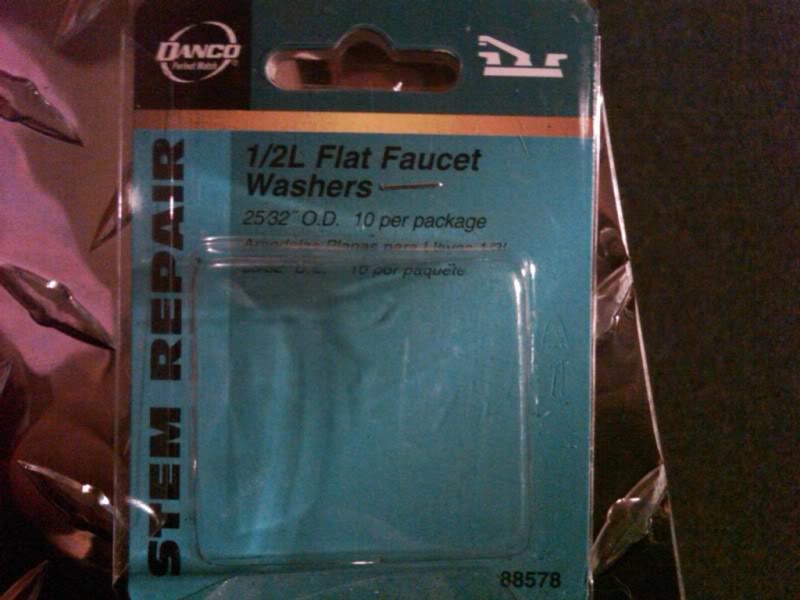
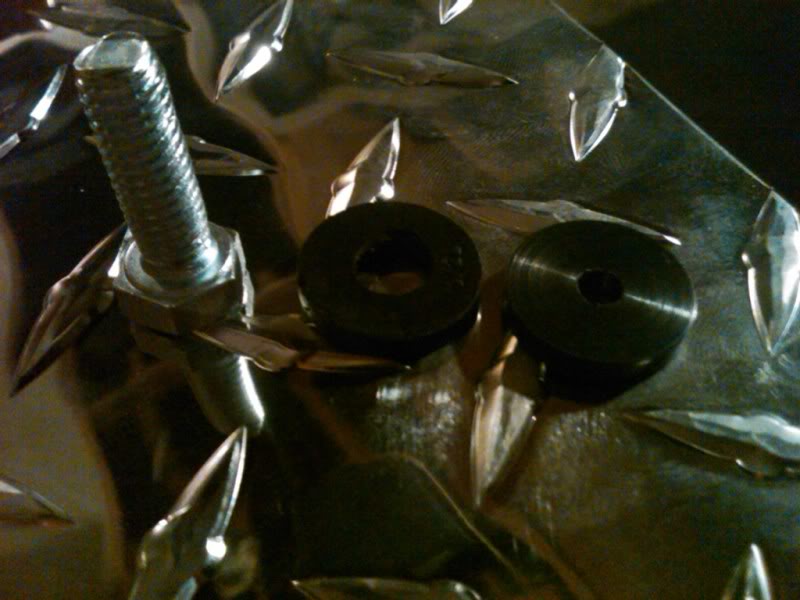
This is what they looked like and I had to drill some out for the bolts to fit through
x5 Metal washers (not shown)
Most if not all of the aftermarket ones that ive seen, are pretty basic and just cut in at an angle heading to the tranny away from the frame rails. Its easier for them to make and its less material. So they look something like this (paint ftw ):
):

I didnt want to do that and I wanted more area protected so I decided to run closer to the frame rails. I believe mine also protects more of the tranny than some of the basic aftermarket ones as well.
So to start off I had a 3ft x 3ft piece of cardboard to use as a stencil and cut out the shape of what fit under the car between the frame rails
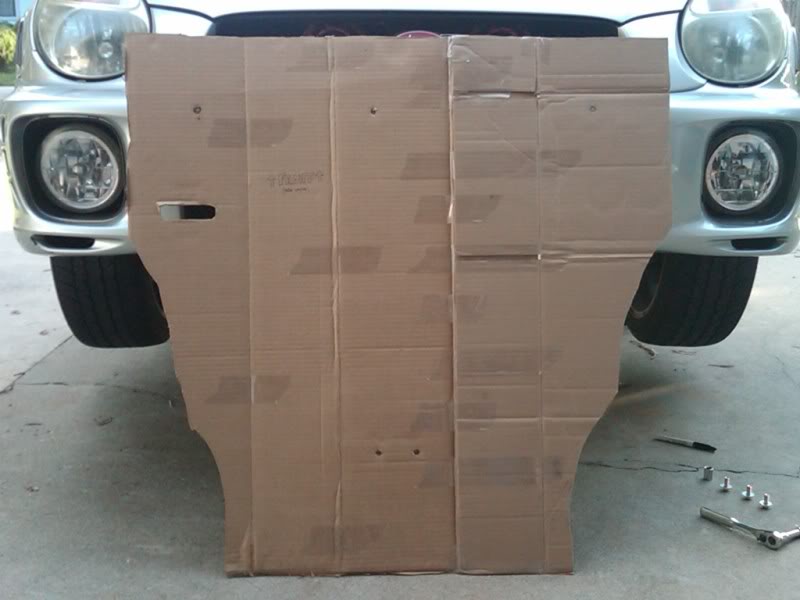
Marked where to drill the holes and then mounted the cardboard as a test fit:
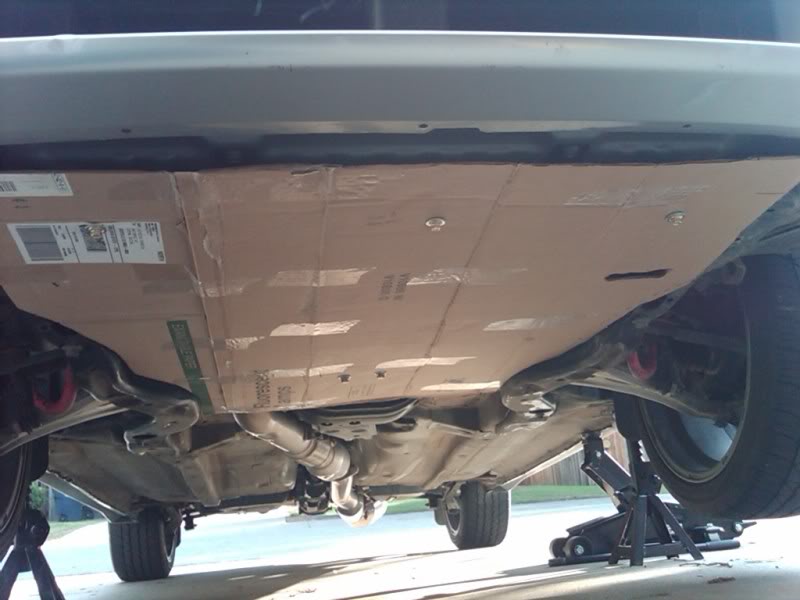
After a couple time shaving a bit off and testing fitting again, I was finally happy with the shape/fit.
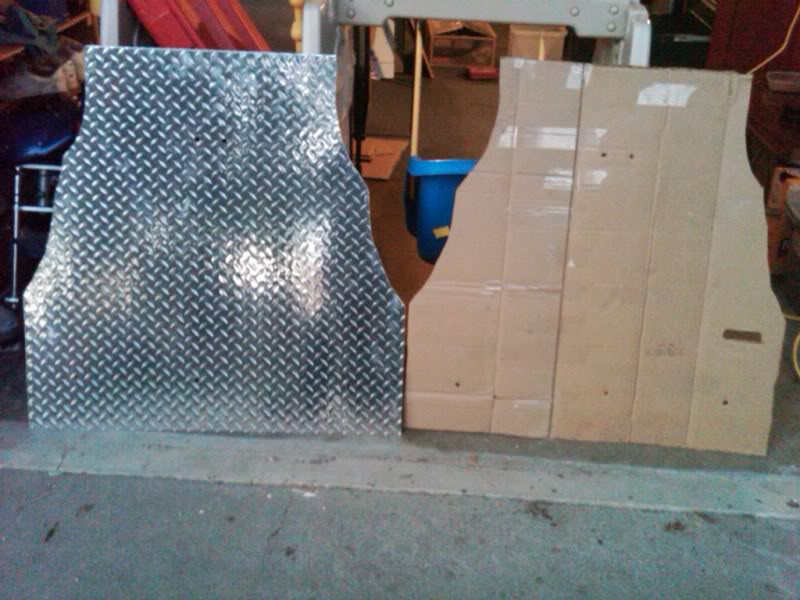
Now it was time to trace the cardboard stencil onto the back of the diamond plate. Then cut it out to get this
So I took the new bolts and washers and got ready to install the diamond plate. The metal washers went between the bolt and diamond plate and the rubber ones went between the diamond plate and car. I did that so it would reduce any chance of noise from the diamond plate rubbing any where under the car. I used 2 rubber washers on each of the 3 bolts up front, and used 3 rubber washers one each of the 2 bolts in the back.
Mounted up
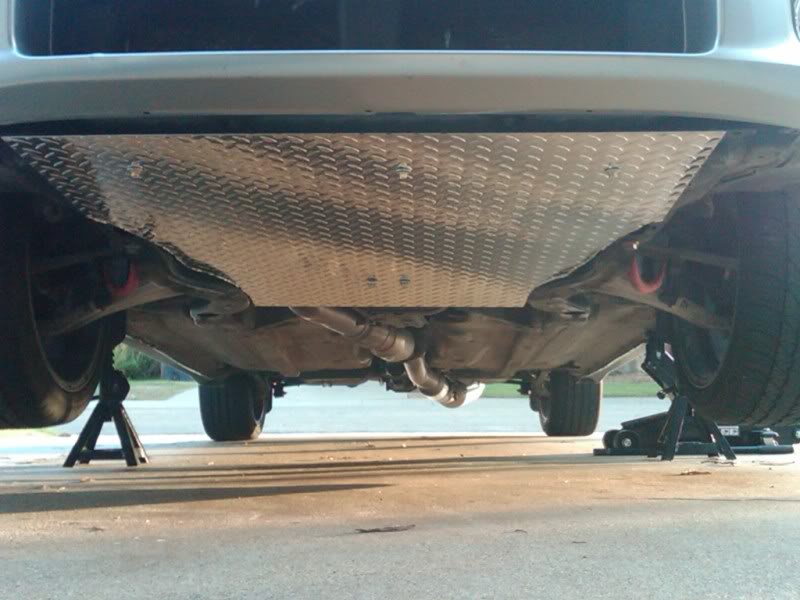
What I also did (not pictured) was bent the front of the diamond plate up at a slight angle in the front. So instead of being just a flat sheet from the front to back, the first 3 inches of the diamond plate angle up towards the front bumper (to reduce the chances of something flying up inbetween the undertray and undercarriage).
Im really happy with how it turned out. I went out for a little drive after I was done to see if there were any new sounds/squeaks of any kind. So far so good
When I first bought my car, it didnt come with the stock undertray and that never really bothered me until I started taking my car off road. Any time I would drive off road (especially through the mud), my engine bay would be DIRTY! Then if you dont clean everything quickly, all the mud thats caked on drys and its a PITA to clean days or weeks later. Then having to work under the car I was always getting falling dirty in my eyes and thats never fun.
So at first I thought about buying a stock undertray because that would help cut down the amount of dirt that makes it way into the engine bay. Then I thought that the stock one probably wouldnt last too long with the abuse I would put it through. Then I figured I would take a look at aftermarket skid pans/undertrays so they would not only keep dirt out, but also protect a lot of my under body.
Well the cheapest ones I found were $160ish + shipping + wait time to get it. Didnt want to do that. At that I figured I would just make my own.
I went out and got some aluminum diamond plate (3ft x 3ft), few new bolts, metal washers, and rubber washers.
materials used:
x1
x3 20mm and x2 30mm
x12
This is what they looked like and I had to drill some out for the bolts to fit through
x5 Metal washers (not shown)
Most if not all of the aftermarket ones that ive seen, are pretty basic and just cut in at an angle heading to the tranny away from the frame rails. Its easier for them to make and its less material. So they look something like this (paint ftw
):I didnt want to do that and I wanted more area protected so I decided to run closer to the frame rails. I believe mine also protects more of the tranny than some of the basic aftermarket ones as well.
So to start off I had a 3ft x 3ft piece of cardboard to use as a stencil and cut out the shape of what fit under the car between the frame rails
Marked where to drill the holes and then mounted the cardboard as a test fit:
After a couple time shaving a bit off and testing fitting again, I was finally happy with the shape/fit.
Now it was time to trace the cardboard stencil onto the back of the diamond plate. Then cut it out to get this
So I took the new bolts and washers and got ready to install the diamond plate. The metal washers went between the bolt and diamond plate and the rubber ones went between the diamond plate and car. I did that so it would reduce any chance of noise from the diamond plate rubbing any where under the car. I used 2 rubber washers on each of the 3 bolts up front, and used 3 rubber washers one each of the 2 bolts in the back.
Mounted up
What I also did (not pictured) was bent the front of the diamond plate up at a slight angle in the front. So instead of being just a flat sheet from the front to back, the first 3 inches of the diamond plate angle up towards the front bumper (to reduce the chances of something flying up inbetween the undertray and undercarriage).
Im really happy with how it turned out. I went out for a little drive after I was done to see if there were any new sounds/squeaks of any kind. So far so good
Last edited by stupidchicken03; Aug 23, 2013 at 01:44 PM.
Thread Starter
Churro Aficionado
iTrader: (38)
Joined: Feb 2008
Posts: 54,661
From: IG - @thomas.teammoist
Car Info: IG - @TEAMMOISTOFFICIAL
Well I had to buy a min of 4x3ft because they didnt want small scraps left over (and thats understandable). So for a 4x3ft + 2 cuts (1 off the main sheet and 1 to cut it down to 3x3) it was about $52.
I think ill pass 
I think ill pass

Registered User
iTrader: (4)
Joined: Dec 2007
Posts: 784
From: Folsom prison,California
Car Info: 2005 forester
Be careful I had one ok my car and during the summer the oil temp would be 20+ degrees over with teh tray on. so I took it off and only run it during the winter.
what Im going to do is get some nacca ducts and run some to the oil pan so when the tray is on it will blow air to the tray and wherever else I want to run one I.E. brakes?
nice job though just watch the oil temp....
what Im going to do is get some nacca ducts and run some to the oil pan so when the tray is on it will blow air to the tray and wherever else I want to run one I.E. brakes?
nice job though just watch the oil temp....


