
the painting the legacy thread......


Thread Starter
Registered User
Joined: Oct 2006
Posts: 12
From: Winchester MA
Car Info: 98 2.5rs
the painting the legacy thread......
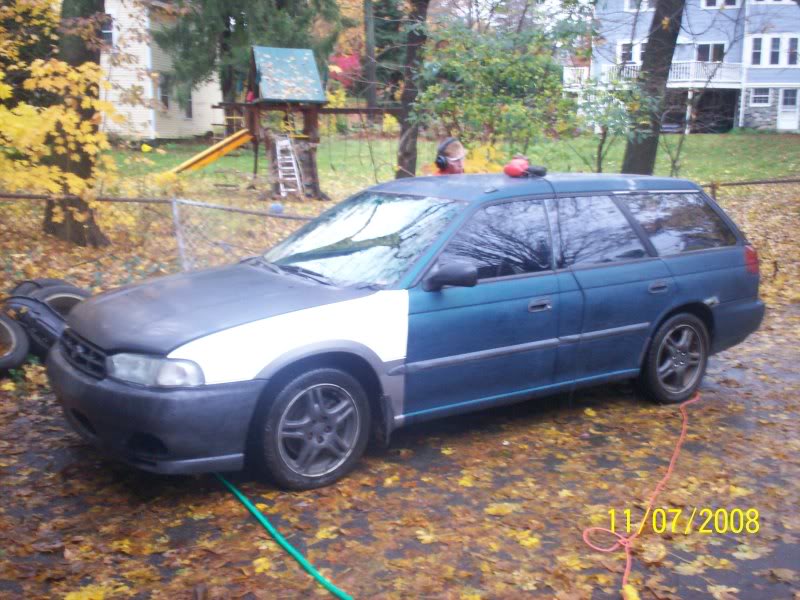
Heres the story. I Picked up my 98 Legacy in the Summer of last year. After The local tech high school telling me they can paint it for me for almost an entire year, the guy decides he can not do it....which leaves me with a Bunch of Paint supplies and an unpainted, messed up Legacy Wagon.
After calling around to other local tech high schools, it seems they will not take on a job of painting an entire car") o well... what now ?
o well... what now ?
After talking with people about other alternatives, like Maco and whatnot...there was only ONE real solution... Paint it myself !
And it all begins...
With the help of my trusty paint crew...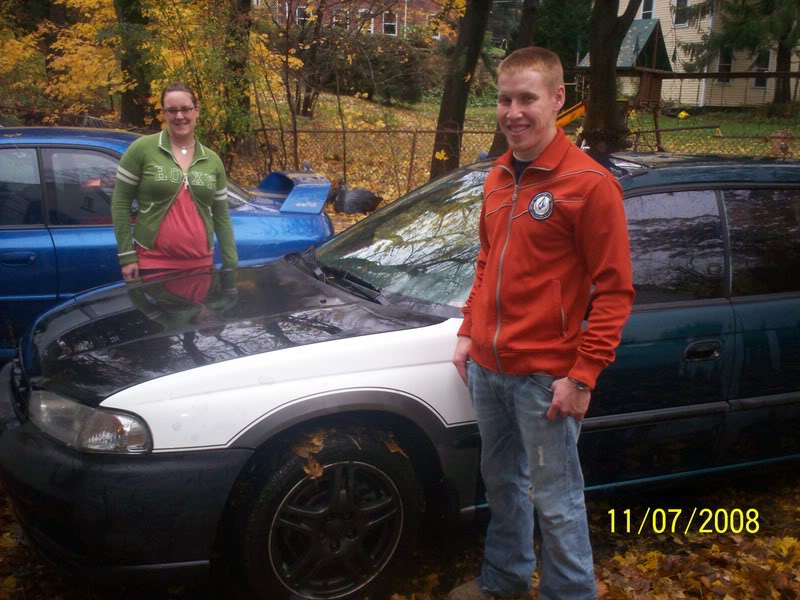
We scuff the entire car with grey Scothbright pads & waxgrease remover/prep wash.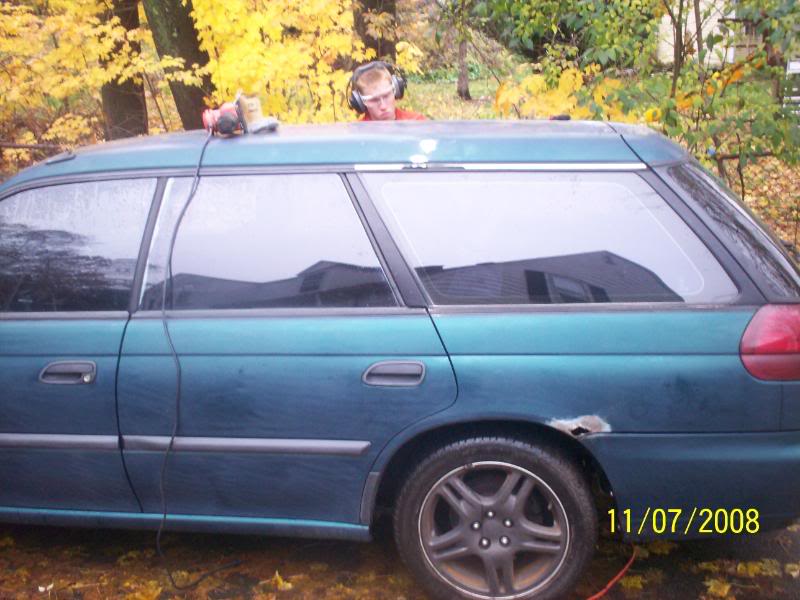
After inspecting my E-coated hood and fender, I find out that underneath the ENTIRE ecoat is RUST ...EVERYWHERE !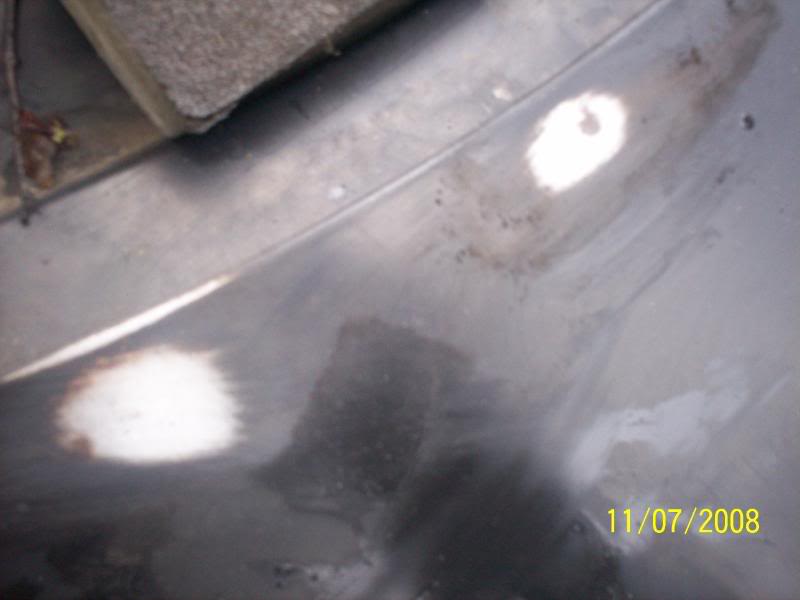 I went to Lowes and picked up a DA sander on sale for $30, and after another $60 in sanding discs we're ready to strip !(the fender and hood that is)
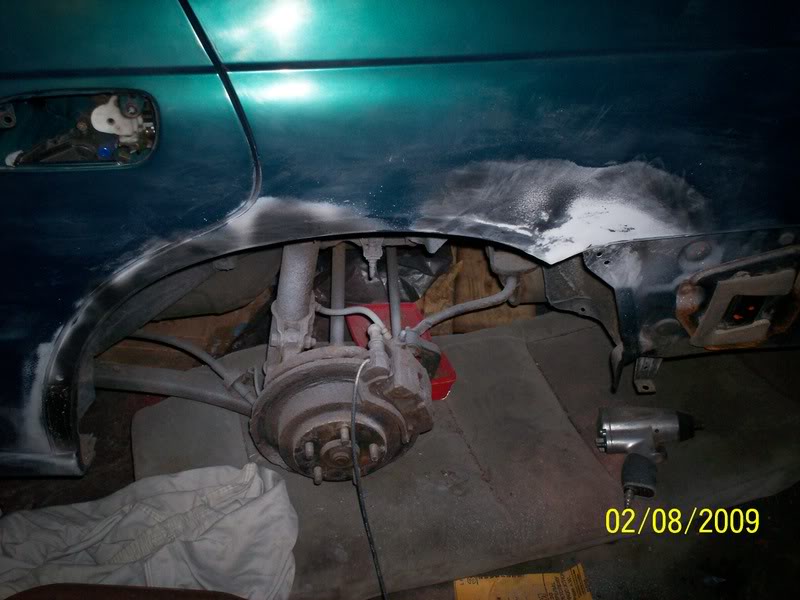
so far We've got EVERYTHING stripped off where it needs to be, and all the kosher factory paint scuffed. all the door bump moldings removed, as well as, mirrors, headlights,grill, front bumper, door handles, tail lights, and bottom window trim.
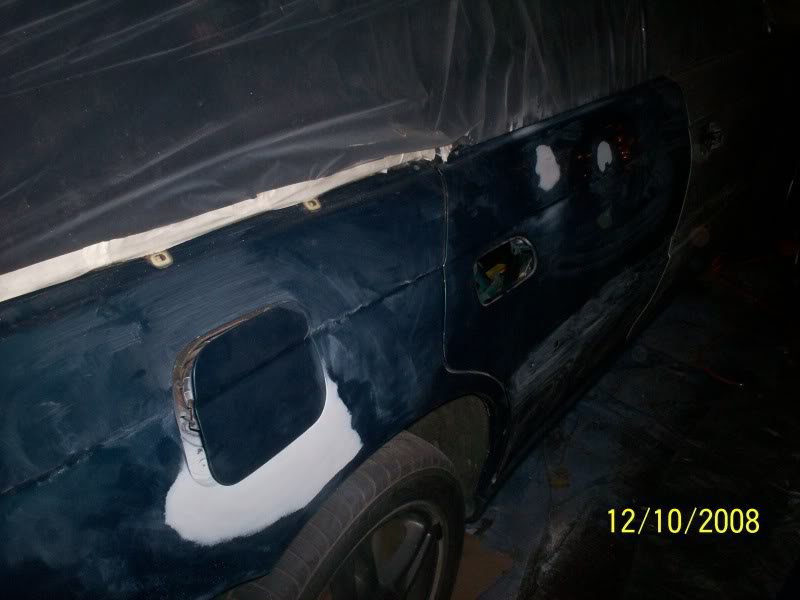
Over the small rust repair areas I have sprayed rust converter just to be safe...which dries to a BLACK coat of primer(which I'm going to sand off anyway) You can see the areas where the rust converter stays WHITE, which is completely rust free.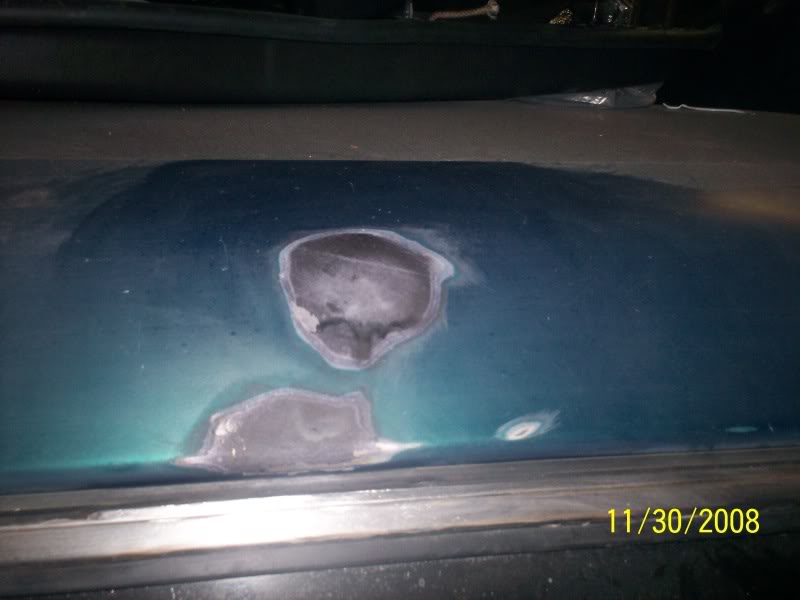
I only had 2 actual rust HOLES on the entire car, which isn't bad for a beater wagon that is 11+ years old. I sanded them all down, sprayed rust converter, and then started fiberglassing.
Notice my old legacy seat/ kneeling pad
I just got back from laying down a second coat of resin on the repairs. I will prolly put down another 5 or 6 minimum before primering. Then bodo to smooth out the body lines.
I also just orderd all the Epoxy primer I need for the hood and fender which is bare metal. I learned that the 2k high build urethane surfacer I had is NOT meant to be applied on bare metal, but is ok to use on bondo and whatnot.....so I will use the surfacer over the bondo before I spray my base. And the Epoxy primer on all the bare metal that doesn't need bondo.
I'm almost ready to paint !.....
Edit: O yeah almost forgot... most of my progress would be for nothing if it wasn't for the help of BigShiz
After calling around to other local tech high schools, it seems they will not take on a job of painting an entire car
o well... what now ? After talking with people about other alternatives, like Maco and whatnot...there was only ONE real solution... Paint it myself !
And it all begins...
With the help of my trusty paint crew...
We scuff the entire car with grey Scothbright pads & waxgrease remover/prep wash.
After inspecting my E-coated hood and fender, I find out that underneath the ENTIRE ecoat is RUST ...EVERYWHERE !
I went to Lowes and picked up a DA sander on sale for $30, and after another $60 in sanding discs we're ready to strip !(the fender and hood that is) so far We've got EVERYTHING stripped off where it needs to be, and all the kosher factory paint scuffed. all the door bump moldings removed, as well as, mirrors, headlights,grill, front bumper, door handles, tail lights, and bottom window trim.
Over the small rust repair areas I have sprayed rust converter just to be safe...which dries to a BLACK coat of primer(which I'm going to sand off anyway) You can see the areas where the rust converter stays WHITE, which is completely rust free.
I only had 2 actual rust HOLES on the entire car, which isn't bad for a beater wagon that is 11+ years old. I sanded them all down, sprayed rust converter, and then started fiberglassing.
Notice my old legacy seat/ kneeling pad
I just got back from laying down a second coat of resin on the repairs. I will prolly put down another 5 or 6 minimum before primering. Then bodo to smooth out the body lines.
I also just orderd all the Epoxy primer I need for the hood and fender which is bare metal. I learned that the 2k high build urethane surfacer I had is NOT meant to be applied on bare metal, but is ok to use on bondo and whatnot.....so I will use the surfacer over the bondo before I spray my base. And the Epoxy primer on all the bare metal that doesn't need bondo.
I'm almost ready to paint !.....
Edit: O yeah almost forgot... most of my progress would be for nothing if it wasn't for the help of BigShiz
Thread Starter
Registered User
Joined: Oct 2006
Posts: 12
From: Winchester MA
Car Info: 98 2.5rs
Been workin on it ALL DAY...since prolly 9:00 AM. I've got EVERY spot of rust grinded out and primed. My quarter pannel is all fiberglassed, and I am finishing it up with spot pudy. The car is entirely Tarped off and ready to be cleaned one last time before I spray.
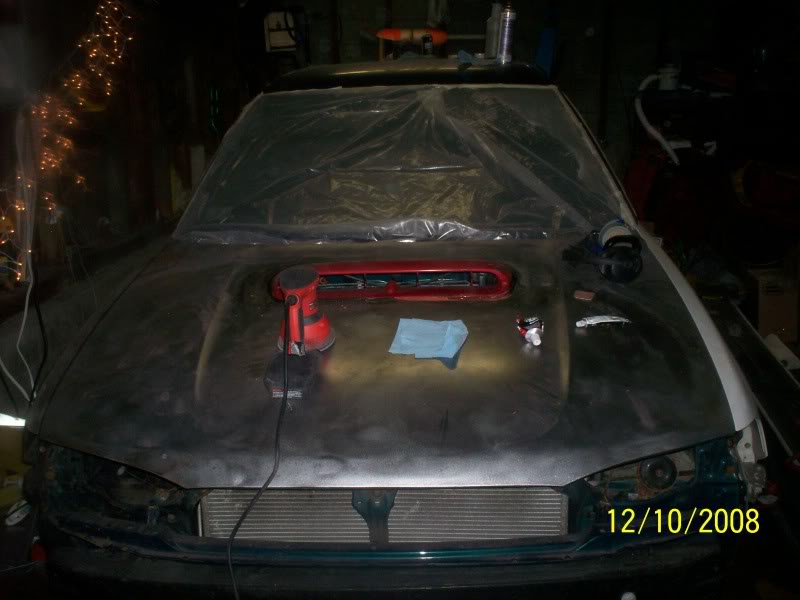
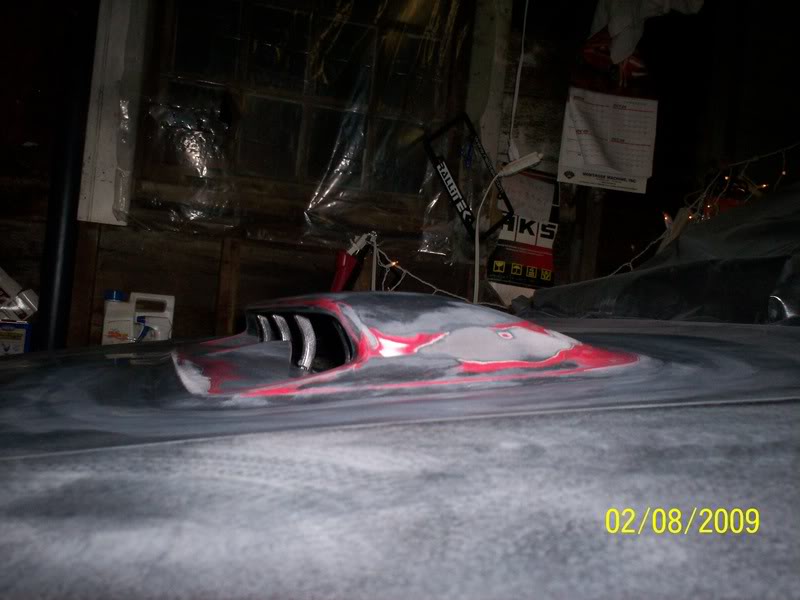
I cut the hole for the scoop, measured, outlined, gooped her up and mounted it ! The goop I bought came with a special gun...holly **** is that stuff SOLID when dry. I got a couple drips on my hood, and I could NOT ****ing get it off the hood. even with 60 grit on the ****ing DA !
I'm back inside taking a Beer beak. I've only got like 1 more coat of spot puddy. Then I can sand her down, and primer up the quarter.
The epoxy primer says surface metal temperature HAS to be an absolute minimum of 70 dregees to spray... I've had the heater BLOWING hard all day, so I'll cross my fingers...it still feels kinda cold to the touch
EDIT: Just got back inside its 12:00, and I've been working since 9 this morning. NON STOP.
I snapped some pics.
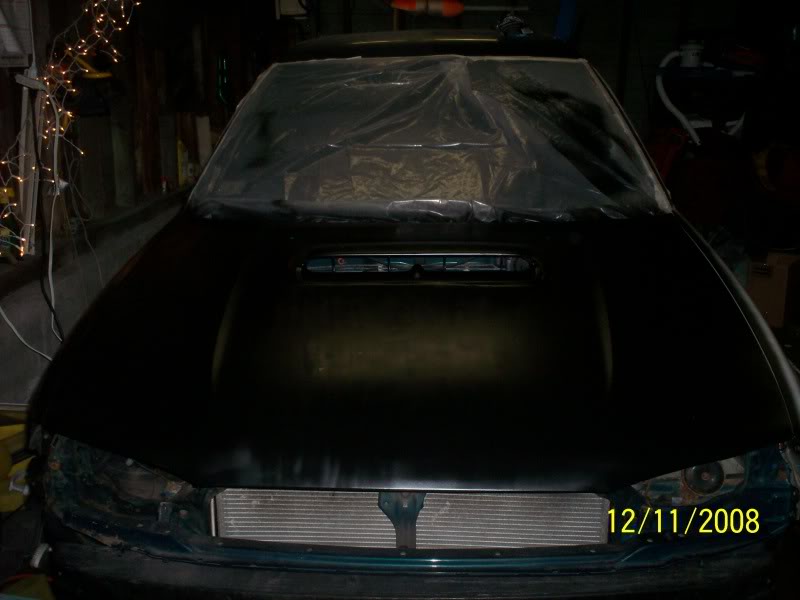
hoodscoop mounted The goop I used takes 4 hours to dry. unfortunatly I didn't use enough on the first try the car is now sitting waiting for the goop to dry so I can sand and then start painting !

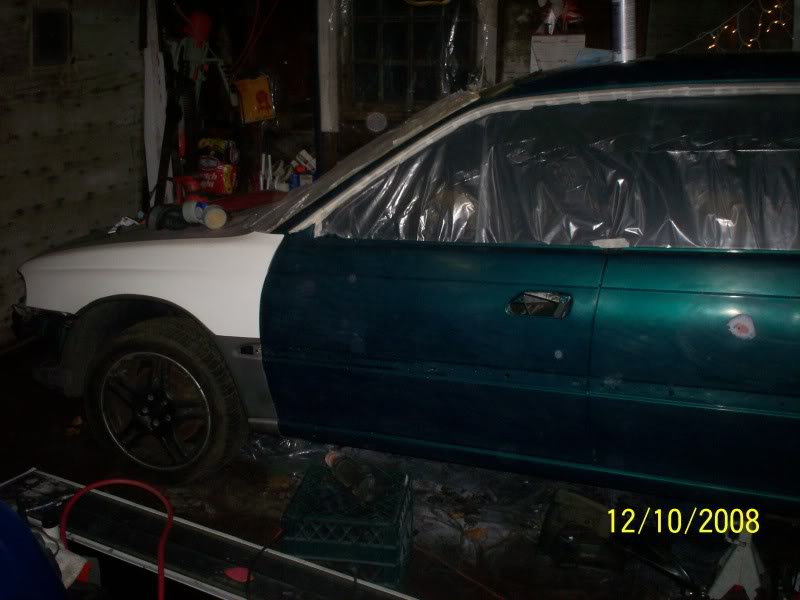
car all taped
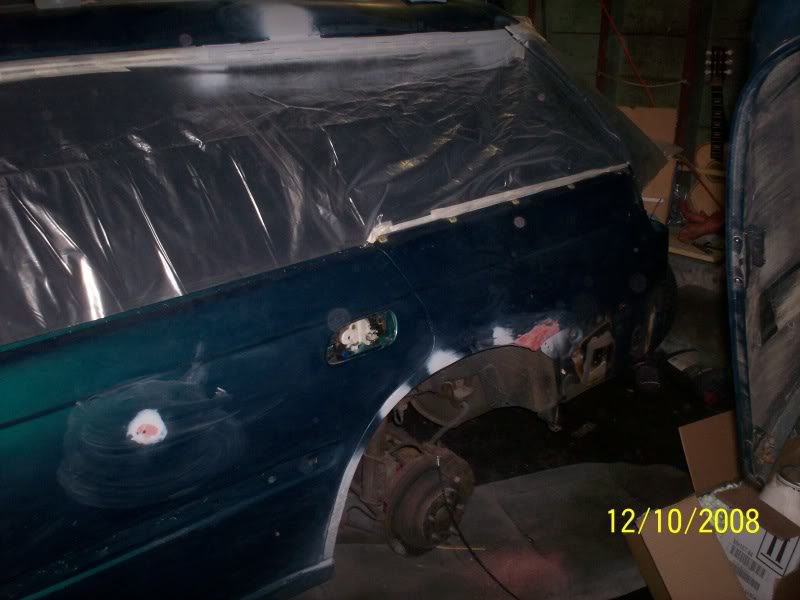
quarter pannel almost done...
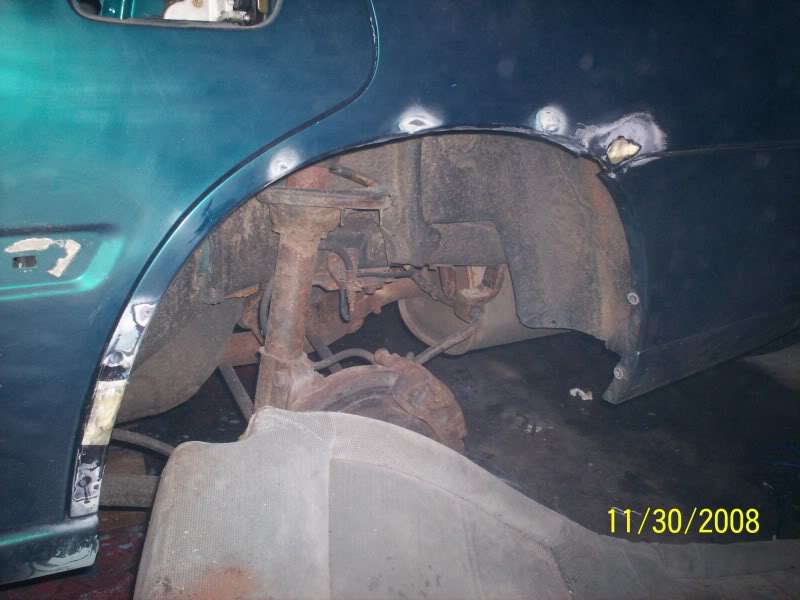
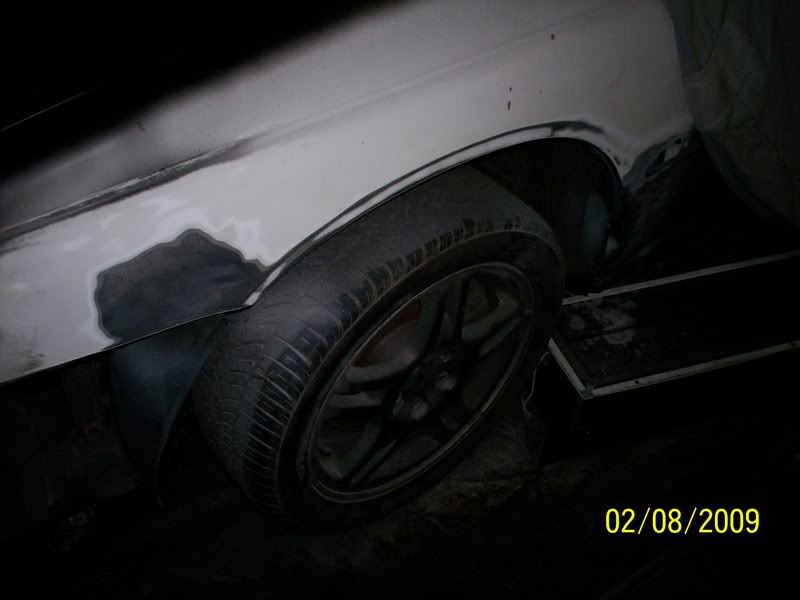
pass side dent repairs
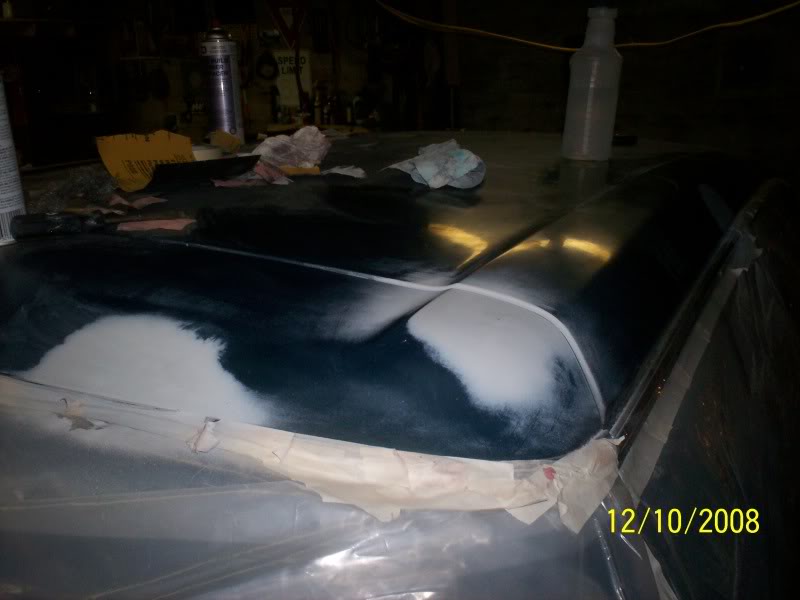
roof repairs...
Tomoro will be colder...Not sure if I have enough time to warm the garage up and start painting. I leave for Snowboarding in Colorado
I cut the hole for the scoop, measured, outlined, gooped her up and mounted it ! The goop I bought came with a special gun...holly **** is that stuff SOLID when dry. I got a couple drips on my hood, and I could NOT ****ing get it off the hood. even with 60 grit on the ****ing DA !
I'm back inside taking a Beer beak. I've only got like 1 more coat of spot puddy. Then I can sand her down, and primer up the quarter.
The epoxy primer says surface metal temperature HAS to be an absolute minimum of 70 dregees to spray... I've had the heater BLOWING hard all day, so I'll cross my fingers...it still feels kinda cold to the touch
EDIT: Just got back inside its 12:00, and I've been working since 9 this morning. NON STOP.
I snapped some pics.
hoodscoop mounted
The goop I used takes 4 hours to dry. unfortunatly I didn't use enough on the first try the car is now sitting waiting for the goop to dry so I can sand and then start painting !car all taped
quarter pannel almost done...
pass side dent repairs
roof repairs...
Tomoro will be colder...Not sure if I have enough time to warm the garage up and start painting. I leave for Snowboarding in Colorado
Thread Starter
Registered User
Joined: Oct 2006
Posts: 12
From: Winchester MA
Car Info: 98 2.5rs
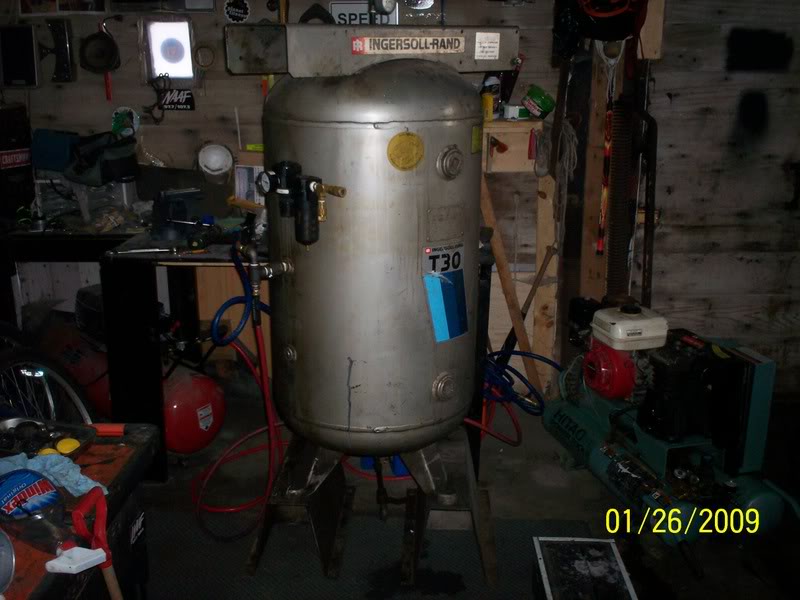
heres the semi final settup for now. I'm getting more than 15 cfm and 103 gallons
I just found out my borrowed air gun is CLOGGED like a ****... any ideas ?? I have soaked it in laquor thinner...sprayed it out with brake cleaner...nothing...there is no airflow from the side nipple thingies. It looks like I"m going to have to replace it
I also ordered an astro evo 1.4mm gun. If it gets here by friday I'll be all ready to spray ! I need the damn car DONE cuz my inspection runs out this month on the impreza !
Thread Starter
Registered User
Joined: Oct 2006
Posts: 12
From: Winchester MA
Car Info: 98 2.5rs
Got my New Astro Evo Paint gun today !! 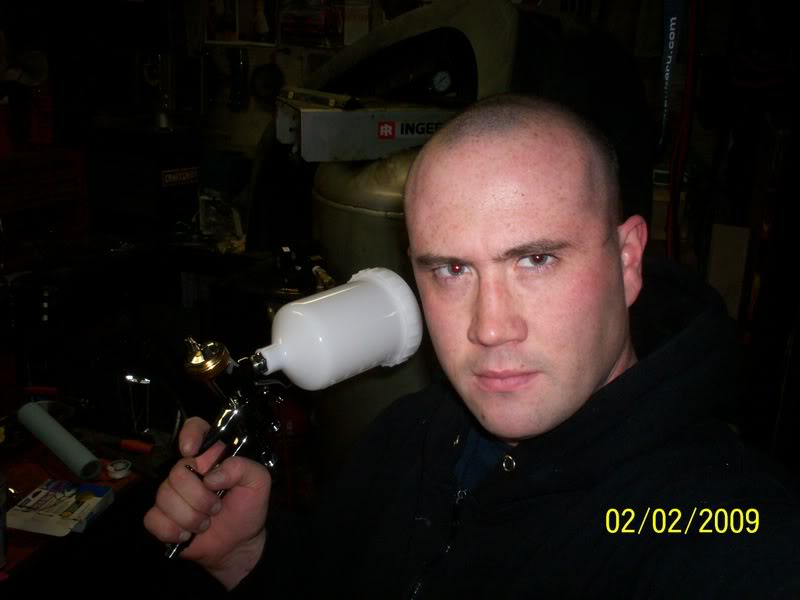
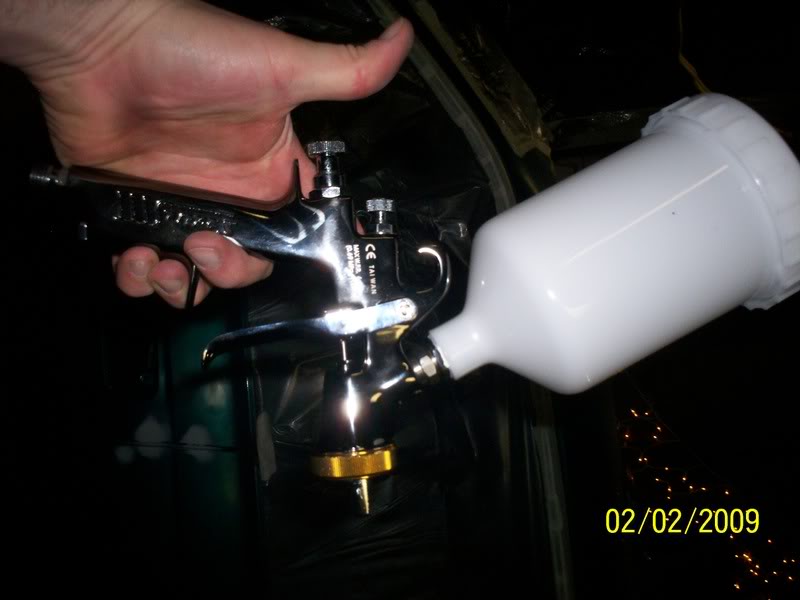
It shoots like MAGIC ! its ****ing sweeeeeeeeeeeeet.
did a little bondo and finished primering EVERYTHING on the car... tomoro I SAND the CRAP out of everything and then get to work on my bumpers
It shoots like MAGIC ! its ****ing sweeeeeeeeeeeeet.
did a little bondo and finished primering EVERYTHING on the car... tomoro I SAND the CRAP out of everything and then get to work on my bumpers
Thread Starter
Registered User
Joined: Oct 2006
Posts: 12
From: Winchester MA
Car Info: 98 2.5rs

today I had alot of setbacks. I found out the recommended pressure on my gun is only 16-18psi, I had been running it @ 30...which would explain all the speckles of primer everywhere. I had to 220 DA my entire hood to get rid of specles. While I was at it, i sanded down the lip on the scoop to as smooth as I could.

I then started spraying adhesion promoter on the scoop in order to get ready to primer it... well that **** ****ing lifted ALL the primer off where I sprayed it. so I lacquer thinner/sanded it all off. and tried again ! ...it ****ing STILL lifted even MORE primer that I thought I got rid of...(primer is the EXACT same color as the black plastic of the scoop) Well finally I was able to remove 99% of the primer, and use 2 LIGHT coats of adhesion promoter. I then sprayed my epoxy primer and there she is. It still has 2 TINY little places that spider webbed due to the ****ING adhesion promotor... that bulldog **** is a super HOT mix, is dries in NO time.
I primed my front bumpers
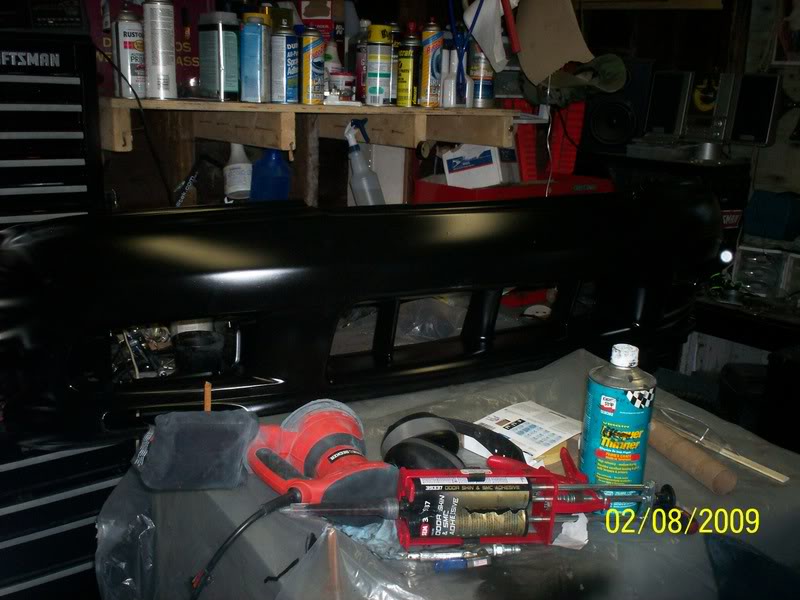
filled all the gouges on my rear bumper
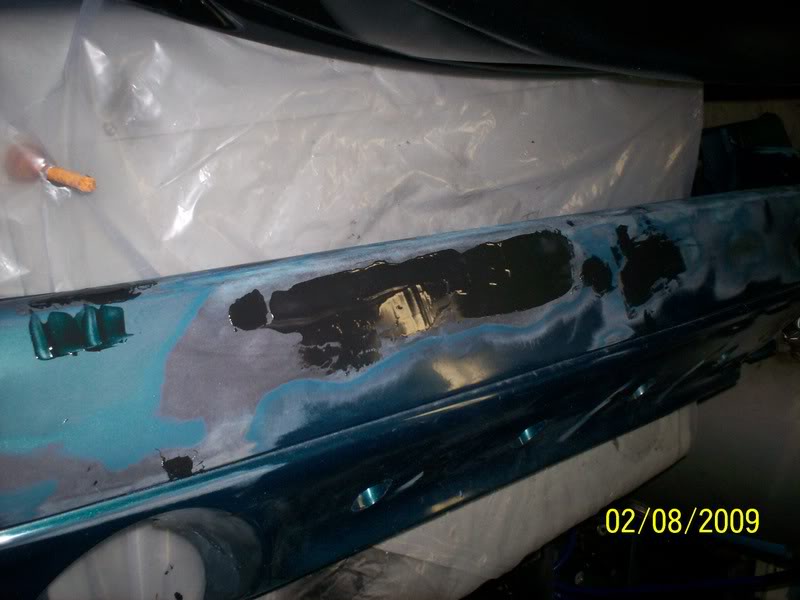
sanded off all that old primer and bondo on my fender...(I have since applied more)
Got the 1/4 panel 98% smooth as glass, and about as straight as a kickstand.
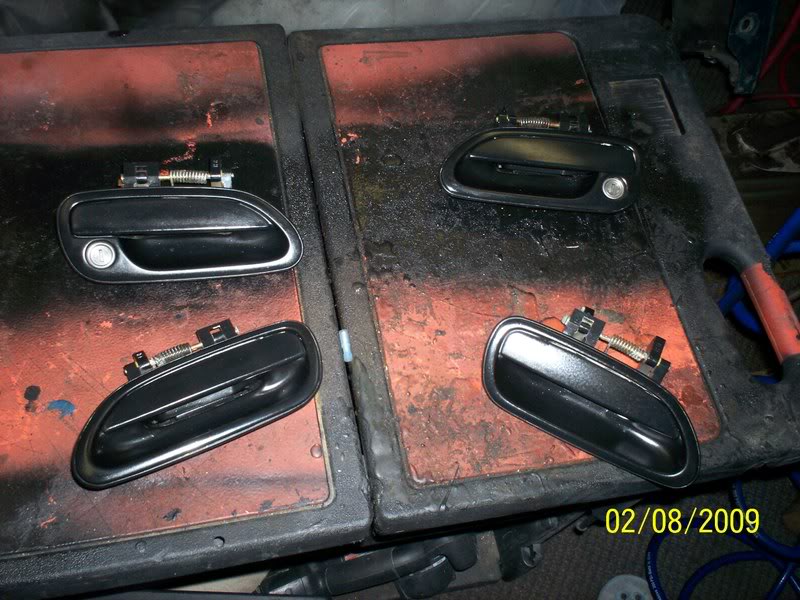
I also managed to prime my door handles
tomorrow I sand and touch up all the primer on my hood, this is the LAST time I ****ing prime that *****. Next I will DA smooth all the bumps in my rear bumper, then block with 320. Then prime. If I don't have any epoxy primer left, I'm going to have to use PPG 2k surfacer... o well.
I'm going to try to FINISH blocking flat ALL my dent repairs on the body, and try to get the car ready to shoot on Wednesday.
It's QQ thankyouverymuch
iTrader: (39)
Joined: May 2007
Posts: 19,721
From: San Jose
Car Info: 2011 SWP WRX Hatch
Damn... Nice work so far. The scoop looks clean and I really like the Outback Fender. HAWT!
What's the final color going to be? Or is that a surprise?
What's the final color going to be? Or is that a surprise?

Thread
Thread Starter
Forum
Replies
Last Post