
DIY Spare Tire Subwoofer Box (Retains Spare Tire in its Stock Location!!)

Thread Starter
Registered User
iTrader: (14)
Joined: Jan 2007
Posts: 303
From: East Bay, CA
Car Info: 02 MBP wagon
DIY Spare Tire Subwoofer Box (Retains Spare Tire in its Stock Location!!)
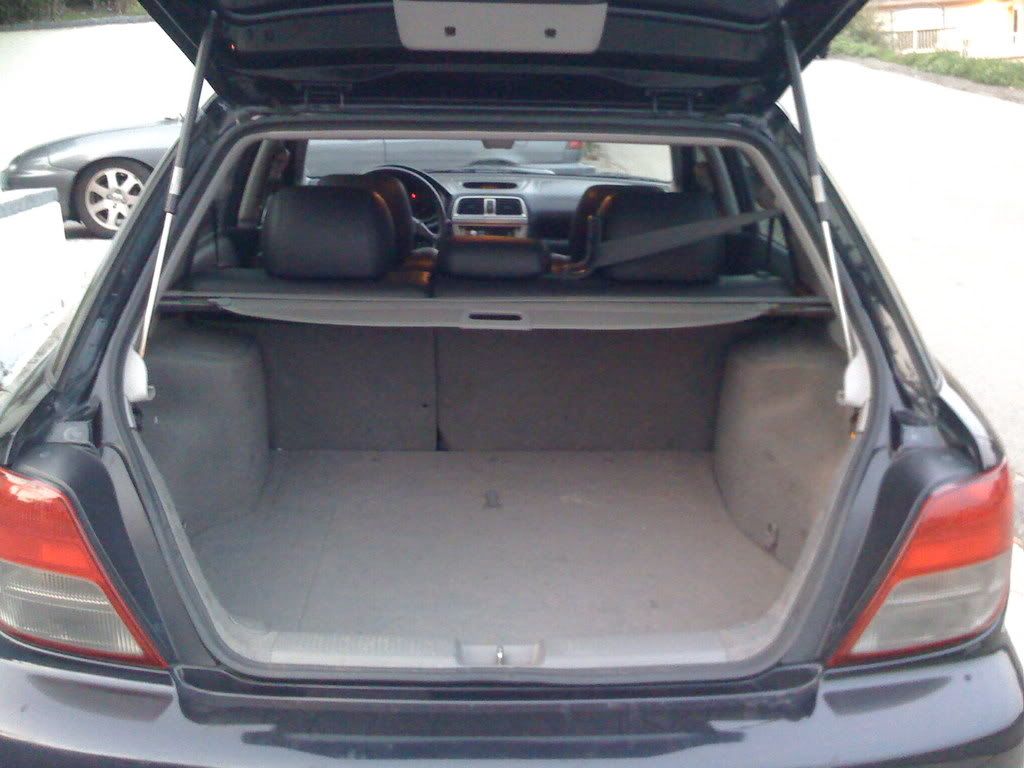
I wanted a 10" sub in my wagons hatch, but I wanted it below the hatch cover, in the spare tire well. Here's the catch: I wanted to keep my spare tire in it's place.. I was quoted from 2 different custom fiberglassing shops at $650 and $700 for a sub box.. No thanks..
My goal with this 'ongoing project' was to fabricate a subwoofer box I could conceal in the spare tire area AND to keep the spare tire. Many people have been skeptical of this feat since there's hardly any room in there. It took me a while to figure out the necessary dimensions of the box to make it fit and to have ample air volume inside the box.
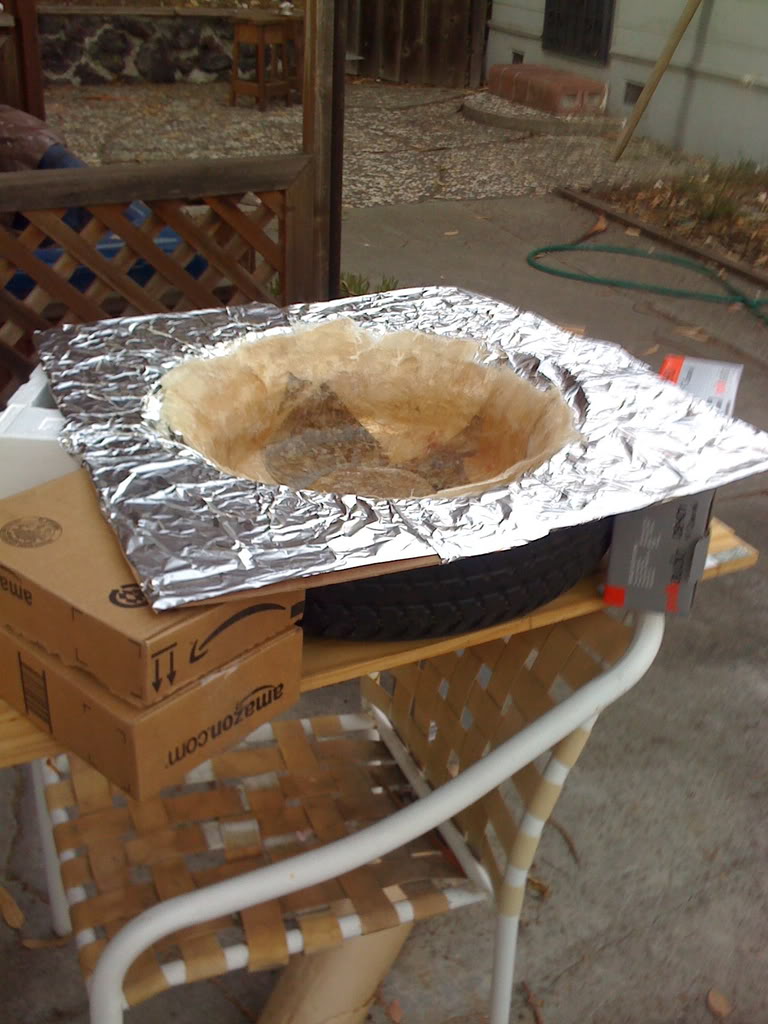
I used the actual spare tire as a sort of mold for the base of the box. I lined the inside of the spare tire with duct tape and created a cardboard 'flange' that i would cover with foil. Then I started fiberglassing with glass mat and resin from Tap Plastics (very helpful ppl). This was also my first fiberglassing job..
Take a look and lemme know what you think
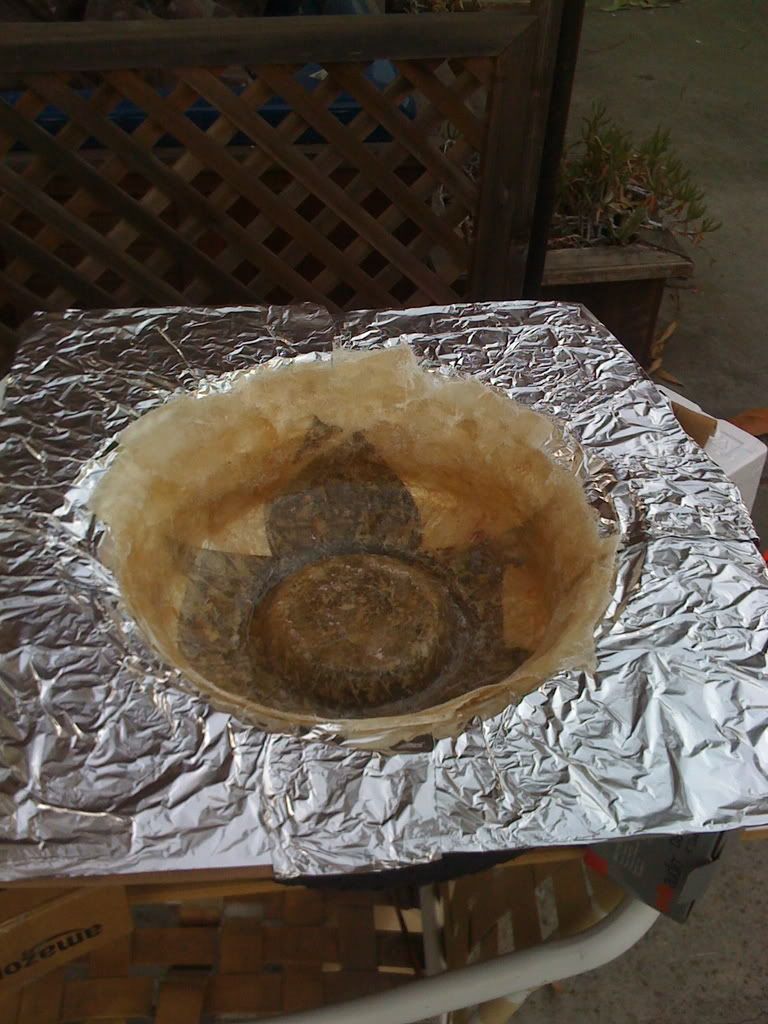
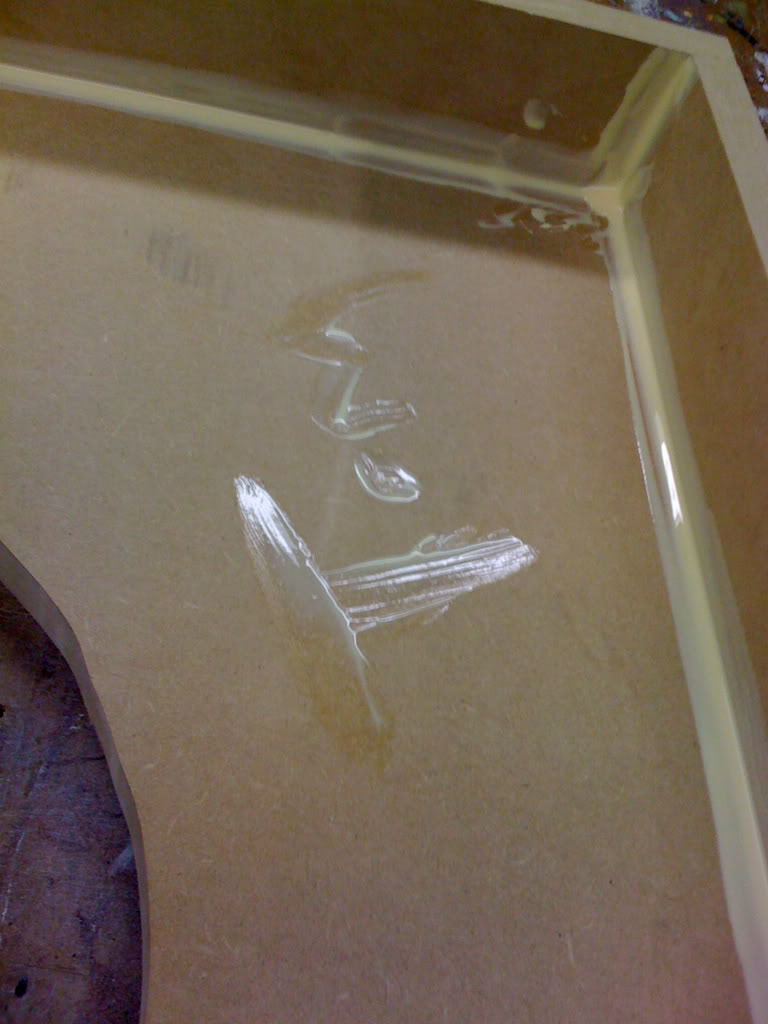
I fiberglassed all the way out to the edge of the foil. (sorry no pics) The overall thickness of the fiberglass was about 1/4" after 3-4 layers. The cross-fibered glass mat created an extremely stiff and rigid enclosure.
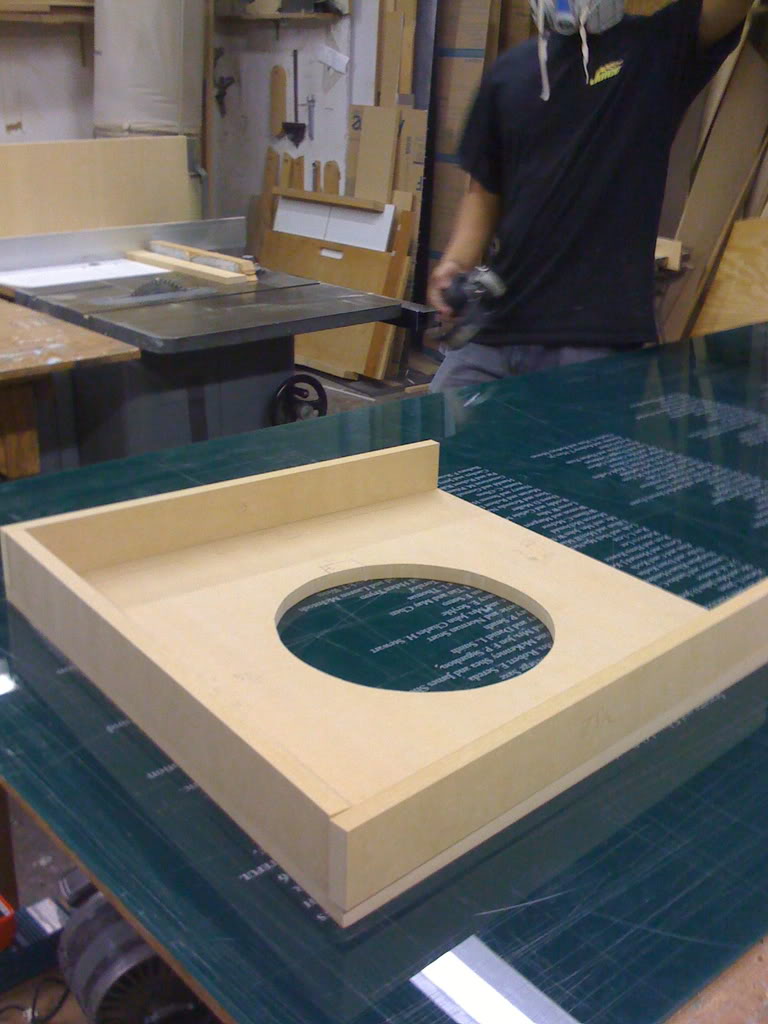
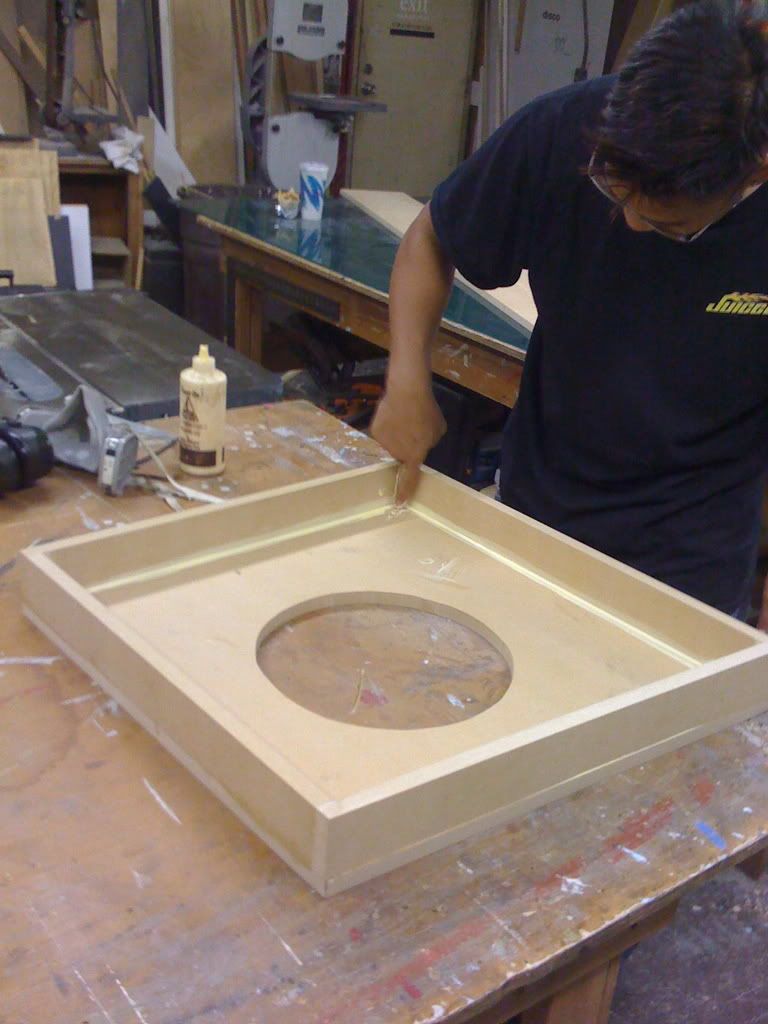
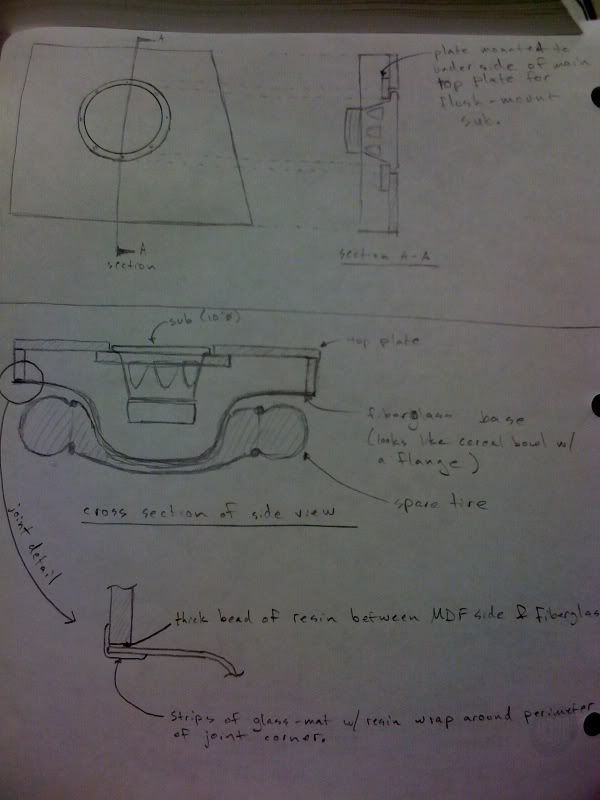
The next step was to create the top part of the box which would be constructed from 3/4" MDF. My friend took my dimensions and cut perfect pieces that we nailed and glued together. (Spank you, Tomasita, spank you very much)
Once the top was finished I began fiberglassing it to the base. The resin bonded extremely well to the MDF and created an airtight seal. (sorry no pics). I dropped in the sub (my old school 10" solo baric) and placed it in my hatch with the spare tire for a test fit.
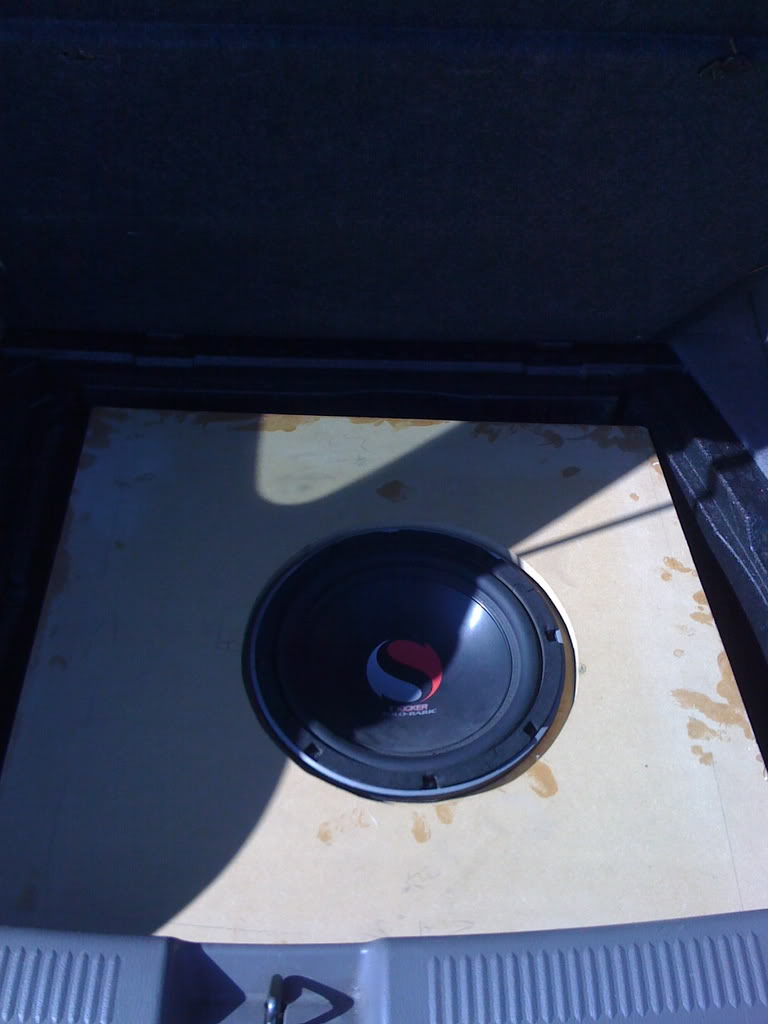
It fit perfectly. Very snug, and the hatch cover closed fine. The spare tire is below the box.
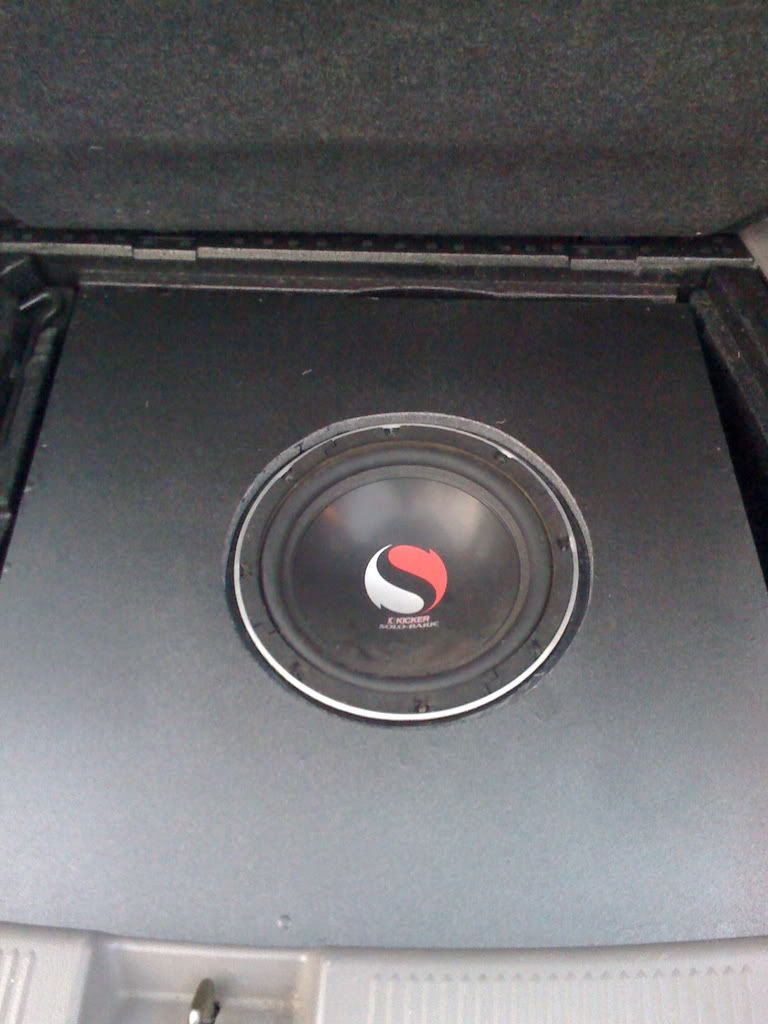
Once the entire assembly was finished, I drilled a couple small holes for a wiring terminal to the sub and painted it using one Krylon's textured paints. Here's the final product: a sealed Fiberglass/ MDF hybrid sub box that fits in the spare tire and below the hatch cover!
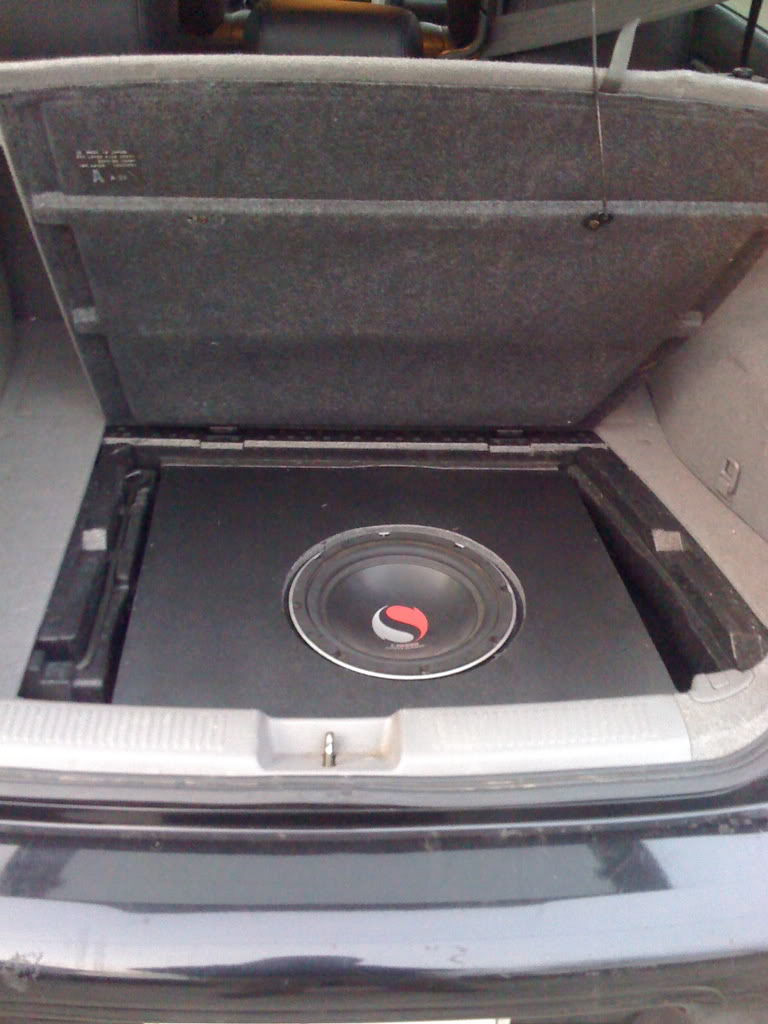
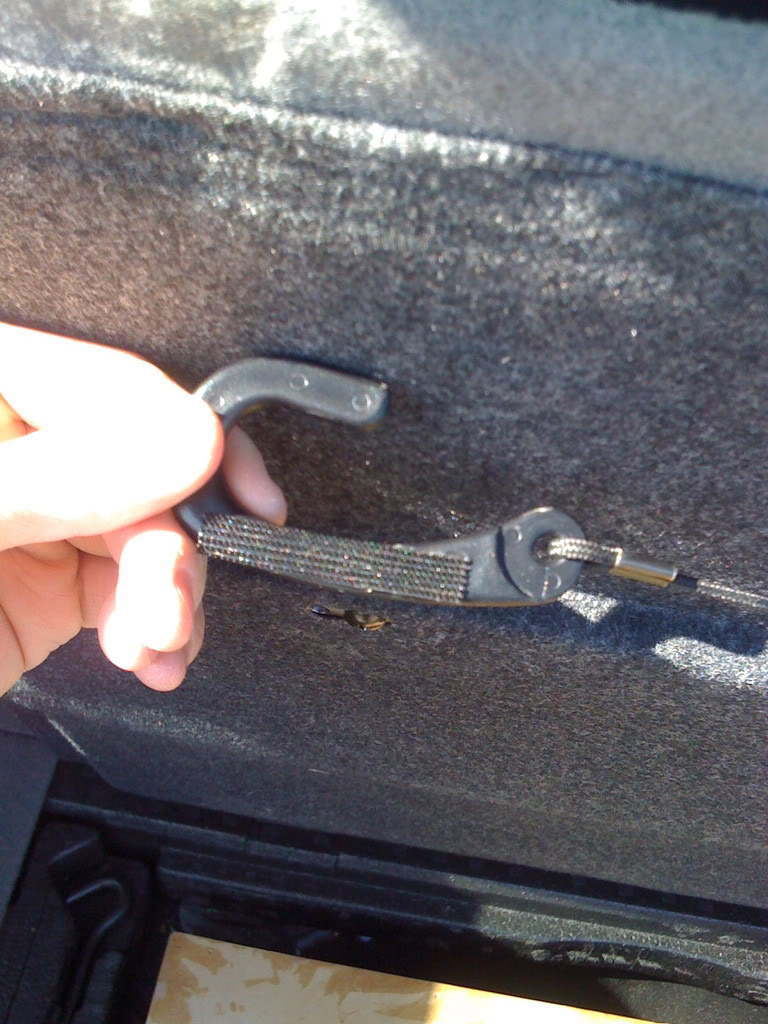
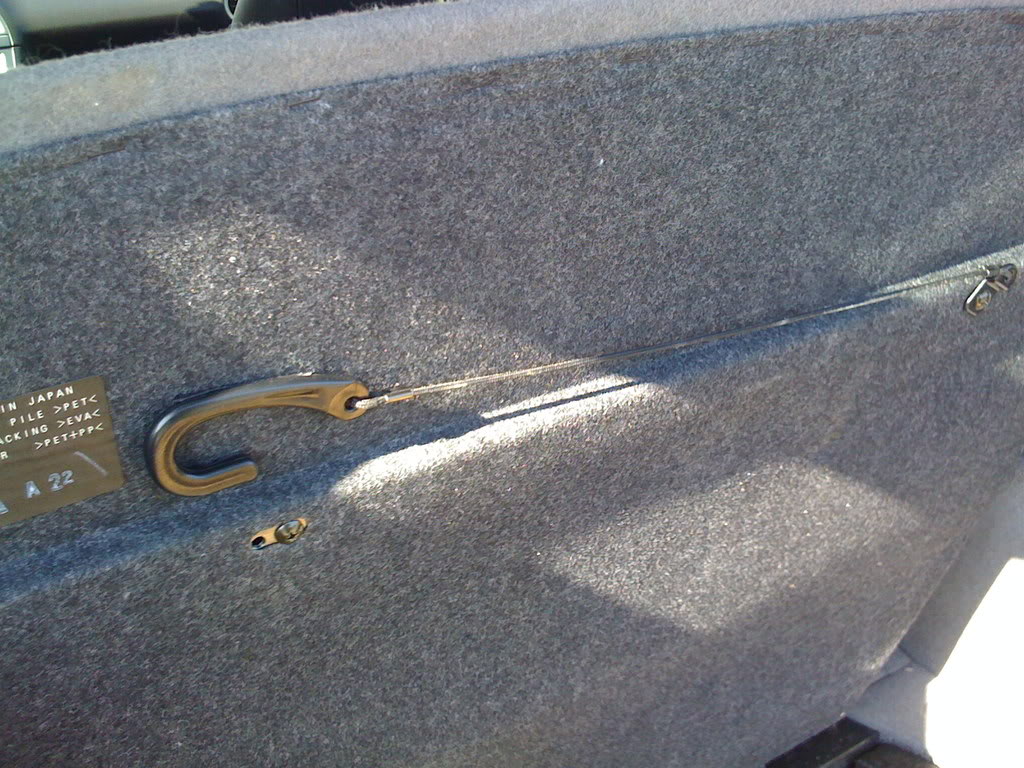
I used some velcro to stick the latch hook to the underside of the hatch cover so it wouldn't rattle around.
Now I have all my space, a 10" sub (amp wired under passenger seat), AND my spare tire in its original location. All for some time and the cost of some fiberglass mat and resin (<$100).
It sounds great and there's almost a full cubic feet of air space in the sub box.
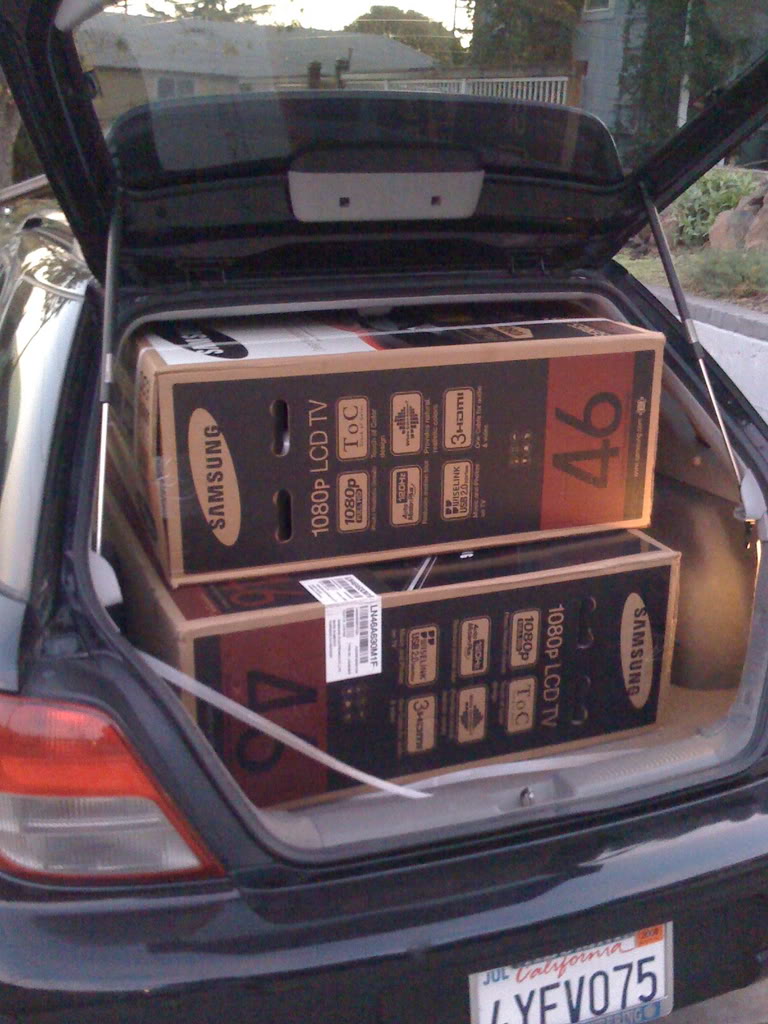
It's so nice to have great bass AND plenty of hauling space. (mine and my roommate's tvs!)

My goal with this 'ongoing project' was to fabricate a subwoofer box I could conceal in the spare tire area AND to keep the spare tire. Many people have been skeptical of this feat since there's hardly any room in there. It took me a while to figure out the necessary dimensions of the box to make it fit and to have ample air volume inside the box.
I used the actual spare tire as a sort of mold for the base of the box. I lined the inside of the spare tire with duct tape and created a cardboard 'flange' that i would cover with foil. Then I started fiberglassing with glass mat and resin from Tap Plastics (very helpful ppl). This was also my first fiberglassing job..
Take a look and lemme know what you think
I fiberglassed all the way out to the edge of the foil. (sorry no pics) The overall thickness of the fiberglass was about 1/4" after 3-4 layers. The cross-fibered glass mat created an extremely stiff and rigid enclosure.
The next step was to create the top part of the box which would be constructed from 3/4" MDF. My friend took my dimensions and cut perfect pieces that we nailed and glued together. (Spank you, Tomasita, spank you very much)
Once the top was finished I began fiberglassing it to the base. The resin bonded extremely well to the MDF and created an airtight seal. (sorry no pics). I dropped in the sub (my old school 10" solo baric) and placed it in my hatch with the spare tire for a test fit.
It fit perfectly. Very snug, and the hatch cover closed fine. The spare tire is below the box.
Once the entire assembly was finished, I drilled a couple small holes for a wiring terminal to the sub and painted it using one Krylon's textured paints. Here's the final product: a sealed Fiberglass/ MDF hybrid sub box that fits in the spare tire and below the hatch cover!
I used some velcro to stick the latch hook to the underside of the hatch cover so it wouldn't rattle around.
Now I have all my space, a 10" sub (amp wired under passenger seat), AND my spare tire in its original location. All for some time and the cost of some fiberglass mat and resin (<$100).
It sounds great and there's almost a full cubic feet of air space in the sub box.
It's so nice to have great bass AND plenty of hauling space. (mine and my roommate's tvs!)
Last edited by nolan; Feb 4, 2009 at 07:19 PM.
Registered User
iTrader: (4)
Joined: Aug 2008
Posts: 2,127
From: Livermore
Car Info: LUMPY CGM 05 WRX
Thats awesome great job. How did you attach the fiberglass to the MDF? I dont see any screw holes in the top for it. Also how did you seal the MDF and the Glass?
Thread Starter
Registered User
iTrader: (14)
Joined: Jan 2007
Posts: 303
From: East Bay, CA
Car Info: 02 MBP wagon

Thread Starter
Registered User
iTrader: (14)
Joined: Jan 2007
Posts: 303
From: East Bay, CA
Car Info: 02 MBP wagon
Thread Starter
Registered User
iTrader: (14)
Joined: Jan 2007
Posts: 303
From: East Bay, CA
Car Info: 02 MBP wagon