
Chicken's Crosstrek

Thread Starter
Churro Aficionado
iTrader: (38)
Joined: Feb 2008
Posts: 54,661
From: IG - @thomas.teammoist
Car Info: IG - @TEAMMOISTOFFICIAL
Some behind the scenes shots with Blake while we filmed the mudflap video.


These next couple pics show about how much we had to trim off the front two flaps, and then used a heat gun to flex it out away from the tire.


These next couple pics show about how much we had to trim off the front two flaps, and then used a heat gun to flex it out away from the tire.
Thread Starter
Churro Aficionado
iTrader: (38)
Joined: Feb 2008
Posts: 54,661
From: IG - @thomas.teammoist
Car Info: IG - @TEAMMOISTOFFICIAL
How they turned out after we were done with them. They do still rub a tad, but much much better than they would have been. Im not worried about them getting ripped out now.
Front passenger


The rears did not have any issues at all, simple install.

Front and rear

Front passenger
The rears did not have any issues at all, simple install.
Front and rear
Thread Starter
Churro Aficionado
iTrader: (38)
Joined: Feb 2008
Posts: 54,661
From: IG - @thomas.teammoist
Car Info: IG - @TEAMMOISTOFFICIAL
Drivers front

You can see how they are still rubbing. But with that much material removed, and folded out of the way, it is much less than it would have been.

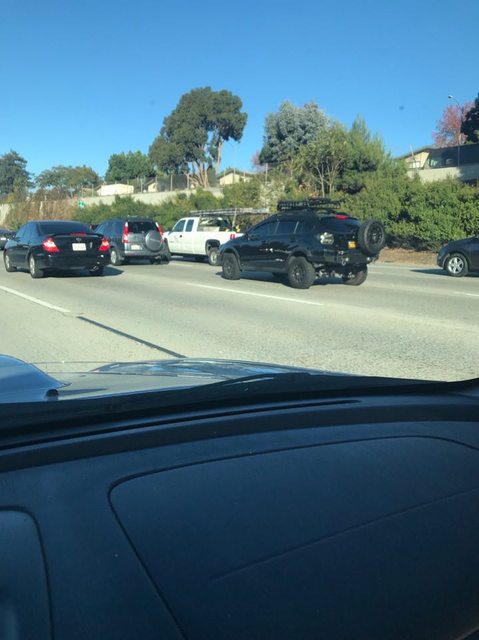
After the install, we headed out to a levy road for some pics and drone footage


You can see how they are still rubbing. But with that much material removed, and folded out of the way, it is much less than it would have been.
After the install, we headed out to a levy road for some pics and drone footage


Thread Starter
Churro Aficionado
iTrader: (38)
Joined: Feb 2008
Posts: 54,661
From: IG - @thomas.teammoist
Car Info: IG - @TEAMMOISTOFFICIAL
Putting these pics in to just keep them in order. I will probably make a separate DIY thread on doing this too.
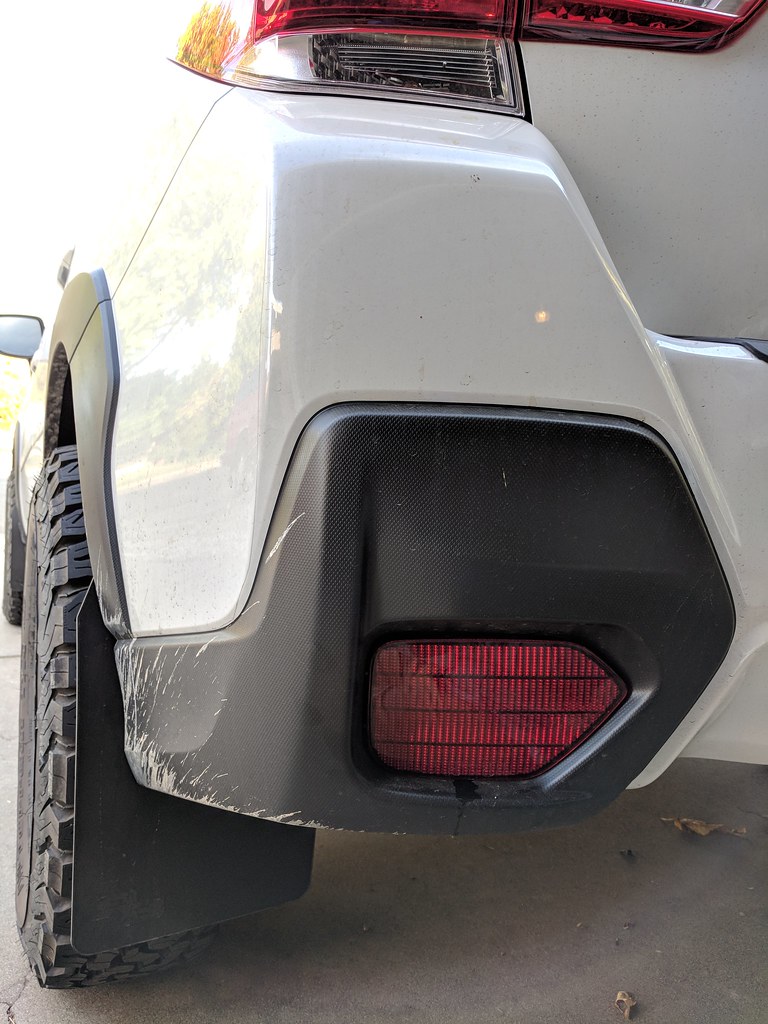
Ive been wanting to turn the rear bumper reflectors into working lights (not fog lights) for off road/in the middle of no where. My original idea was to put in a 2x2 LED square pod in there, then I found these KC lights for a great price. Figured Id give these a shot, and if I dont like it, I can switch it up to the pod later on.
So here is the rear reflector im talking about
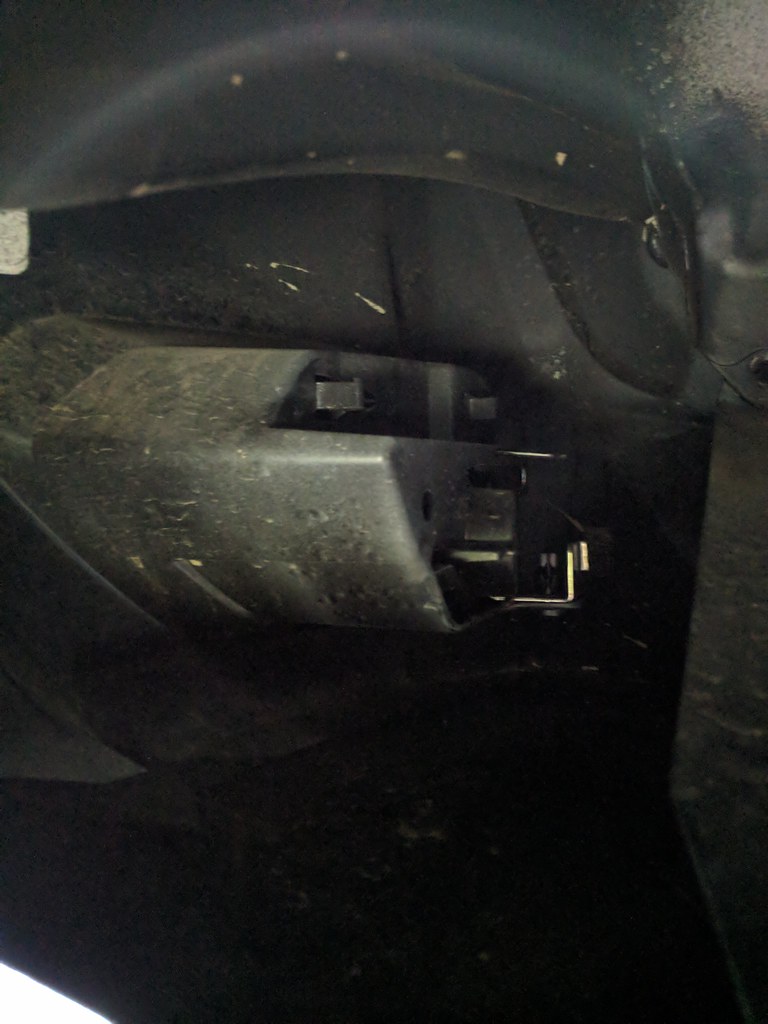
This is what it looks like behind the bumper from under the car. There is 1 single plastic rivet that holds it in, along with a couple clips on the top.
With it removed, you can see the two clips on the top, and the plastic rivet on the bottom corner.

Testing the light to make sure it works.

Ive been wanting to turn the rear bumper reflectors into working lights (not fog lights) for off road/in the middle of no where. My original idea was to put in a 2x2 LED square pod in there, then I found these KC lights for a great price. Figured Id give these a shot, and if I dont like it, I can switch it up to the pod later on.
So here is the rear reflector im talking about
This is what it looks like behind the bumper from under the car. There is 1 single plastic rivet that holds it in, along with a couple clips on the top.
With it removed, you can see the two clips on the top, and the plastic rivet on the bottom corner.
Testing the light to make sure it works.
Thread Starter
Churro Aficionado
iTrader: (38)
Joined: Feb 2008
Posts: 54,661
From: IG - @thomas.teammoist
Car Info: IG - @TEAMMOISTOFFICIAL
Then I tested at night to see the real output. This was a single light, im planning on 1 in each rear reflector.


Unfortunately there is no easy/non-intrusive way of getting inside the housing. At first I tried using a heat gun to heat the sides up and used a small flat head screwdriver and razor blade to try and pry the red reflector out of the black plastic housing, no luck. I thought about removing some of the back of the housing, but I do want to try and keep these water tight as they are from factory. So I figured my best option was to use a small cutoff wheel on my dremel all the way around the edge. When im ready to put it back together, Ill use a small bead of clear silicone on the inside, a small bead of jb-weld (or similar) around the hold the two pieces together followed by maybe another line of clear silicone.
At least those edges will not be seen once everything is back in the car... so that's my hope anyways lol.

Had to remove some of the "shelf" inside the housing for the LED to sit in.

Thats as far as I got last night. Will probably continue on it tonight after work.
Unfortunately there is no easy/non-intrusive way of getting inside the housing. At first I tried using a heat gun to heat the sides up and used a small flat head screwdriver and razor blade to try and pry the red reflector out of the black plastic housing, no luck. I thought about removing some of the back of the housing, but I do want to try and keep these water tight as they are from factory. So I figured my best option was to use a small cutoff wheel on my dremel all the way around the edge. When im ready to put it back together, Ill use a small bead of clear silicone on the inside, a small bead of jb-weld (or similar) around the hold the two pieces together followed by maybe another line of clear silicone.
At least those edges will not be seen once everything is back in the car... so that's my hope anyways lol.
Had to remove some of the "shelf" inside the housing for the LED to sit in.
Thats as far as I got last night. Will probably continue on it tonight after work.
Thread Starter
Churro Aficionado
iTrader: (38)
Joined: Feb 2008
Posts: 54,661
From: IG - @thomas.teammoist
Car Info: IG - @TEAMMOISTOFFICIAL

Thread Starter
Churro Aficionado
iTrader: (38)
Joined: Feb 2008
Posts: 54,661
From: IG - @thomas.teammoist
Car Info: IG - @TEAMMOISTOFFICIAL
Did a ton of work around the cars yesterday.
Recently picked up the Yakima Loadwarrior extension, so I put that together. Then I adjusted the crossbars on my Fiance's car and got the basket situated.
I also switched over to the Yak round bars instead of the factory crossbars. So I threw those on and adjusted them to fit with the basket. Man that thing is huge now, I couldnt even imagine the megawarrior basket. I also mounted a small Yak fairing below the basket on the round bars (turned it around so its all black, before the sticker monster appears). I doubt its going to help with drag at all (especially since the LED is in front/above --- and the snowboard rack on top lol) but I think it looks good and will stay on even without the basket.
I finally was able to run the wiring to the LED bar on the basket to my switches, so now both cars are fitted with weatherpack connectors.
So figures, Im mid way through the basket install/test fit and it started to rain... always bringing the moisture


Also did a lot of work on the rear reflector light project.... im basically done. I let the silicone dry over night and today I just have to throw them back in (takes about 37 seconds each..) and wire them up. This is just a quick pic of the finished product before really wiping it down and getting all the schmuck off of it. I took LOTS of pics along the way, and will probably make a separate DIY thread on it just cuz.

Recently picked up the Yakima Loadwarrior extension, so I put that together. Then I adjusted the crossbars on my Fiance's car and got the basket situated.
I also switched over to the Yak round bars instead of the factory crossbars. So I threw those on and adjusted them to fit with the basket. Man that thing is huge now, I couldnt even imagine the megawarrior basket. I also mounted a small Yak fairing below the basket on the round bars (turned it around so its all black, before the sticker monster appears). I doubt its going to help with drag at all (especially since the LED is in front/above --- and the snowboard rack on top lol) but I think it looks good and will stay on even without the basket.
I finally was able to run the wiring to the LED bar on the basket to my switches, so now both cars are fitted with weatherpack connectors.
So figures, Im mid way through the basket install/test fit and it started to rain... always bringing the moisture
Also did a lot of work on the rear reflector light project.... im basically done. I let the silicone dry over night and today I just have to throw them back in (takes about 37 seconds each..) and wire them up. This is just a quick pic of the finished product before really wiping it down and getting all the schmuck off of it. I took LOTS of pics along the way, and will probably make a separate DIY thread on it just cuz.