
Oil Cooler Set Ups


Thread Starter
Nobody likes the tuna here
iTrader: (51)
Joined: Feb 2010
Posts: 19,779
From: Somewhere San Mateo County, Inside A 911 Ambulance
Car Info: 03 SRP WRX Street Class Prepped, 17 Chevy Duramax

Registered User
iTrader: (3)
Joined: Jan 2012
Posts: 608
From: Dublin, CA
Car Info: STI Hatch - 2012
The installation instruction vids are pretty good too, will be buying one next couple of months..
Last edited by Funks; Mar 16, 2014 at 04:11 PM.
Thread Starter
Nobody likes the tuna here
iTrader: (51)
Joined: Feb 2010
Posts: 19,779
From: Somewhere San Mateo County, Inside A 911 Ambulance
Car Info: 03 SRP WRX Street Class Prepped, 17 Chevy Duramax

I pretty much did the same thing! Went with 200F thermostat as I have a built motor. Most of the kits are coming with 160F+ or 180F thermostats that are too low if you use something like 20w50 oil.
But even with 200F thermostat it takes time to warm up as there is some flow through it all the time. It's not an ON/OFF switch and just gets fully open at 200F. Ideally you want to cut the air flow through it when car is not on track.
I can try to find my list of parts and prices (used 13 row Setrab, 200F Mocal plate and etc.).
Registered User
iTrader: (8)
Joined: Sep 2010
Posts: 326
From: San Francisco, CA
Car Info: 2011 WRX Sedan

Last edited by sigma pi; Mar 17, 2014 at 01:49 PM.
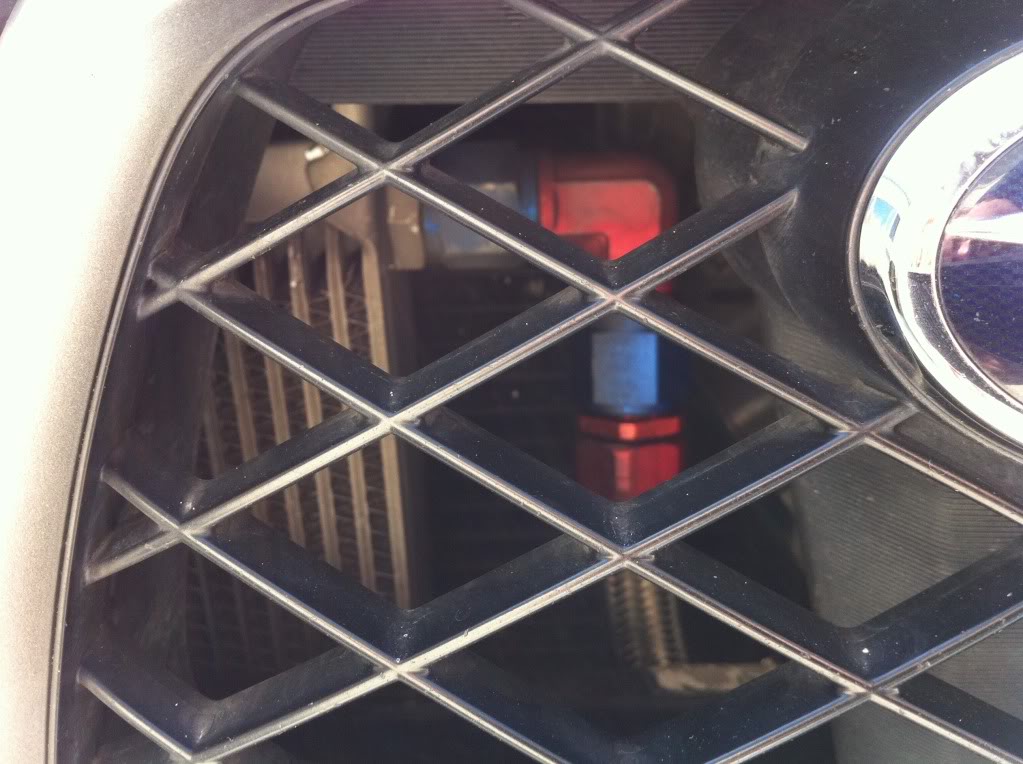
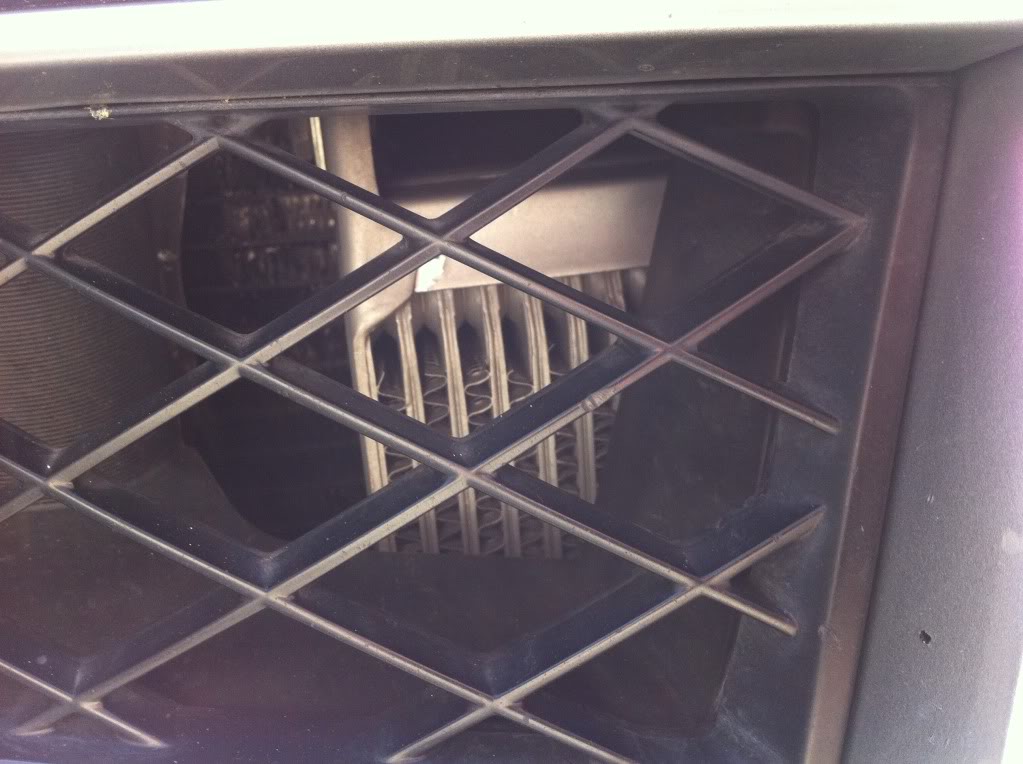
I am running an Oil cooler. very large MOCal cooler (runs from the top support to the bottom support, if i can remember correctly im using a greeddy sandwich adapter with thermostat, steel braided lines, each in their own pyro shield. The cooler is mounted behind the grill on the passenger side of the hood latch. I have photos of it in my garage section. One thing to watch for is how the lines are ran and once run you will most likely need to trim/notch the back of your bumper so that it can fit correctly. the lines tend to run along where part of the bumper slides into place thus pushing on the bumper and giving it the look like it wants to pop off on the side. I can show you in person what im talking about.
Last edited by SkizzDawg; Mar 17, 2014 at 02:02 PM.
Thread Starter
Nobody likes the tuna here
iTrader: (51)
Joined: Feb 2010
Posts: 19,779
From: Somewhere San Mateo County, Inside A 911 Ambulance
Car Info: 03 SRP WRX Street Class Prepped, 17 Chevy Duramax
I am running an Oil cooler. very large MOCal cooler (runs from the top support to the bottom support, if i can remember correctly im using a greeddy sandwich adapter with thermostat, steel braided lines, each in their own pyro shield. The cooler is mounted behind the grill on the passenger side of the hood latch. I have photos of it in my garage section. One thing to watch for is how the lines are ran and once run you will most likely need to trim/notch the back of your bumper so that it can fit correctly. the lines tend to run along where part of the bumper slides into place thus pushing on the bumper and giving it the look like it wants to pop off on the side. I can show you in person what im talking about.
Thread Starter
Nobody likes the tuna here
iTrader: (51)
Joined: Feb 2010
Posts: 19,779
From: Somewhere San Mateo County, Inside A 911 Ambulance
Car Info: 03 SRP WRX Street Class Prepped, 17 Chevy Duramax
Just ordered a Process West set up off of nasioc for dirt cheap!
Thread Starter
Nobody likes the tuna here
iTrader: (51)
Joined: Feb 2010
Posts: 19,779
From: Somewhere San Mateo County, Inside A 911 Ambulance
Car Info: 03 SRP WRX Street Class Prepped, 17 Chevy Duramax