
DIY: Perrin Short Ram Intake


Thread Starter
Registered User
Joined: Aug 2007
Posts: 7
From: Portland, OR
Car Info: 2007 Garnet Red WRX TR
DIY: Perrin Short Ram Intake
This has to be one of the quickest, simplest and best performing mods that I�ve done in a very long time. I can honestly say that it took longer to de-badge the trunk then it took to install this intake!
Needed Tools
1) 8mm Socket
2) 10mm Socket
3) 12mm Socket
4) Small philips screw driver
5) Beer (1)
Removing the stock air intake
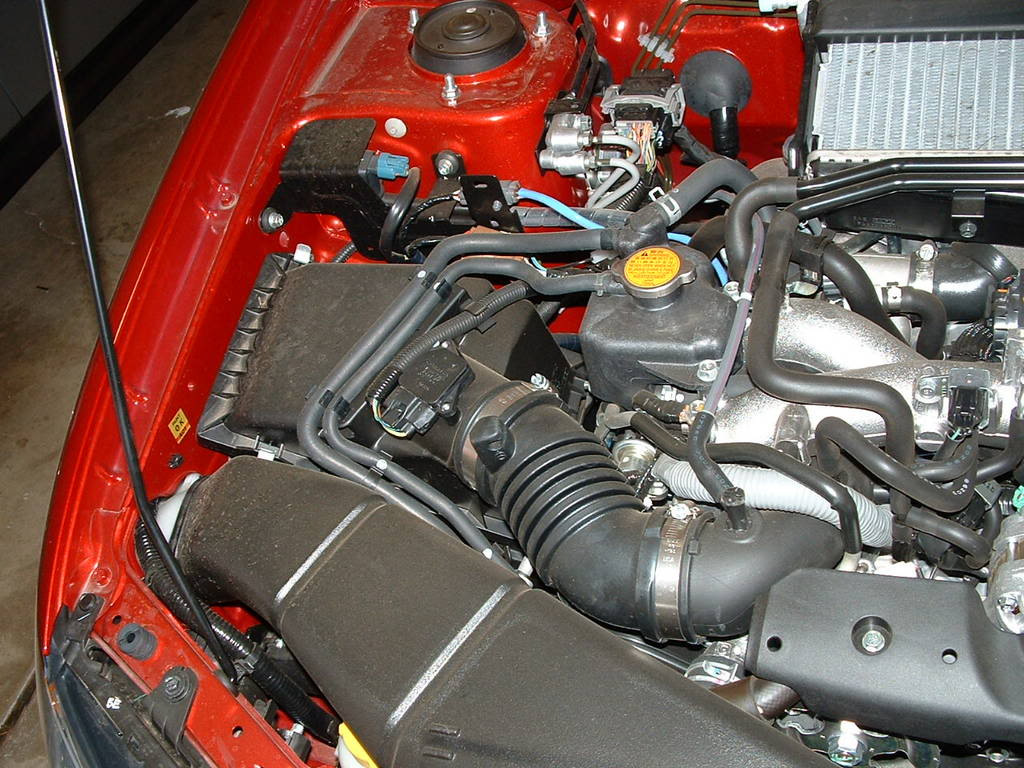
Step 1) Disconnect the battery! This is crucial to prevent damage to the MAF sensor
Step 1a) I removed the factory air inlet scoop this was done with the use of the 10mm socket
Step 2) I very carefully removed the mass airflow senor from the air box. I made sure to move the MAF out of harms way. I was told that this is an expensive part to replace and that you don not want to drop it.
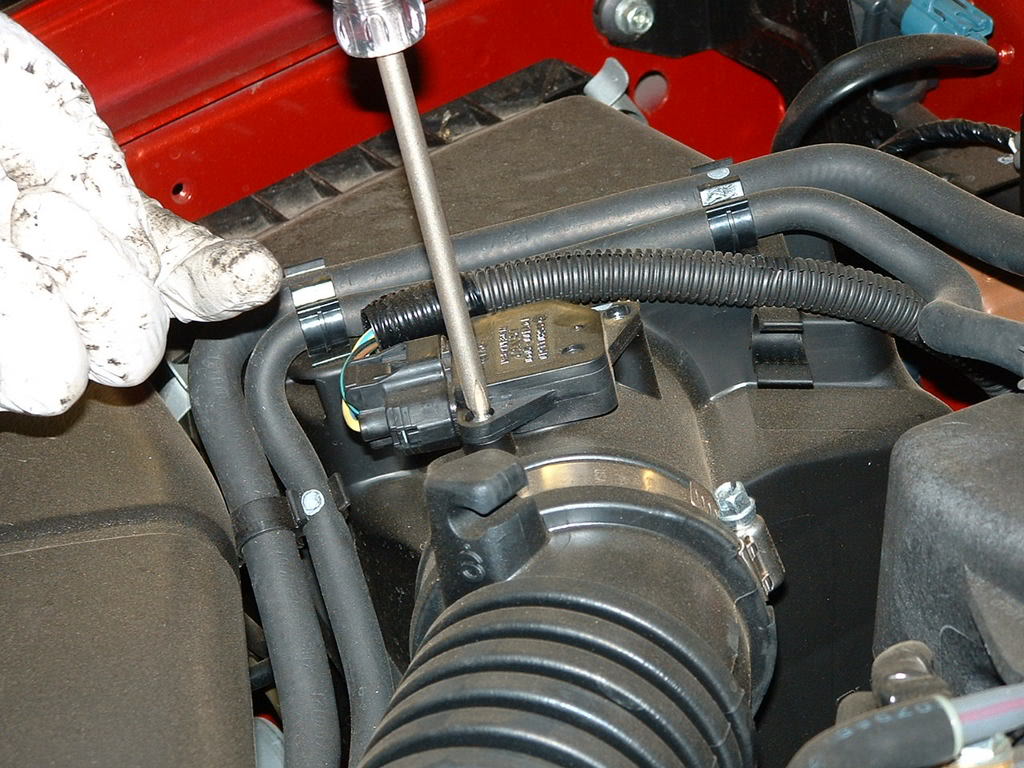
Step 3) With the MAF out of the way I focused my attention to the rubber hose connecting the air box to the turbo inlet hose.

Step 4) It now was time to remove the factory air box for this I used the 12mm socket. I also removed the top of the air box making a little more room for my fat hands.


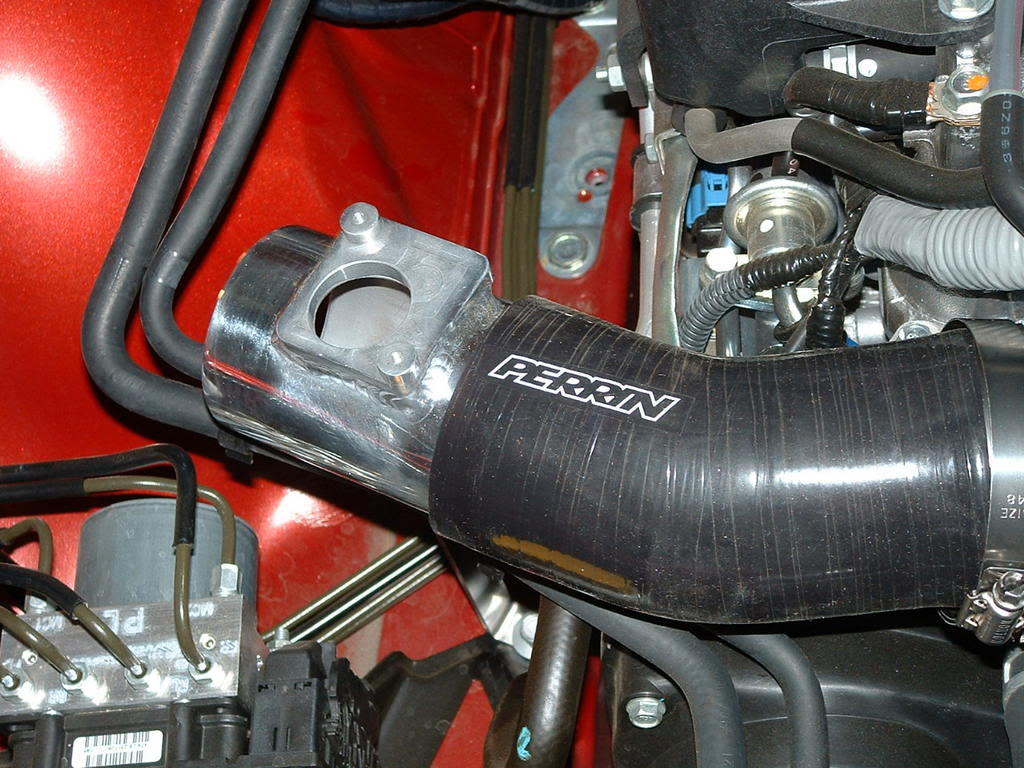
Step 5) With the air box and inlet scoop removed I was able to place the silicone tube over the turbo inlet hose. I used a small flat head screw driver to help ease the tube onto the inlet hose (this took maybe a minute if that). With the silicone tube in place I installed the two hose clamps from the kit loosely around the silicon tube.


Step 6) Included in the Short Ram Kit there was a nice bracket with the Perrin name etched into it. This bracket is installed into the lower air box bolt-hole closest to the front of the car. I used the stock 12mm hardware and my socket.

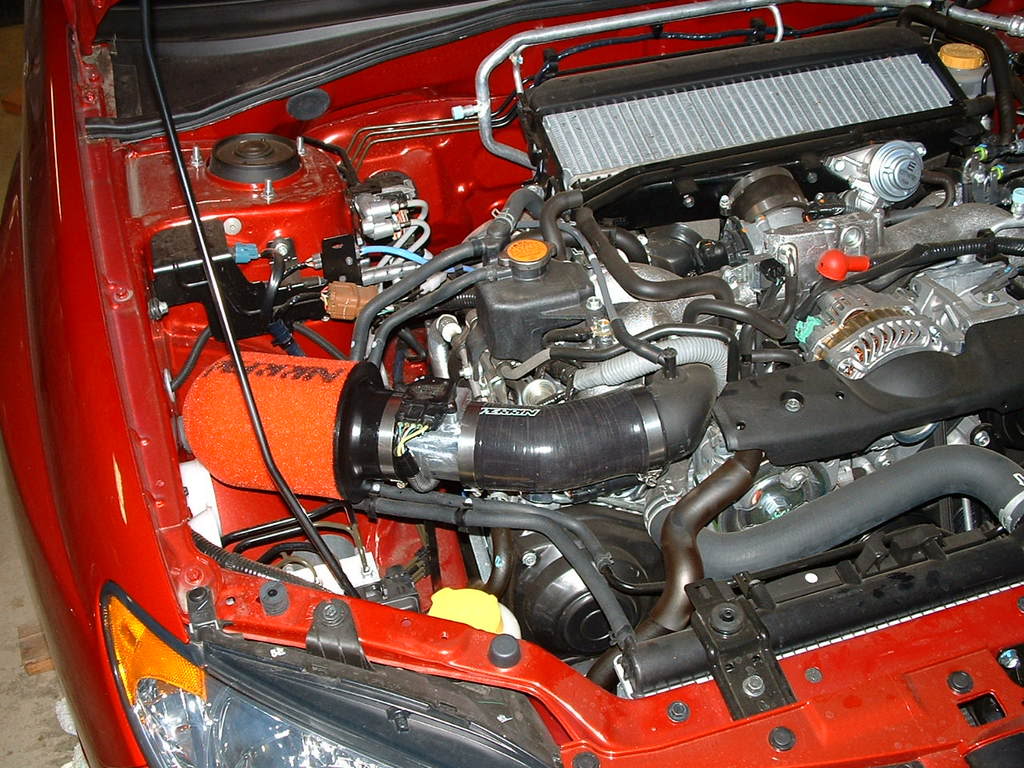
Step 7) With the silicone tube and bracket in place I place the MAF sensor into the MAF adapter tube with the factory screws. I then installed the MAF adapter tube into the silicone hose. Loosening the clamp from the Perrin filter I installed the filter to the MAF adapter. Once everything was in place and looking good I tightened the three hose clamps and called it a day.
All finished and ready to roll
Here is a quick picture of the useless stuff that will just take up space in the garage and give the wife just one more thing to complain about.

After taking a quick spin and listening to the new whoosh from under the hood I was very pleased with the outcome. It was now time to finish my beer that I had yet to take a sip of.
Thanks for reading and feel free to look at my PERRIN 22mm rear sway bar install.
https://www.i-club.com/forums/how-tos-installations-192/diy-perrin-22mm-rear-sway-bar-endlinks-drop-down-brackets-171838/
Needed Tools
1) 8mm Socket
2) 10mm Socket
3) 12mm Socket
4) Small philips screw driver
5) Beer (1)
Removing the stock air intake
Step 1) Disconnect the battery! This is crucial to prevent damage to the MAF sensor
Step 1a) I removed the factory air inlet scoop this was done with the use of the 10mm socket
Step 2) I very carefully removed the mass airflow senor from the air box. I made sure to move the MAF out of harms way. I was told that this is an expensive part to replace and that you don not want to drop it.
Step 3) With the MAF out of the way I focused my attention to the rubber hose connecting the air box to the turbo inlet hose.
Step 4) It now was time to remove the factory air box for this I used the 12mm socket. I also removed the top of the air box making a little more room for my fat hands.
Step 5) With the air box and inlet scoop removed I was able to place the silicone tube over the turbo inlet hose. I used a small flat head screw driver to help ease the tube onto the inlet hose (this took maybe a minute if that). With the silicone tube in place I installed the two hose clamps from the kit loosely around the silicon tube.
Step 6) Included in the Short Ram Kit there was a nice bracket with the Perrin name etched into it. This bracket is installed into the lower air box bolt-hole closest to the front of the car. I used the stock 12mm hardware and my socket.
Step 7) With the silicone tube and bracket in place I place the MAF sensor into the MAF adapter tube with the factory screws. I then installed the MAF adapter tube into the silicone hose. Loosening the clamp from the Perrin filter I installed the filter to the MAF adapter. Once everything was in place and looking good I tightened the three hose clamps and called it a day.
All finished and ready to roll
Here is a quick picture of the useless stuff that will just take up space in the garage and give the wife just one more thing to complain about.
After taking a quick spin and listening to the new whoosh from under the hood I was very pleased with the outcome. It was now time to finish my beer that I had yet to take a sip of.
Thanks for reading and feel free to look at my PERRIN 22mm rear sway bar install.
https://www.i-club.com/forums/how-tos-installations-192/diy-perrin-22mm-rear-sway-bar-endlinks-drop-down-brackets-171838/
Thread Starter
Registered User
Joined: Aug 2007
Posts: 7
From: Portland, OR
Car Info: 2007 Garnet Red WRX TR
My bad this is in the wrong Forum. This should be in the 2006+ STI and WRX forum. I guess this is what I get for trying to post from wrok before the boss gets in.
Thread Starter
Registered User
Joined: Aug 2007
Posts: 7
From: Portland, OR
Car Info: 2007 Garnet Red WRX TR
Two months and going strong. Just wanted to check in and let everyone know that after two months of driving and 2,000 miles everything is awesome. Not a problems with the intake and I�m loving every minute of it.
Best
Best


Thread
Thread Starter
Forum
Replies
Last Post
evsoul
Used Aftermarket Car Parts For Sale
1
Sep 21, 2005 02:50 PM
rayray888
Engine/Power - EJ20T (pre-2006 WRX and JDM)
6
Sep 13, 2005 07:57 PM
mzstersti
Used Aftermarket Car Parts For Sale
11
Apr 3, 2005 07:34 PM
NORCAL STI
Used Aftermarket Car Parts For Sale
0
Jan 12, 2004 04:49 PM
spdkills
Engine/Power - EJ20T (pre-2006 WRX and JDM)
0
Mar 1, 2003 10:28 PM