
Install 06 sti oem diffuser without cusco bracket! How to with pics.

Thread Starter
Registered User
iTrader: (20)
Joined: Jun 2005
Posts: 1,054
From: Honolulu, HI./Santa Clara, CA.
Car Info: nothing
Install 06 sti oem diffuser without cusco bracket! How to with pics.
ok, well to this date i think this mod is the one that i am most proud of cuz no 92x has it other than mine. maybe soon to change, but whatever i did it first. :biggrin: the photos arent super good but ill do what i can to explain it. its pretty simple, but ull hafta do some legwork to get the measurements all squared away since i didnt take down numbers. here it goes.
what youll need:
oem rear diffuser kit (subarugenuineparts.com 80 bux shipped) includes diffuser, rear bracket, and screws
go to home depot and get:
2 bolts that are like 2.5 inches long, and get the locking nuts to go along with it 7/16" should do it.
2 large washers, 2 small washers that will stop the bolt from going through the hole of the large washer, and 2 washers that will stop the nut from going through the holes in the diffuser.
1/2 inch pvc pipe
silicone caulking
metal primer
an electric drill and bits up to 7/16 inches
saw
Step 1
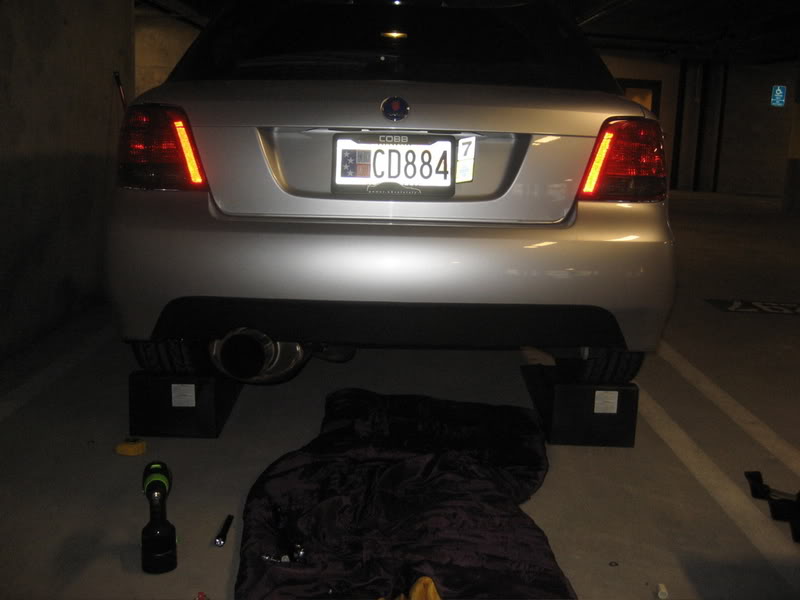
jack up or put ur car on ramps.
Step 2

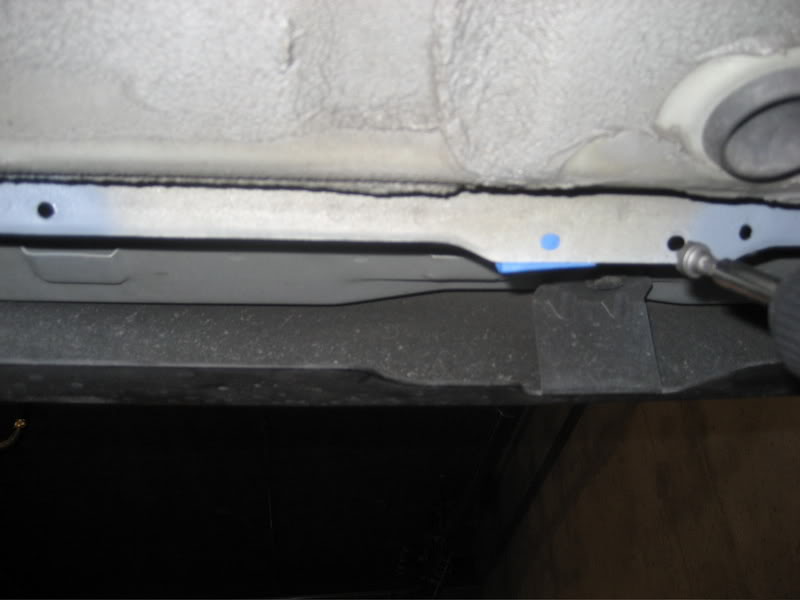
measure to the centerline of the vehicle and put a piece of tape or mark the spot
then put the bracket on the diffuser and measure to the center of the diffuser (between the four fins, not in the middle of the entire unit) and make a mark of the centerline of the bracket in perspective to the diffuser. then line up the two marks that represent the center of the car and the difffuser, and mark the two holes for mounting the bracket. then drill the holes with a 7/16" drill and deburr. also apply a spot of primer to make sure it doesnt rust.
Step 3
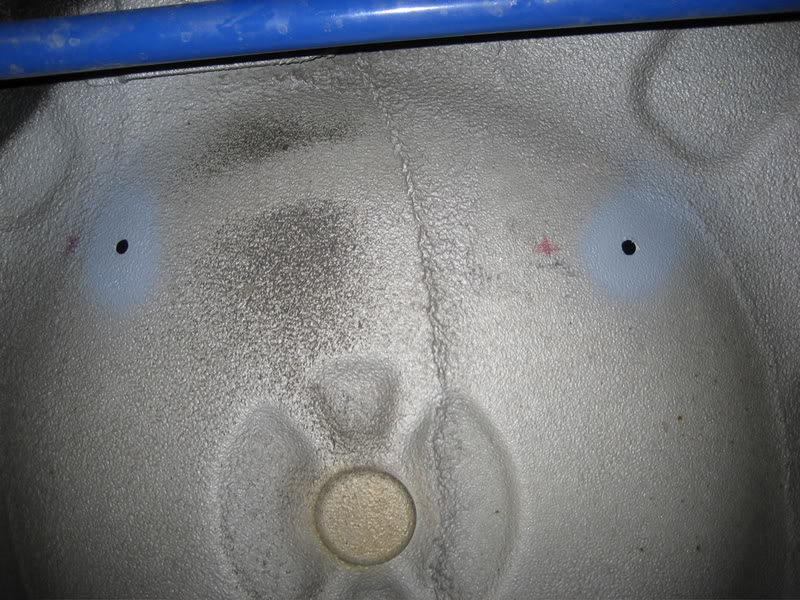

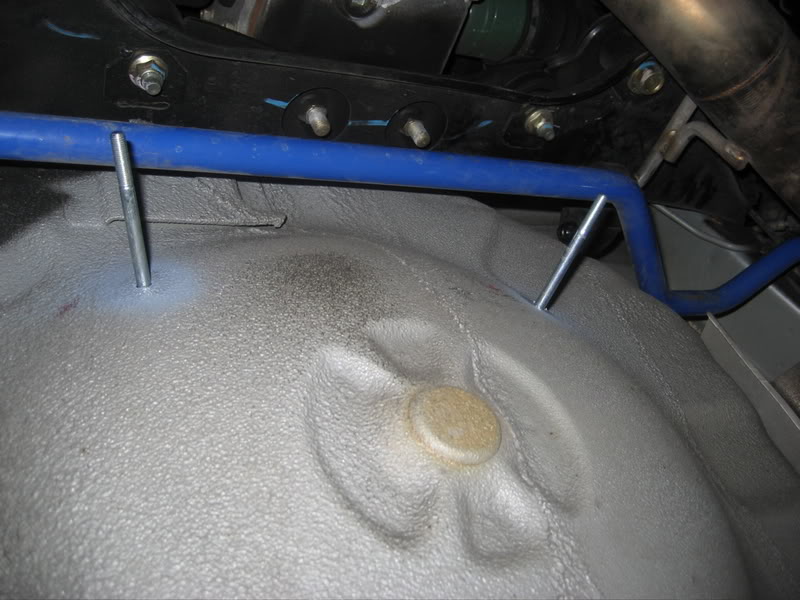
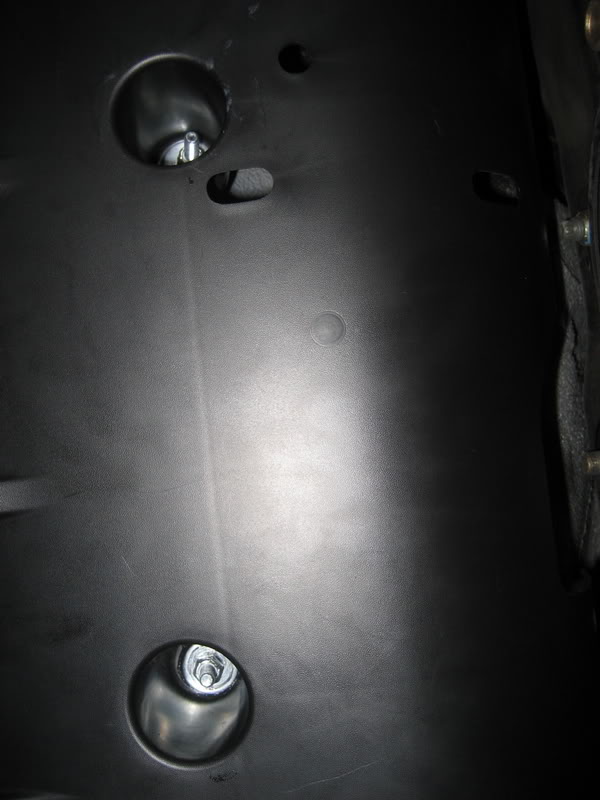
now put the diffuser on and bolt up the screws to the bracket to temporarily hold the diffuser in correct position. go under the car and push the diffuser up so it touches the underside of the car. then use a light and a pen to mark the center of the holes in the diffuser to denote the points you will have to drill. note, you only need to use the 2 forward most holes, not the single hole in the middle. take off the difffuser and take the drill and drill the two holes as shown. then deburr them and primer the holes on the inside and out (did i mention you should take your spare tire out first )
)
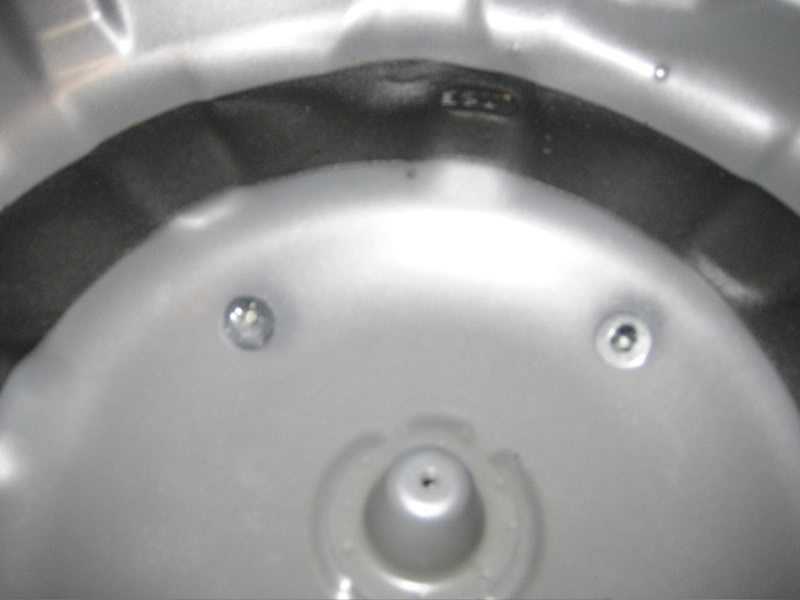
Step 4
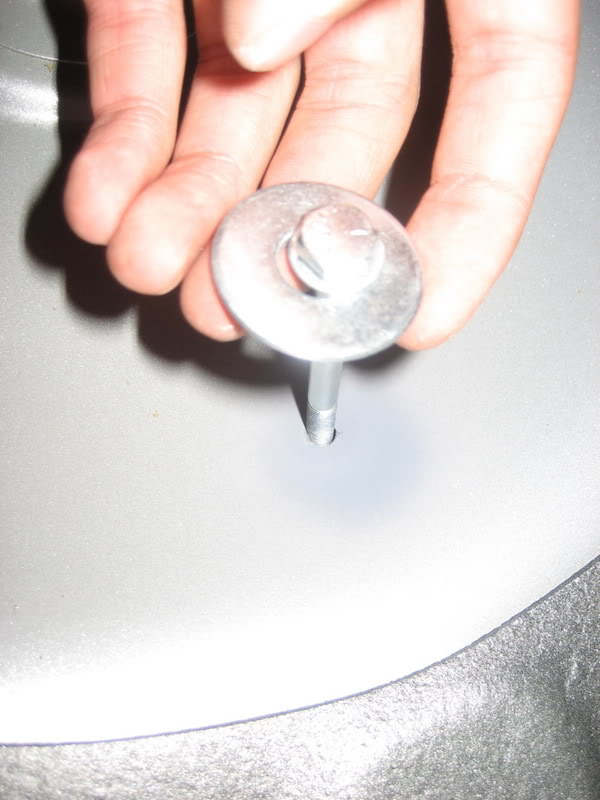
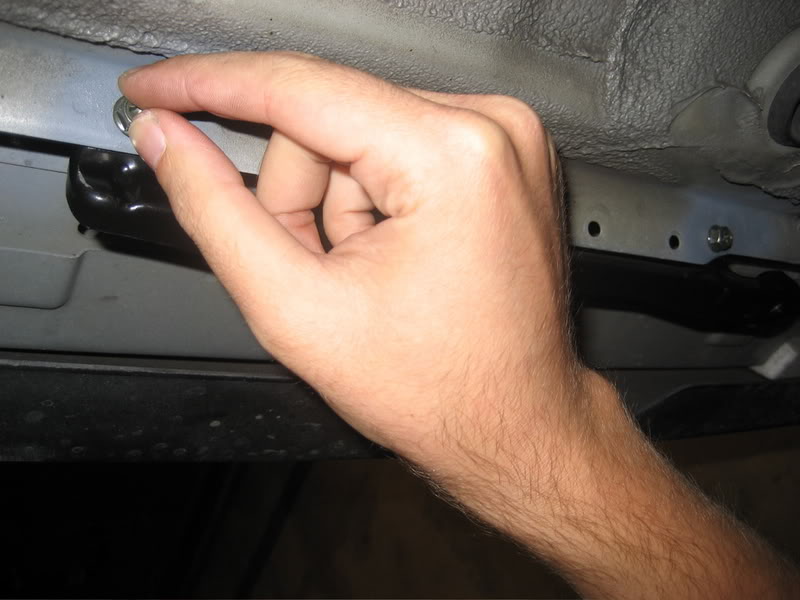
assemble the bolt that youll be using with a bolt, small washer and large washer stacked on top of each other as seen in the picture sorry its blurry. then put it through the hole. the large washer will conform to the angle of the inside of the wheel well and the second washer will fit in the center of the large washer and be more or less flat. surely there is a better way to pull this off, but this was easy and it doesnt really matter anyways. this should be strong enough and once its tightened down it will be sturdy.
what youll need:
oem rear diffuser kit (subarugenuineparts.com 80 bux shipped) includes diffuser, rear bracket, and screws
go to home depot and get:
2 bolts that are like 2.5 inches long, and get the locking nuts to go along with it 7/16" should do it.
2 large washers, 2 small washers that will stop the bolt from going through the hole of the large washer, and 2 washers that will stop the nut from going through the holes in the diffuser.
1/2 inch pvc pipe
silicone caulking
metal primer
an electric drill and bits up to 7/16 inches
saw
Step 1
jack up or put ur car on ramps.
Step 2
measure to the centerline of the vehicle and put a piece of tape or mark the spot
then put the bracket on the diffuser and measure to the center of the diffuser (between the four fins, not in the middle of the entire unit) and make a mark of the centerline of the bracket in perspective to the diffuser. then line up the two marks that represent the center of the car and the difffuser, and mark the two holes for mounting the bracket. then drill the holes with a 7/16" drill and deburr. also apply a spot of primer to make sure it doesnt rust.
Step 3
now put the diffuser on and bolt up the screws to the bracket to temporarily hold the diffuser in correct position. go under the car and push the diffuser up so it touches the underside of the car. then use a light and a pen to mark the center of the holes in the diffuser to denote the points you will have to drill. note, you only need to use the 2 forward most holes, not the single hole in the middle. take off the difffuser and take the drill and drill the two holes as shown. then deburr them and primer the holes on the inside and out (did i mention you should take your spare tire out first
)Step 4
assemble the bolt that youll be using with a bolt, small washer and large washer stacked on top of each other as seen in the picture sorry its blurry. then put it through the hole. the large washer will conform to the angle of the inside of the wheel well and the second washer will fit in the center of the large washer and be more or less flat. surely there is a better way to pull this off, but this was easy and it doesnt really matter anyways. this should be strong enough and once its tightened down it will be sturdy.
Thread Starter
Registered User
iTrader: (20)
Joined: Jun 2005
Posts: 1,054
From: Honolulu, HI./Santa Clara, CA.
Car Info: nothing
Step 5
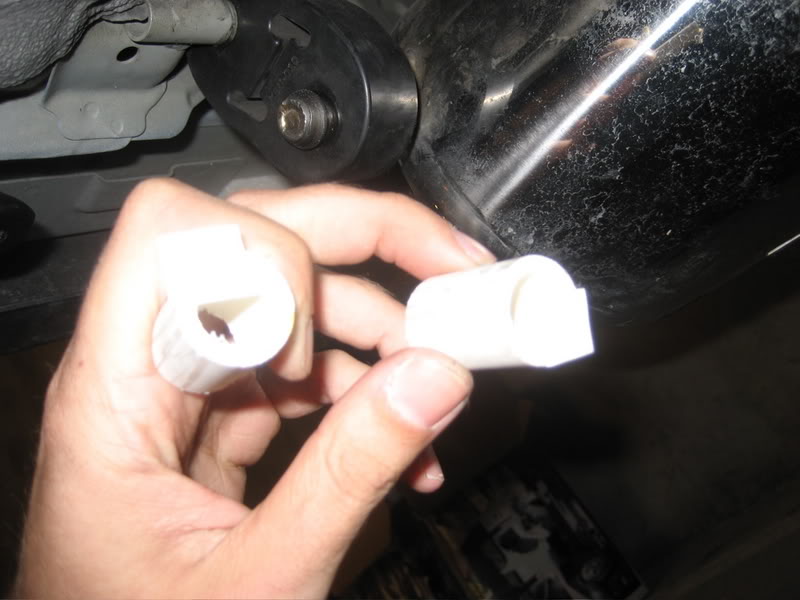
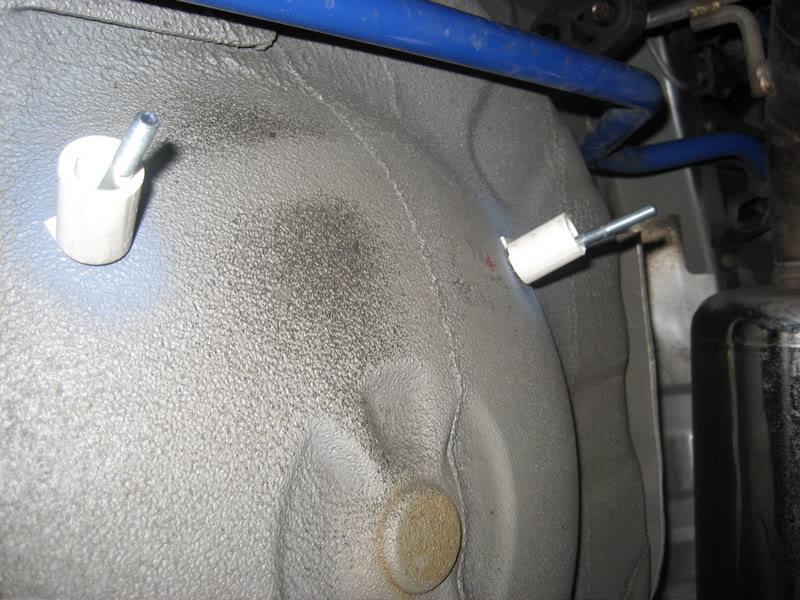
cut two pieces of pvc pipe approximately 1.5 inches long. i used double sided tape to hold the pipe against the car as i remount the diffuser and slide the bolts through the holes in the diffuser.
Step 6
nows the tricky part, either glue the medium washers to the inside of the diffuser holes to hold them there while you put the nuts on, or glue the washers to the nut. however you do it, the last part is to get someone to hold the bolt on top with a wrench while you use an extended socket wrench underneath to tighten the nuts. you can feel on top of the diffuser to make sure the pvc spacers and seating more or less flat. it occured to me that i could have cut the top part of the pvc pipe at an angle, but i didnt feel like measuring the angle. anyways, this will secure the diffuser once its tightened down. shake the diffuser to make sure theres no play, if there is, see next step.
Step 7
on my application i noticed there was a little extra play in the top of the bolt. i ghetto rigged it and spaced the gap by tying a zip tie arount the bolt. that fixed it. kinda ghetto but youre gonna cover all this up with silicone sealer to fill the holes. Final step, use the silicone sealer and completely cover everything. after it dries youre done. i thought the silicone was ugly so i covered it up with some raammat i had leftover.
Thats it, youre done. everything should be on tight and straight. just make sure youre testing out everything as you go along. congrats youre now the new owner of a diffuser and you didnt have to buy that cusco diffuser for 200 bux! im not sure that the bar even does that much and to be honest, this method is just about as easy as removing your swaybar mounts, charcoal canister and putting the cusco bar on. So depending on how you think, youre ahead of the game. Ballin. enjoy.


Thread Starter
Registered User
iTrader: (20)
Joined: Jun 2005
Posts: 1,054
From: Honolulu, HI./Santa Clara, CA.
Car Info: nothing
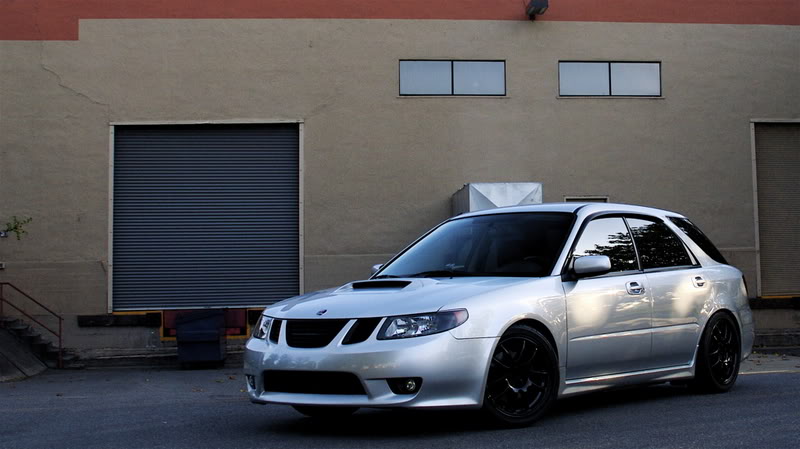
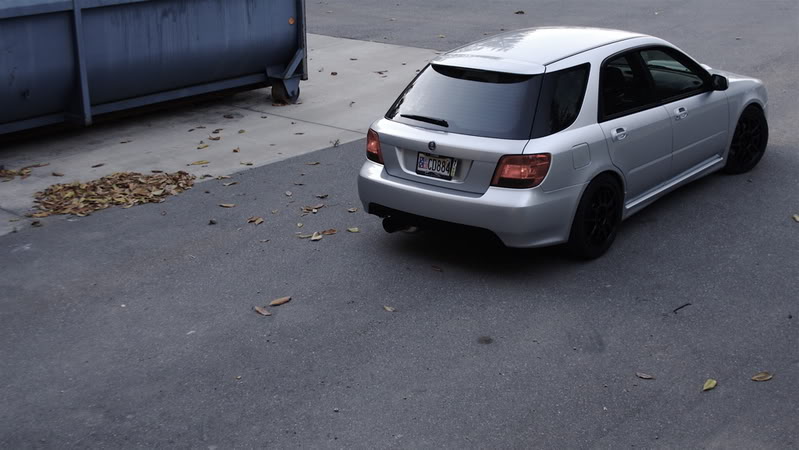
and the "before"

linked to my thread... https://www.i-club.com/forums/bay-area-15/my-summer-07-92x-renovation-lots-pics-163339/
