
So I wrapped my wrx in matte silver over the weekend (in progress)


Thread Starter
Registered User
iTrader: (7)
Joined: Mar 2009
Posts: 860
From: Bay Area, CA
Car Info: 2010 997.2 GT3
So I wrapped my wrx in matte silver over the weekend (in progress)
I got bored, and well I posted this on 3gwrx but I post it here too.
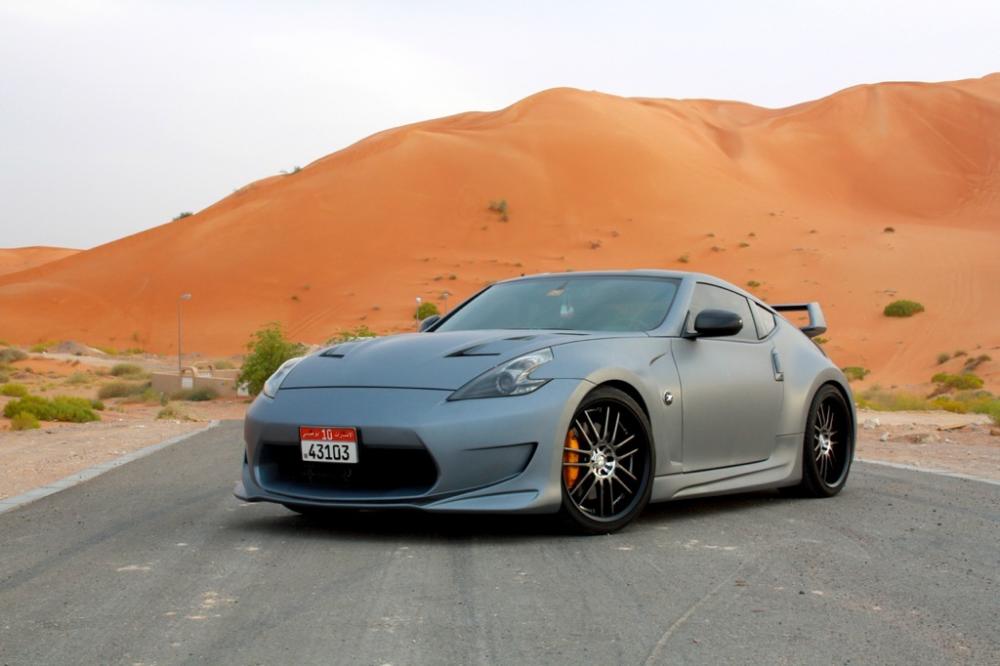
So here is what got me inspired to do the wrap...


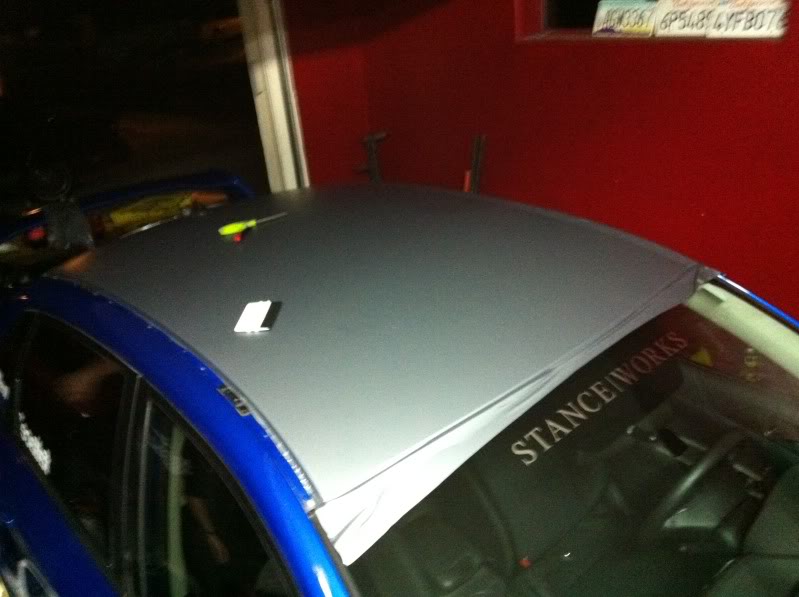
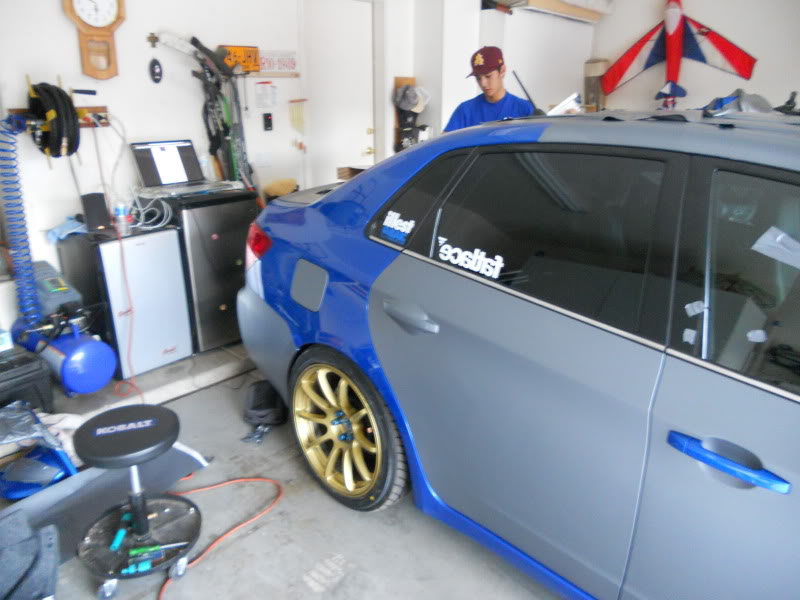
So I started last night on the little things and this is how I progressed until a few hours ago.
I started with the roof first and I will say that the 3M 1080 vinyl is worth the price because it is much easier to use than other cheaper vinyls. I have only attempted this once before but gave up before I saw any results. So I lack some experience but patience is the real key to quality when working with this stuff. Also have a friend it makes things go by quicker.And I tried to minimize the use with the heat gun especially with this matte material. I expected this job to take about 72+ hours of work but I got it done in less than 48 hours with the help of a few friends.
What's left:
All 4 door jams
Spoiler
Sideskirts
Rear Spats
Hood
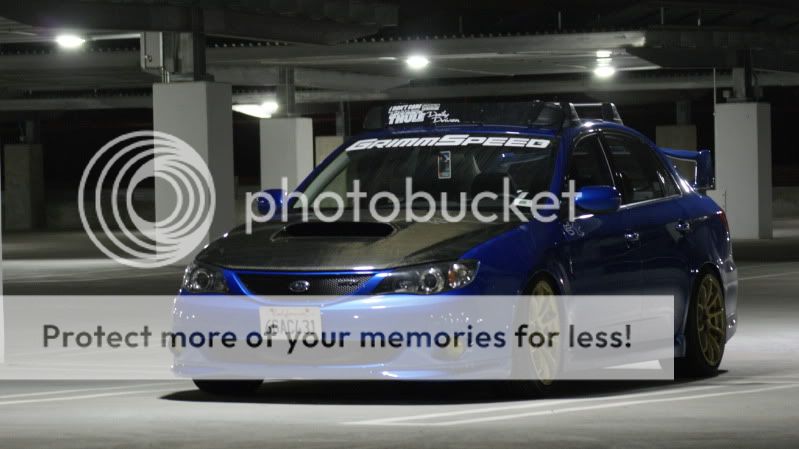
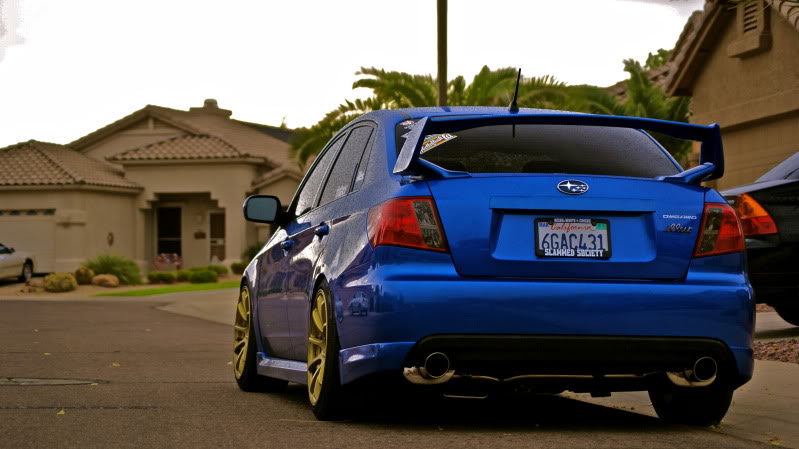
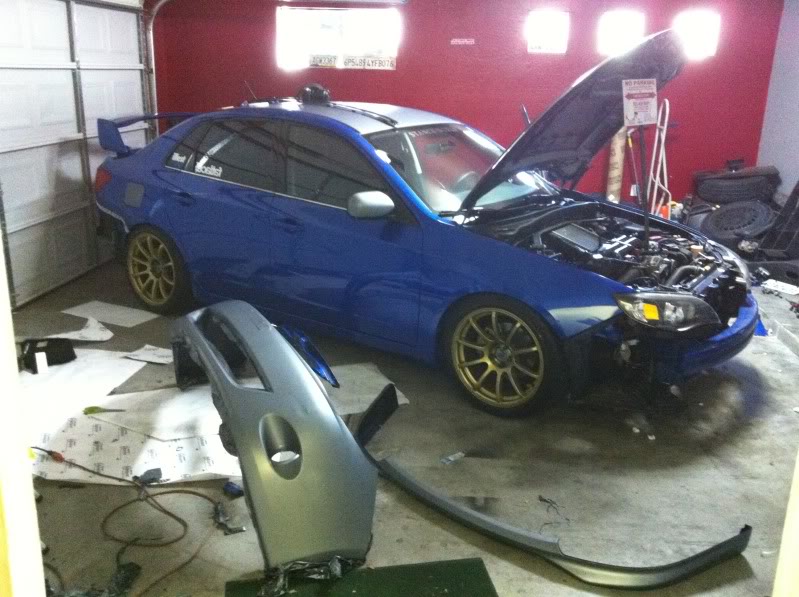
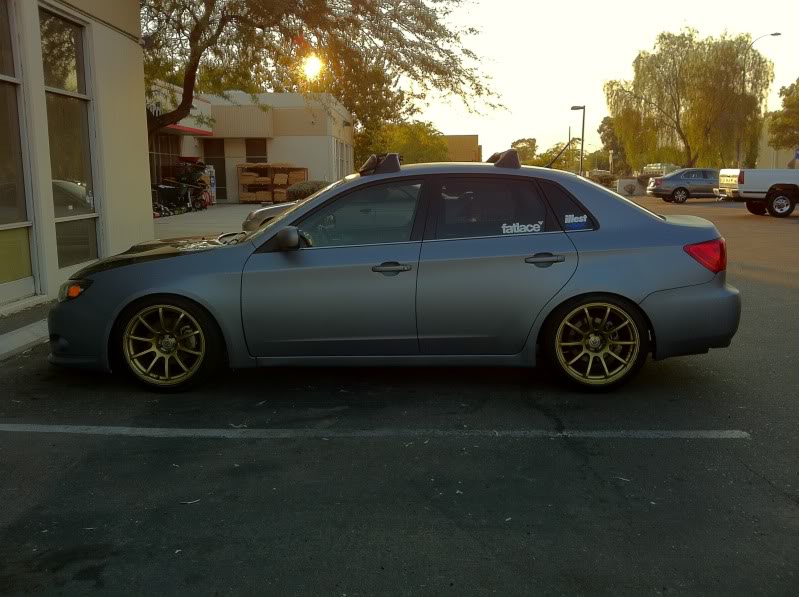
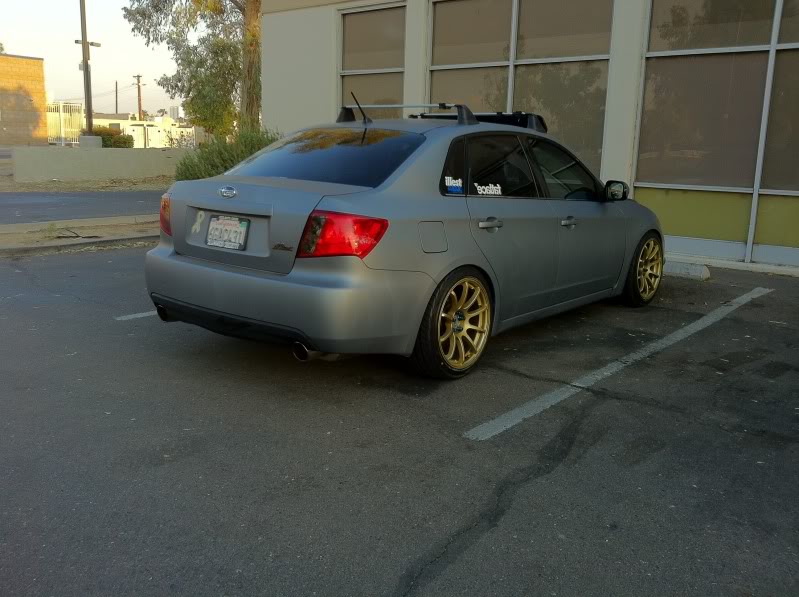
Here is my car now for reference
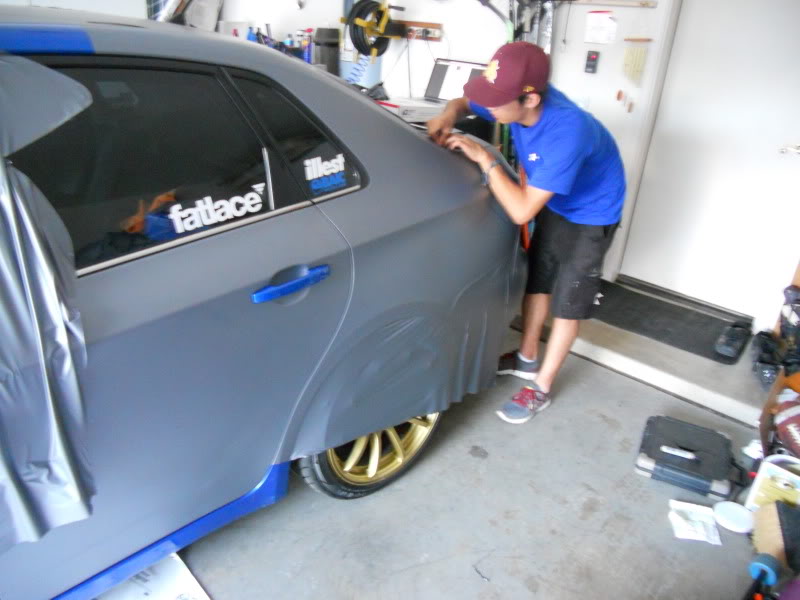
I'll try and update this thread as I go panel by panel (I have to apologize for the low quality pictures for now)
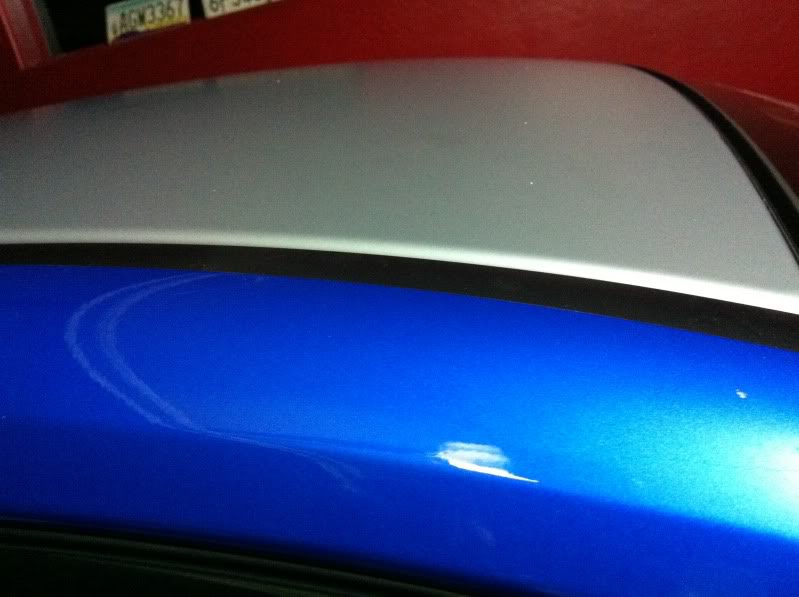
The roof took me 30 mins to do it went by quick
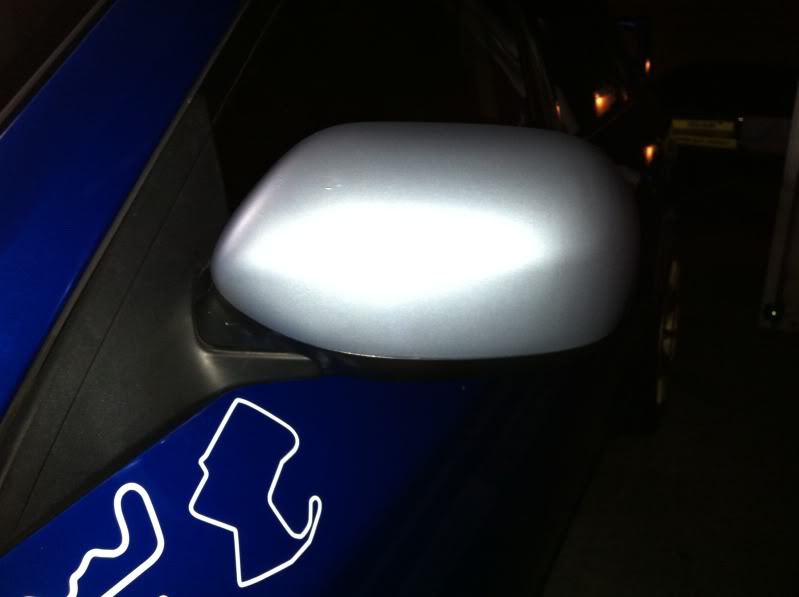
Both mirrors took me 40 minutes to wrap.
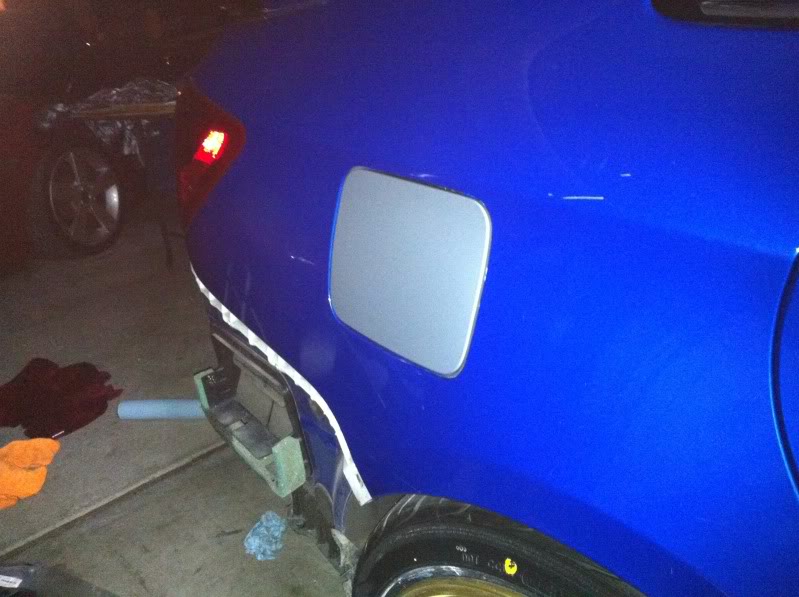
The fuel cover took 5 minutes
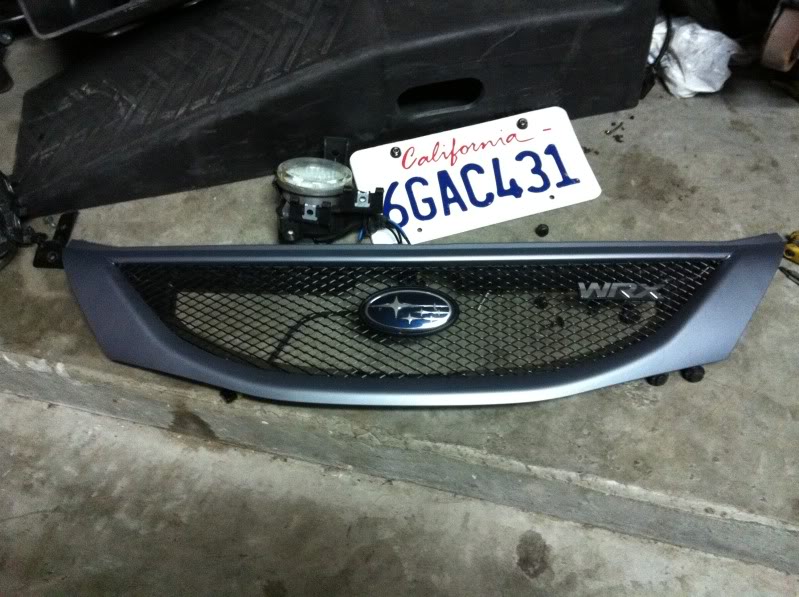
Grill took me about 40 minutes
The front bumper took me an hour and a half to get right
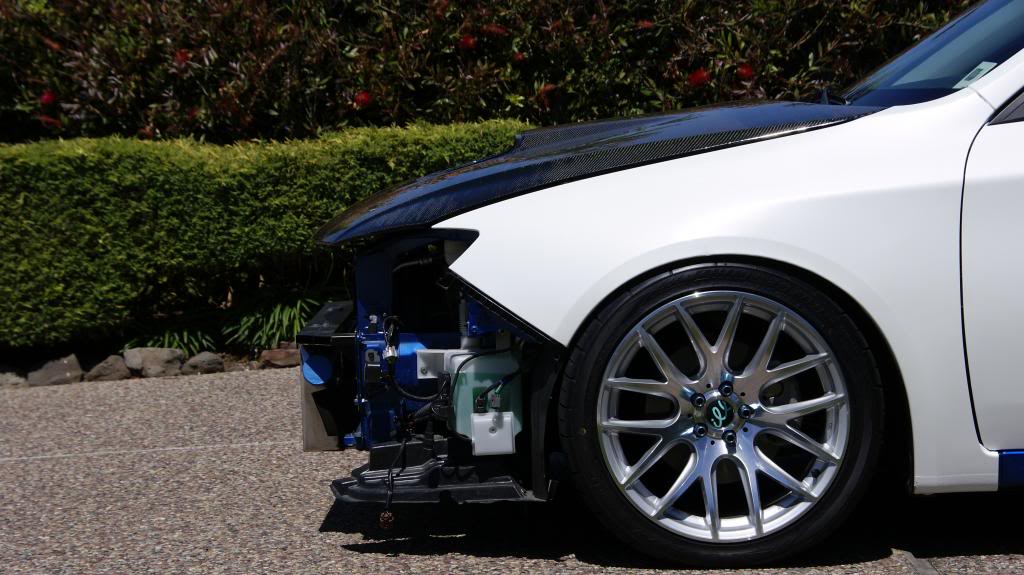
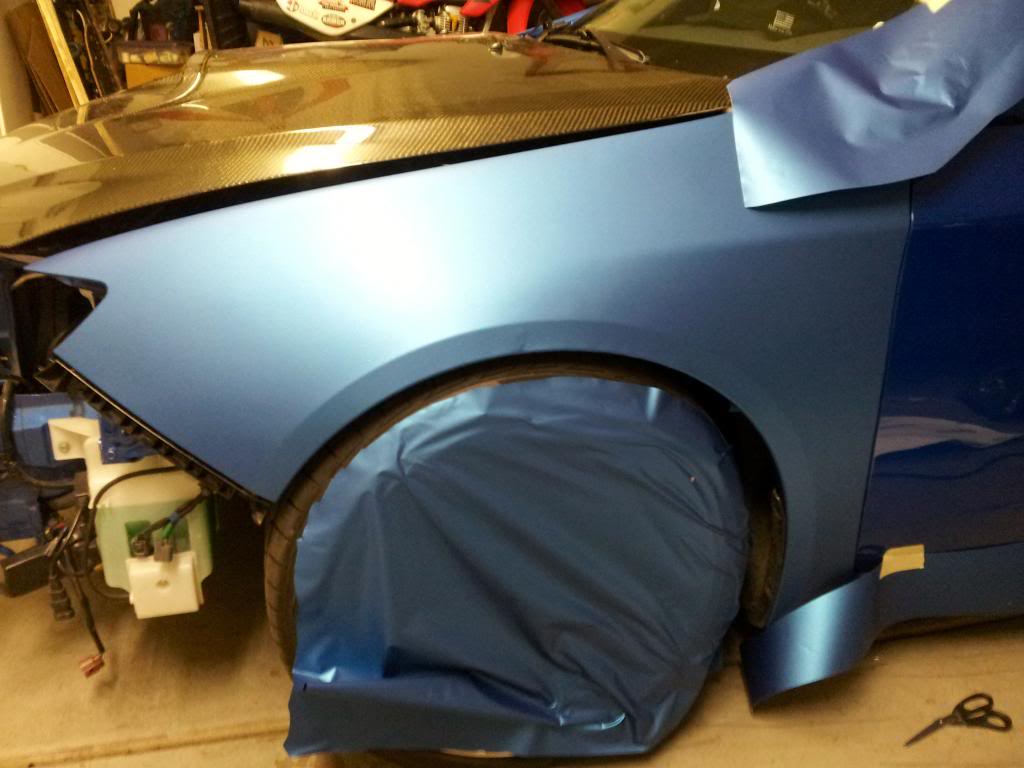
Front fenders took me about 50 minutes to do both sides
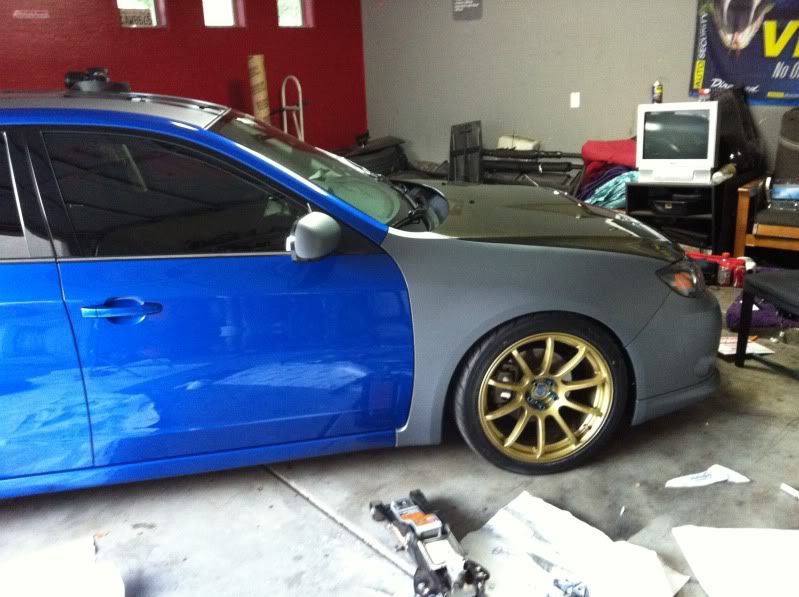
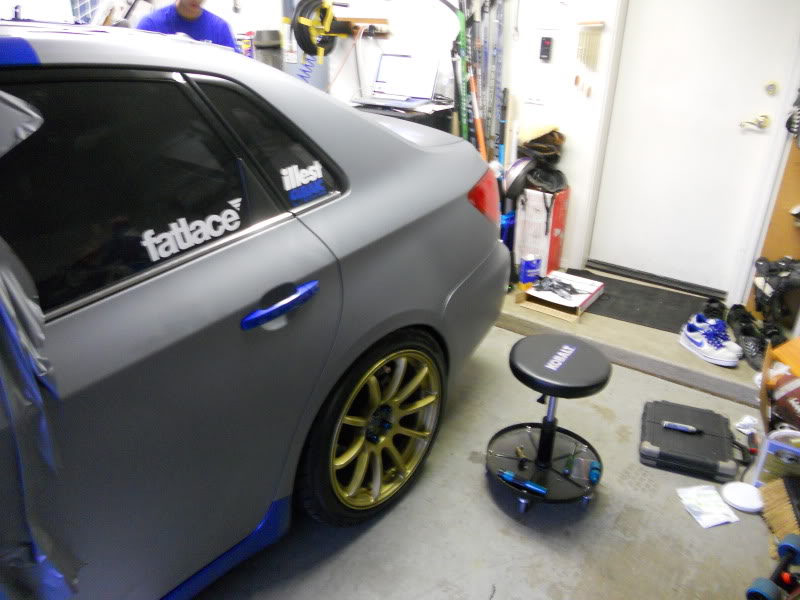
So this is where I stand as of 9/24
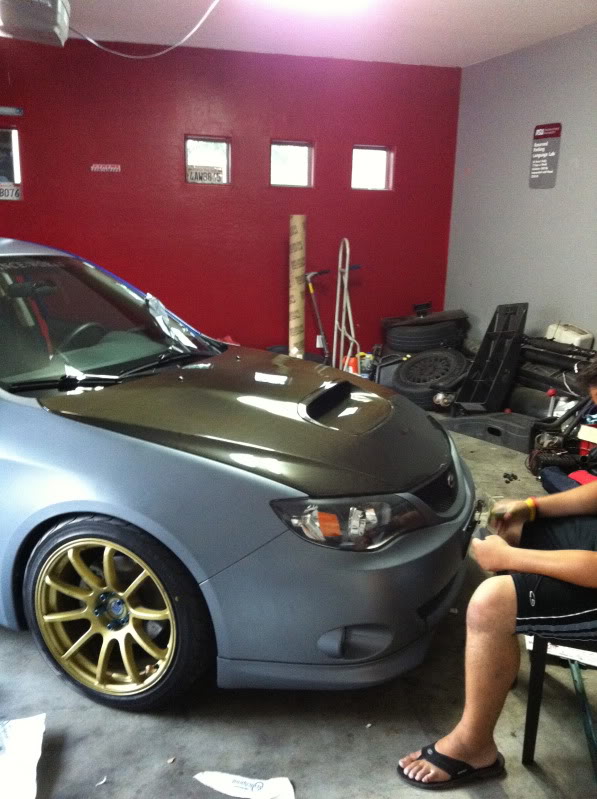
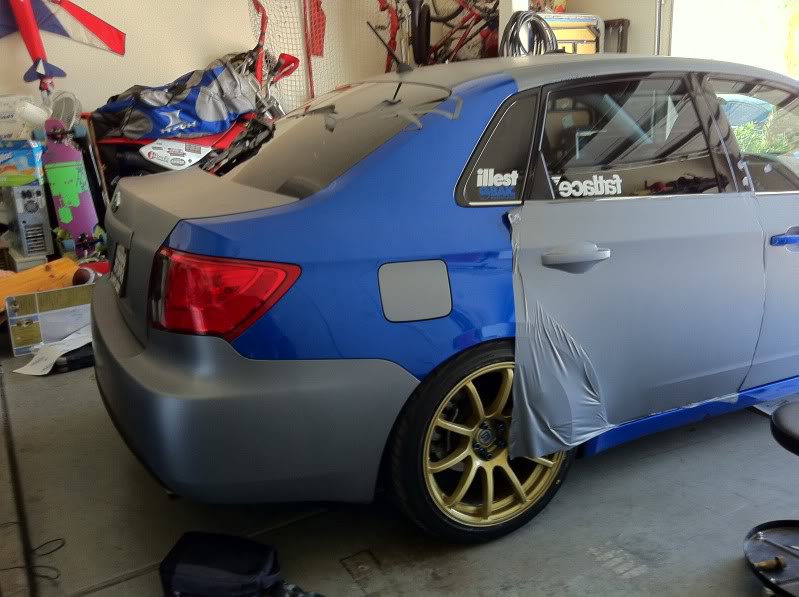
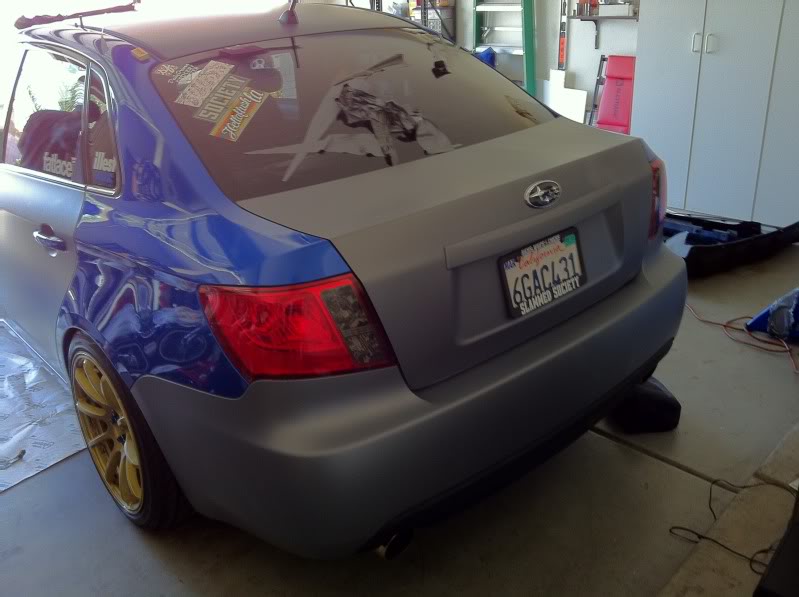
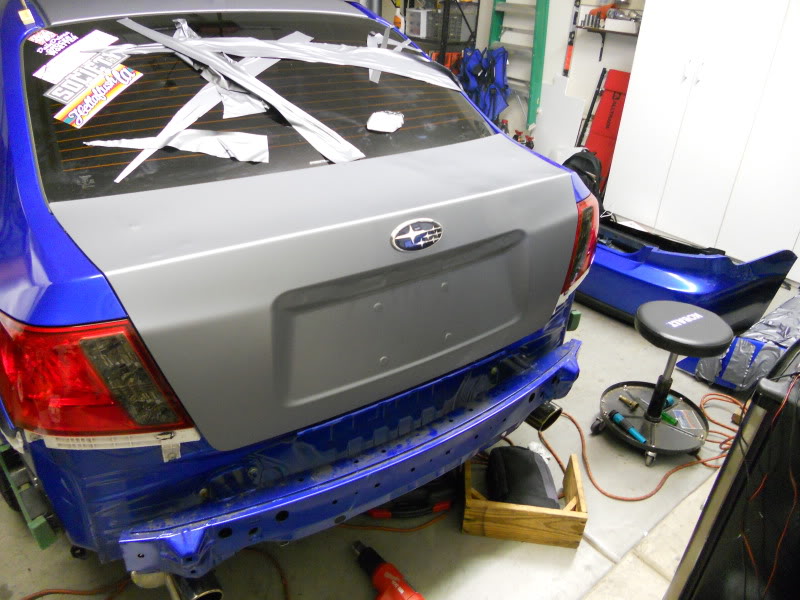
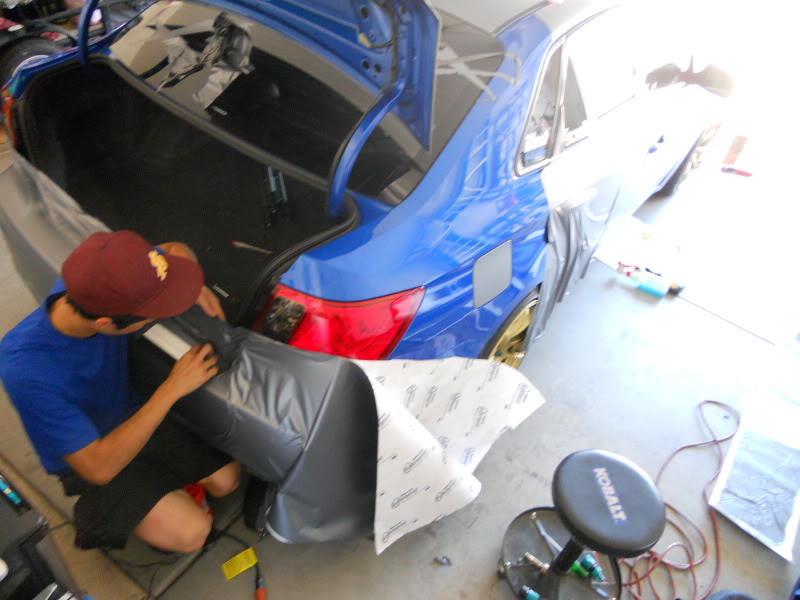
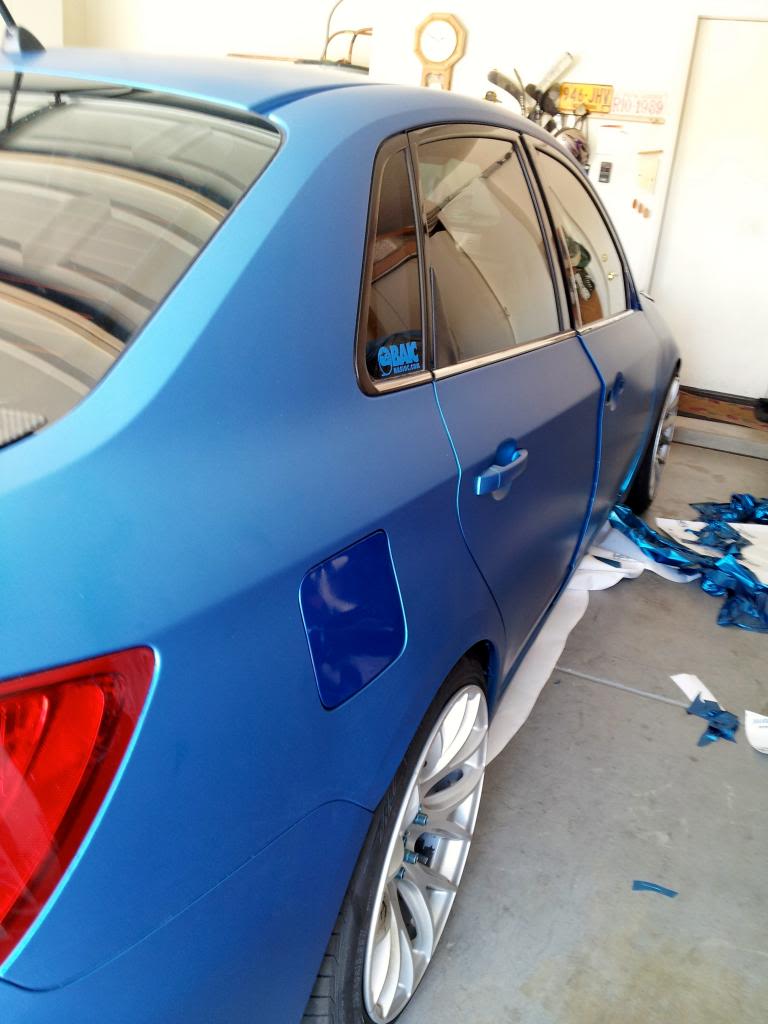
It's a new day and I am almost done all doors, trunk and rear bumper are done. Now all that's left is the long quarter panel.
The end of the day 9/24
Here is a collection of random shots as I was wrapping.
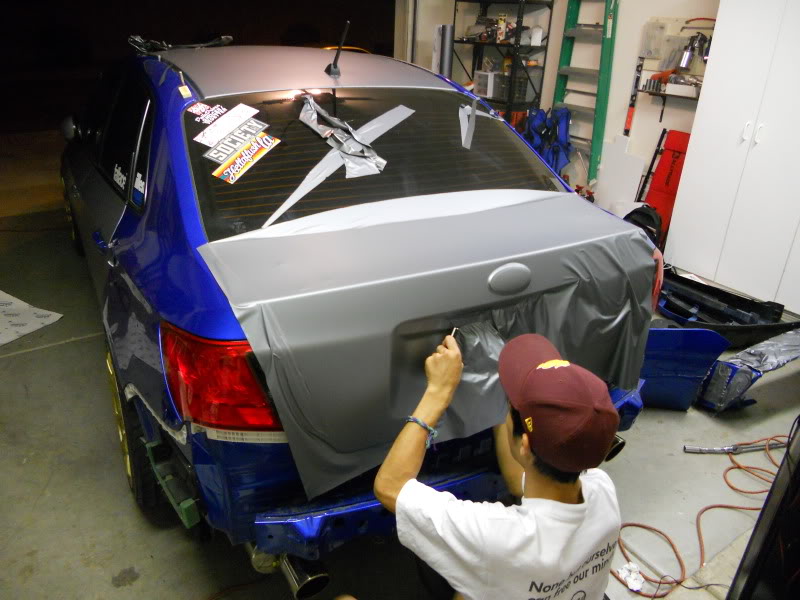
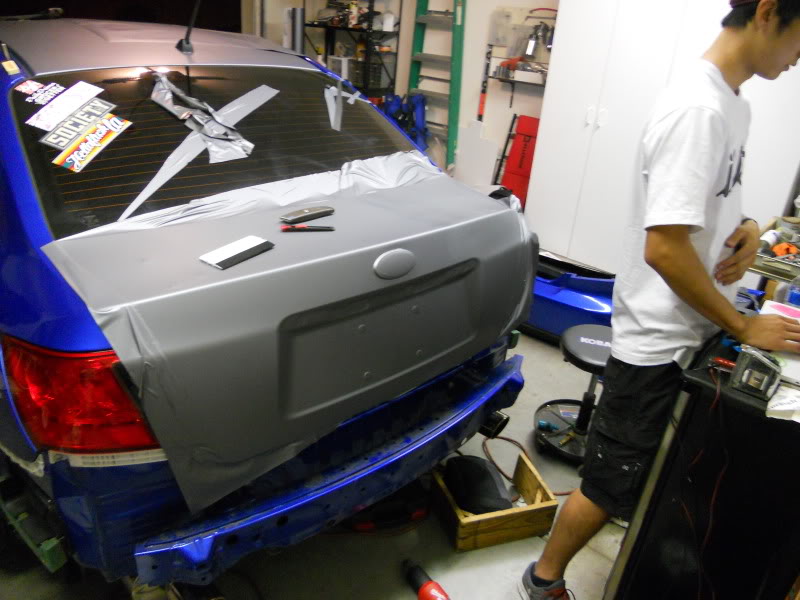
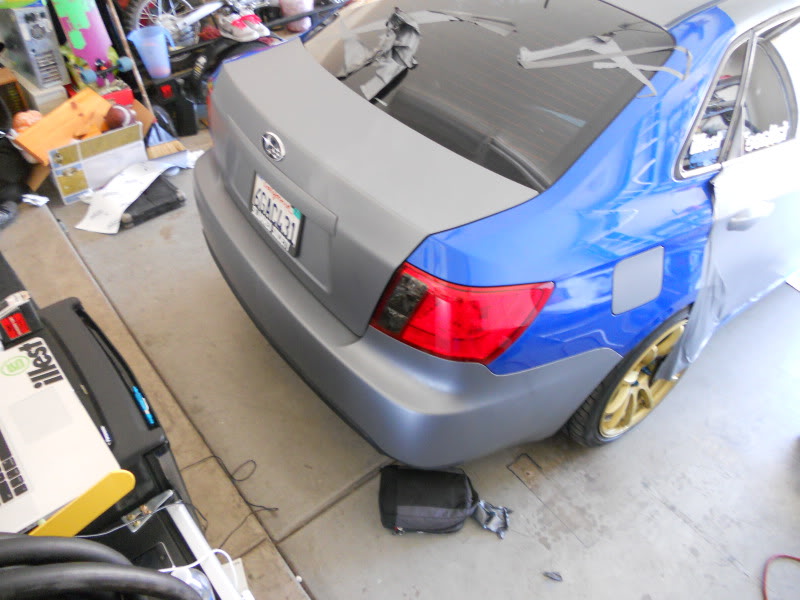
Trunk
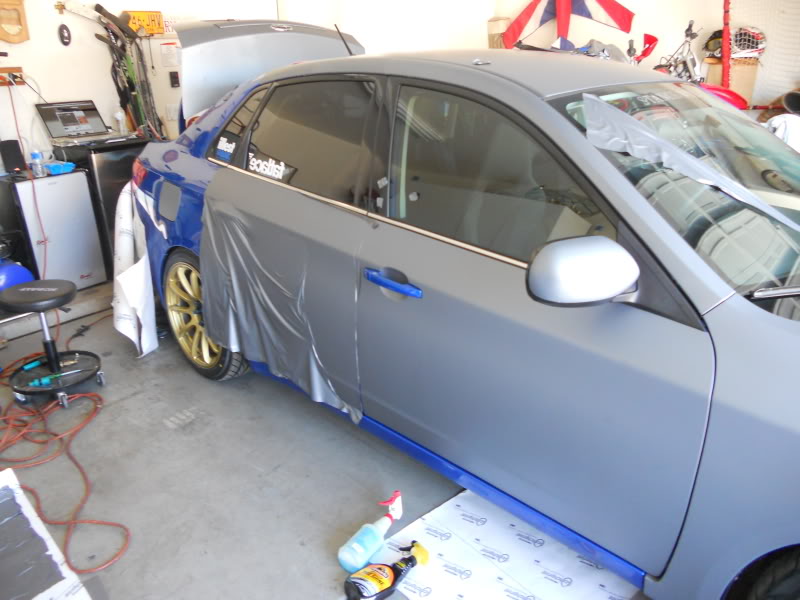
Rear Door and Quarter panel

Rear Bumper
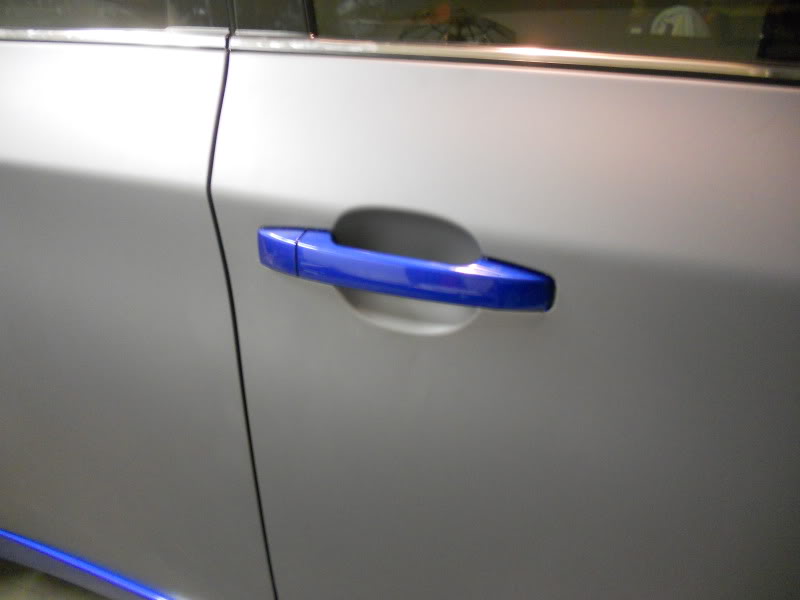
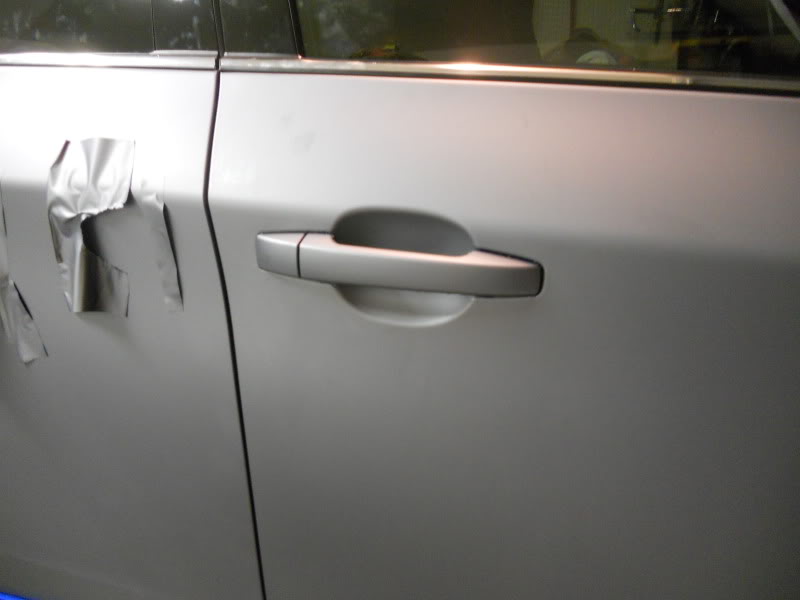
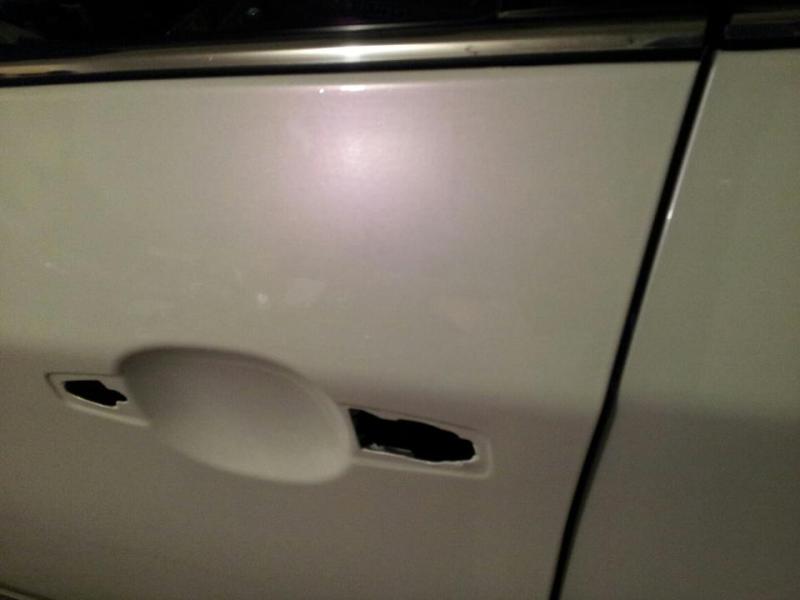
Handles
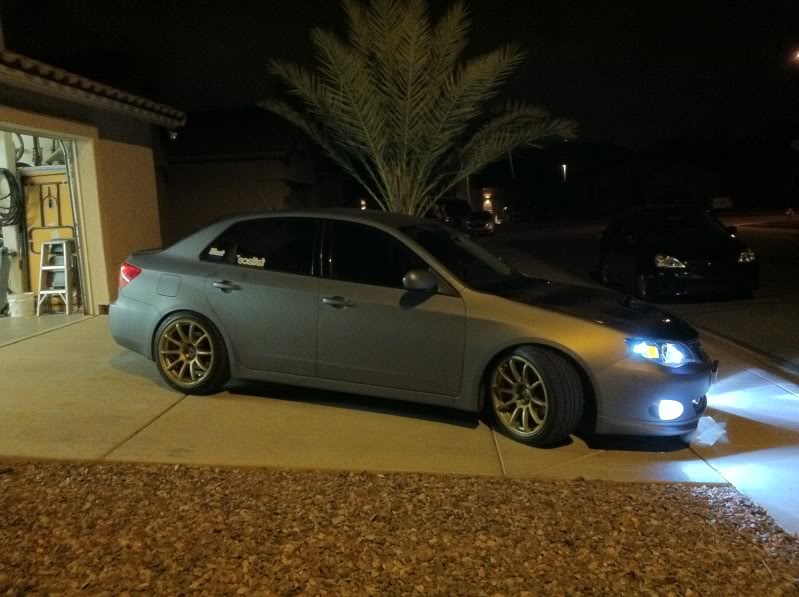
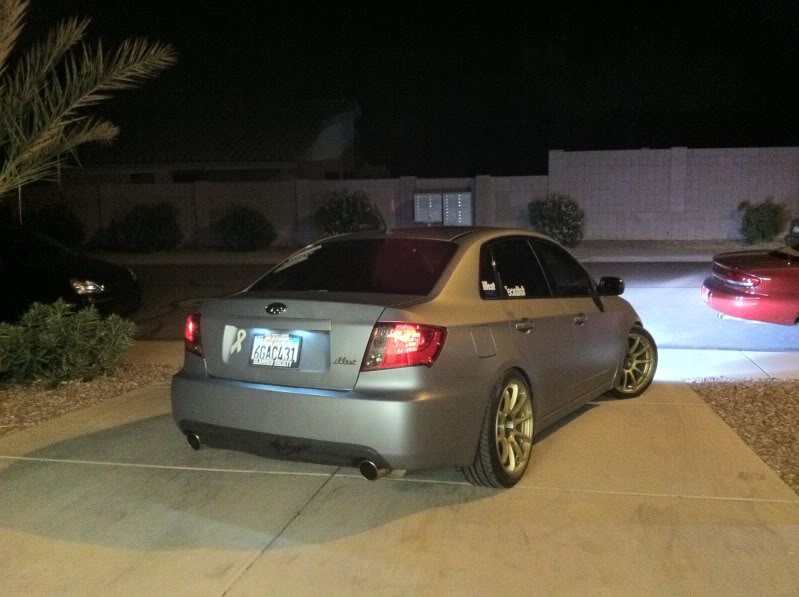
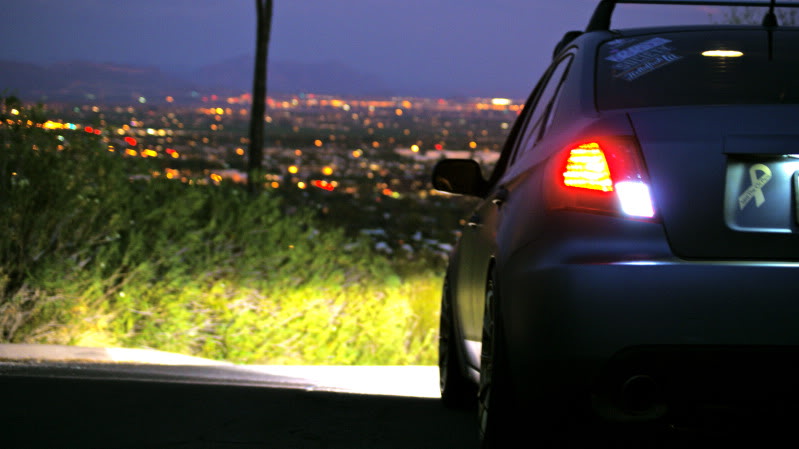
I will have better pictures of the whole car in the next few days
So heres an update so people can see the different colors I have done since
Hexis White Pearl

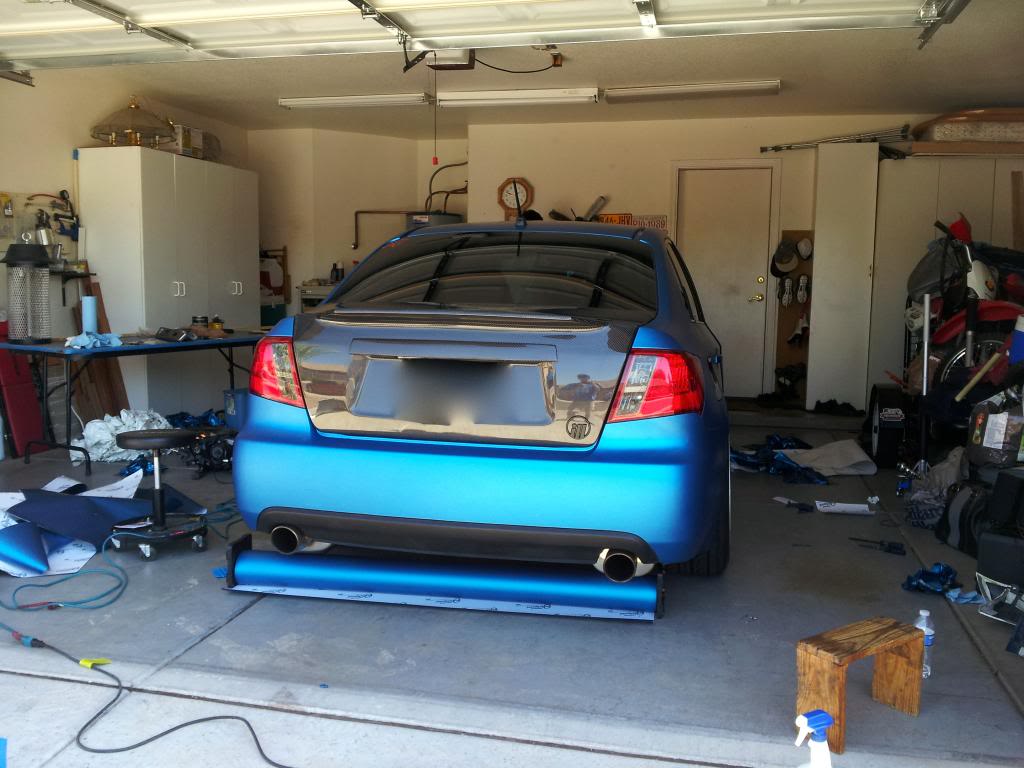
3M 1080 Matte Blue Metallic


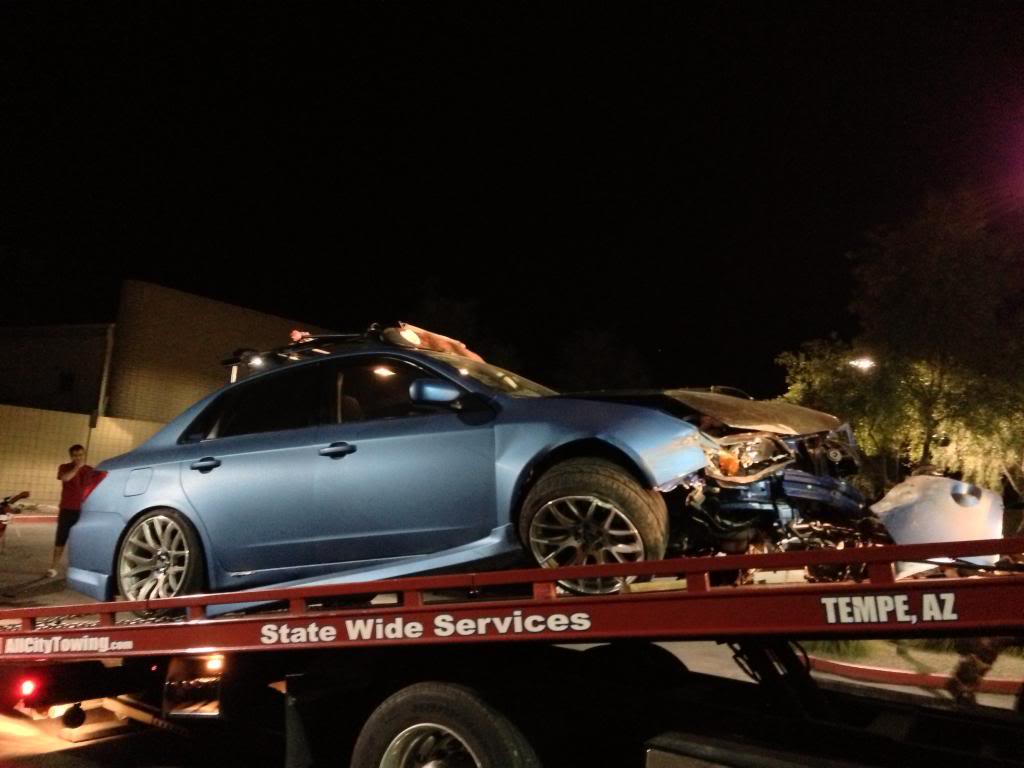
Unfortunately my friend totaled my car
So here is what got me inspired to do the wrap...
So I started last night on the little things and this is how I progressed until a few hours ago.
I started with the roof first and I will say that the 3M 1080 vinyl is worth the price because it is much easier to use than other cheaper vinyls. I have only attempted this once before but gave up before I saw any results. So I lack some experience but patience is the real key to quality when working with this stuff. Also have a friend it makes things go by quicker.And I tried to minimize the use with the heat gun especially with this matte material. I expected this job to take about 72+ hours of work but I got it done in less than 48 hours with the help of a few friends.
What's left:
All 4 door jams
Spoiler
Sideskirts
Rear Spats
Hood
Here is my car now for reference
I'll try and update this thread as I go panel by panel (I have to apologize for the low quality pictures for now)
The roof took me 30 mins to do it went by quick
Both mirrors took me 40 minutes to wrap.
The fuel cover took 5 minutes
Grill took me about 40 minutes
The front bumper took me an hour and a half to get right
Front fenders took me about 50 minutes to do both sides
So this is where I stand as of 9/24
It's a new day and I am almost done all doors, trunk and rear bumper are done. Now all that's left is the long quarter panel.
The end of the day 9/24
Here is a collection of random shots as I was wrapping.
Trunk
Rear Door and Quarter panel
Rear Bumper
Handles
I will have better pictures of the whole car in the next few days
So heres an update so people can see the different colors I have done since
Hexis White Pearl
3M 1080 Matte Blue Metallic
Unfortunately my friend totaled my car
Last edited by Imprezard; Feb 23, 2013 at 04:17 PM.

Thread Starter
Registered User
iTrader: (7)
Joined: Mar 2009
Posts: 860
From: Bay Area, CA
Car Info: 2010 997.2 GT3
Thanks guys!
I spent $450 on a 60 inch by 40 foot roll. I got 3M 1080 Scotchprint M21, it was very easy to work with.
I spent ~42-48 hours in total doing this. Once I figured out the method to wrapping things started to pick up quickly. I started Thursday morning, took a nap and a lengthy break during a part of Friday and then finished Saturday around noon.
I spent ~42-48 hours in total doing this. Once I figured out the method to wrapping things started to pick up quickly. I started Thursday morning, took a nap and a lengthy break during a part of Friday and then finished Saturday around noon.
Churro Aficionado
iTrader: (38)
Joined: Feb 2008
Posts: 54,661
From: IG - @thomas.teammoist
Car Info: IG - @TEAMMOISTOFFICIAL
Thread Starter
Registered User
iTrader: (7)
Joined: Mar 2009
Posts: 860
From: Bay Area, CA
Car Info: 2010 997.2 GT3
You really can't screw up with that measurement. lol I suggest one would get 50ft if its your first time. Unless you're like me and measured out all the pieces to fit with little scraps to spare. I was able to do the doors stacked on top of one another (each were about 30") And same with the front and rear bumpers as well as the fenders. And I cut it so any scraps could be used for smaller pieces like mirrors or the grill, trunk trim and etc. Really the big thing is to measure and cut every piece before hand so you know how much you have left if you screw up or what not. haha
Identifier of i-Club members
iTrader: (2)
Joined: Jan 2011
Posts: 679
From: bay area
Car Info: 2009 wrx
how did you do the door handle concave curve? ive been thinking about doing this for awhile, im just trying to figure out how to do some of the harder curves before i even think about attempting this.
Thread Starter
Registered User
iTrader: (7)
Joined: Mar 2009
Posts: 860
From: Bay Area, CA
Car Info: 2010 997.2 GT3
I had to put a seam there, I cut it short and then used a little heat to help stretch it to fit. I am going to figure out how to take out the rear handles to make it a bit more clean. Trust me the handles are the least of your worries. the front bumper is what will take up most of your time. If you need help just let me know.
Identifier of i-Club members
iTrader: (2)
Joined: Jan 2011
Posts: 679
From: bay area
Car Info: 2009 wrx
yea i know the front bumper is going to be a pain especially around the fog lights and some of those compound curves. the front bumper looks like hardest part of the entire car