The Official "I just washed my car thread"


 04-25-2012, 01:04 AM
#24
I'd like to share some of my most recent work on a fellow members vehicle.
This was a Stage 3 level detail with a dual step paint correction procedure.
Length of detail: 17 hrs
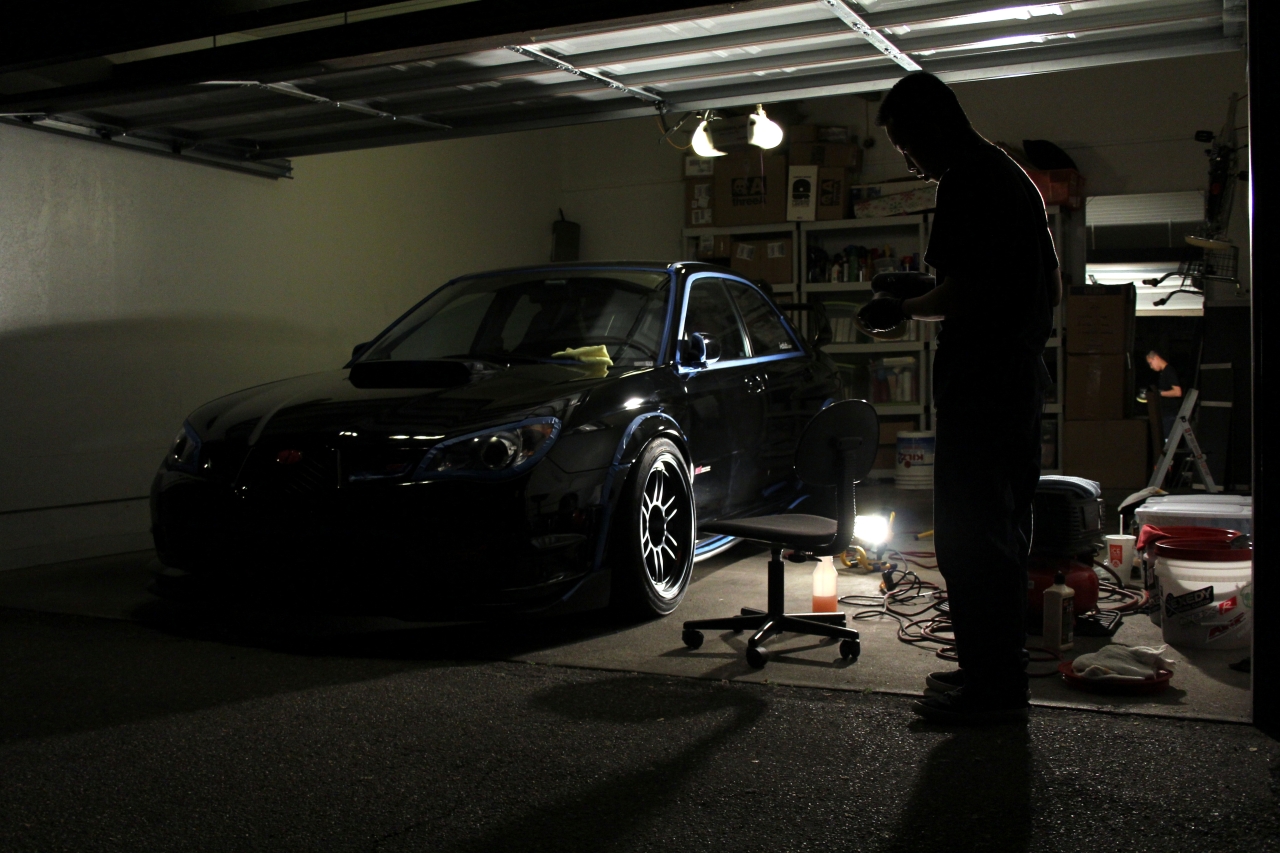
Upon inspection. Vehicle was not too dirty since previously washed a couple of weeks prior. Paint condition still seems healthy for a black car. Garaged kept and maintained.
Full body inspection points out old residues from autox race stickers.
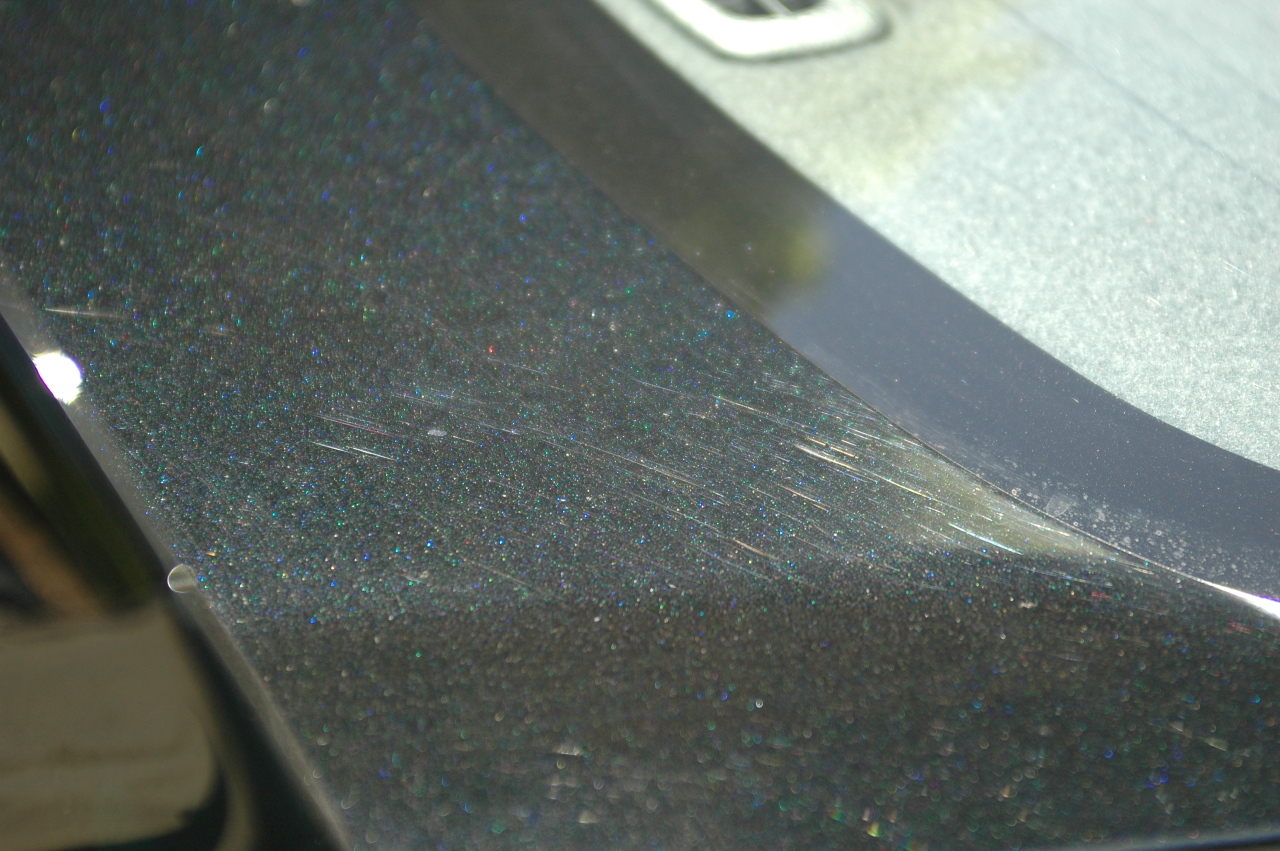
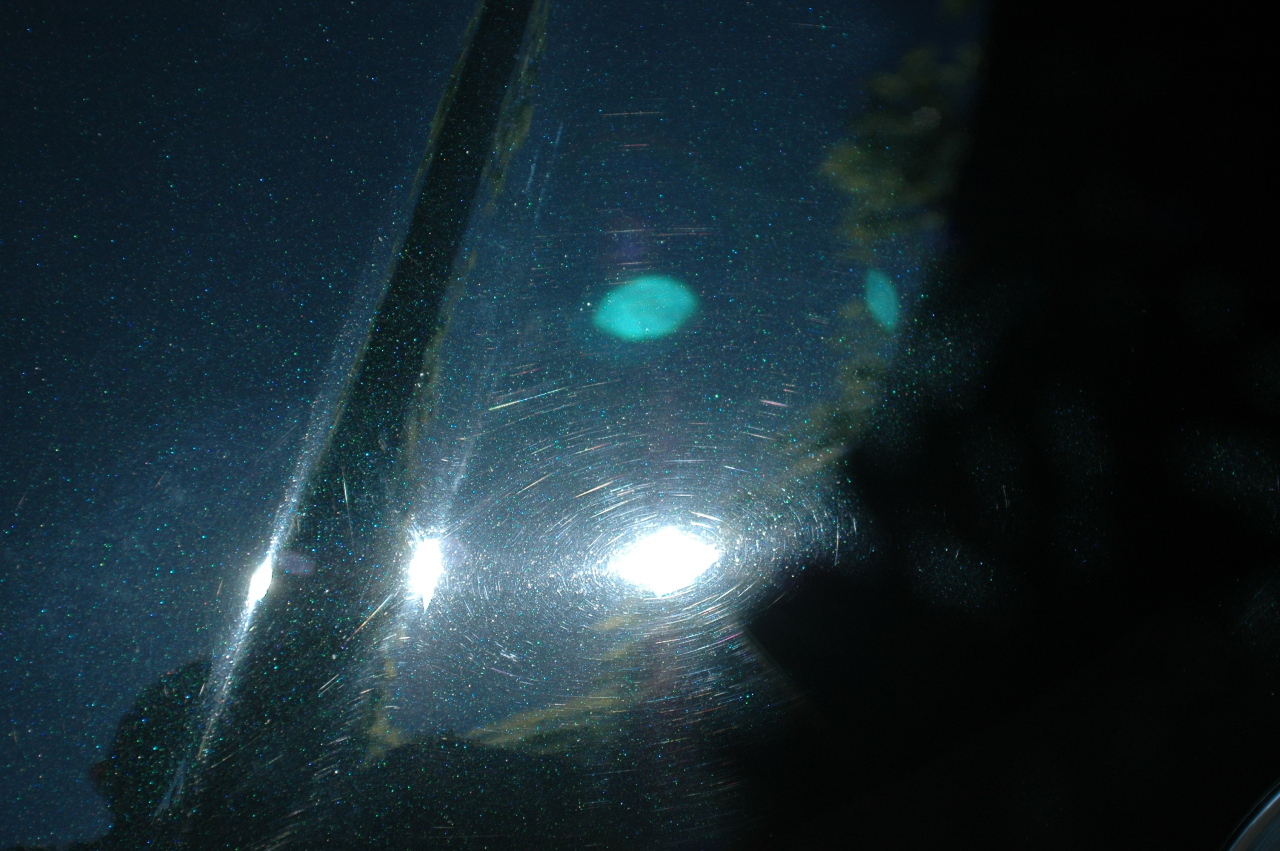
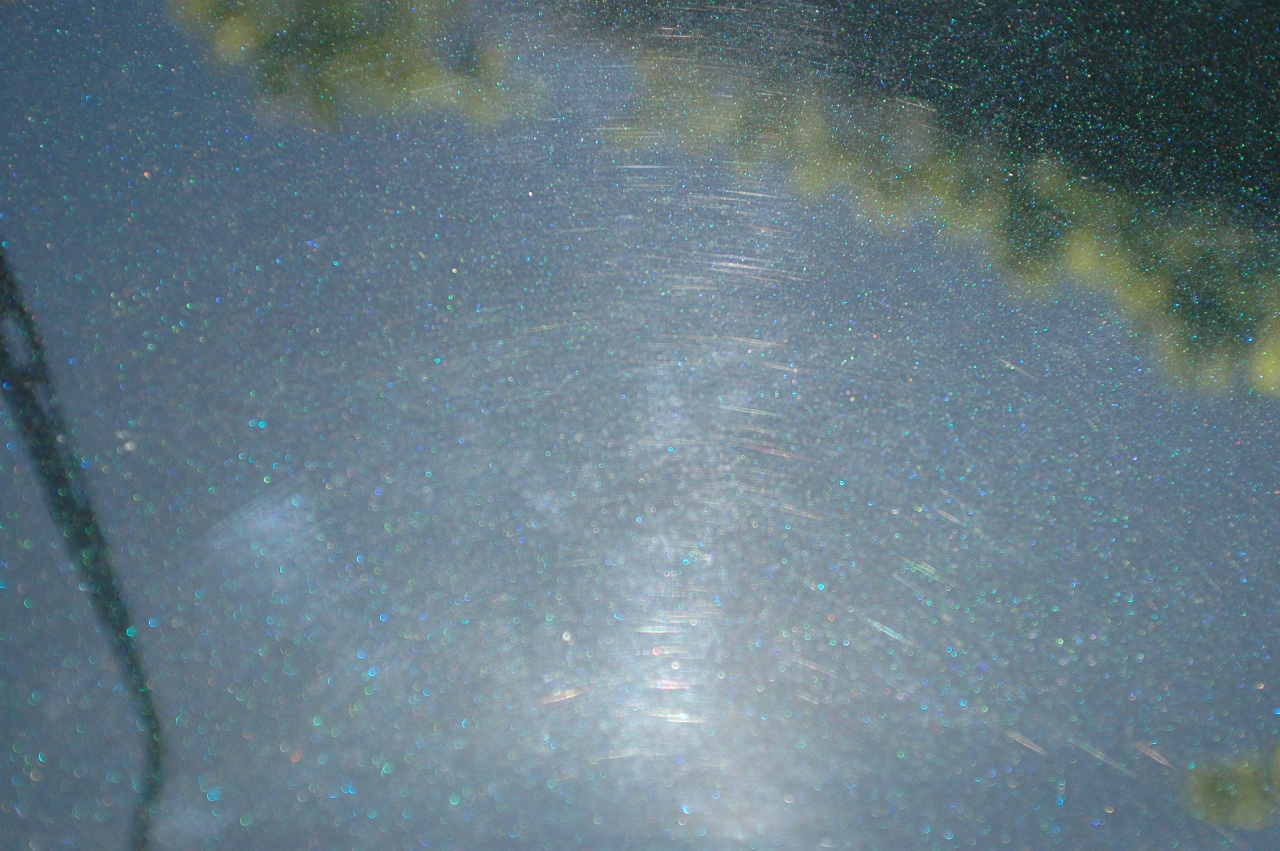
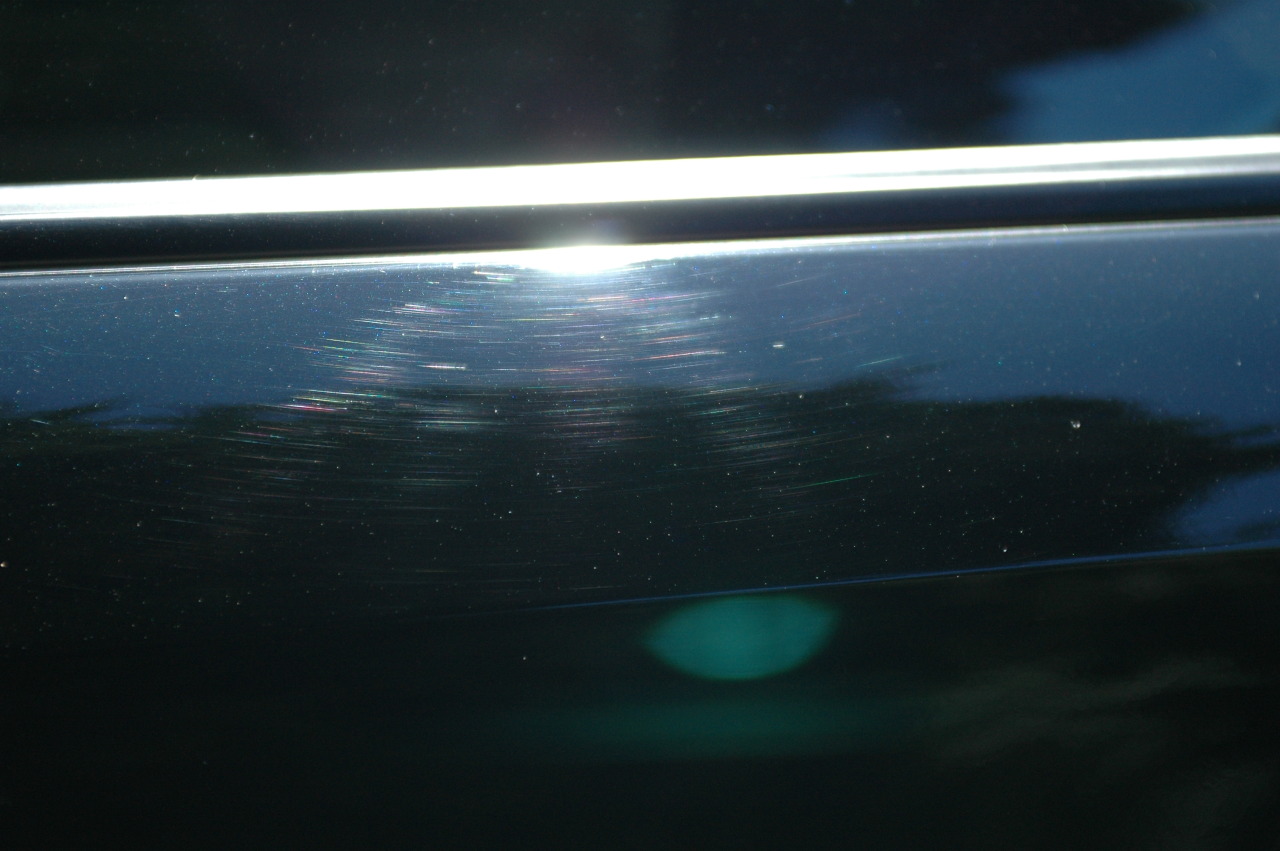
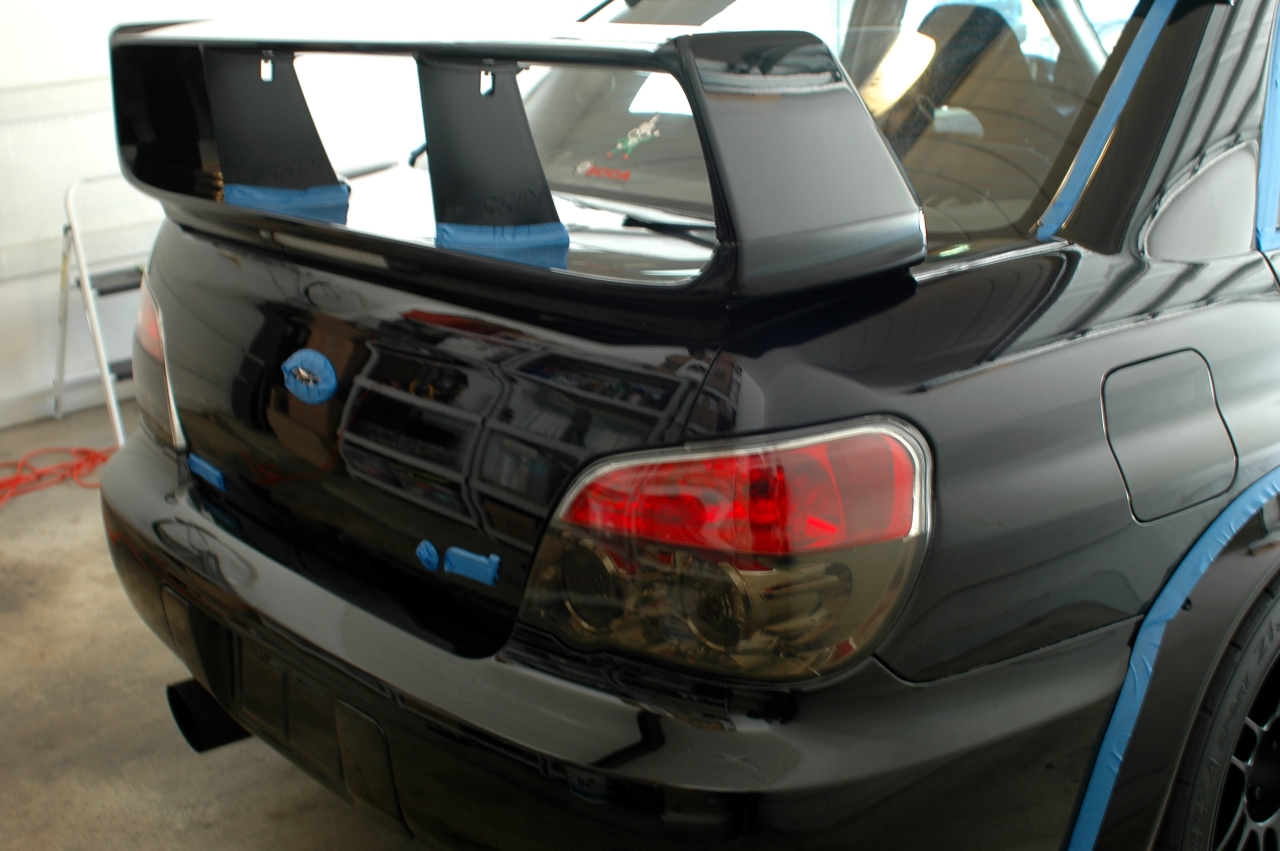
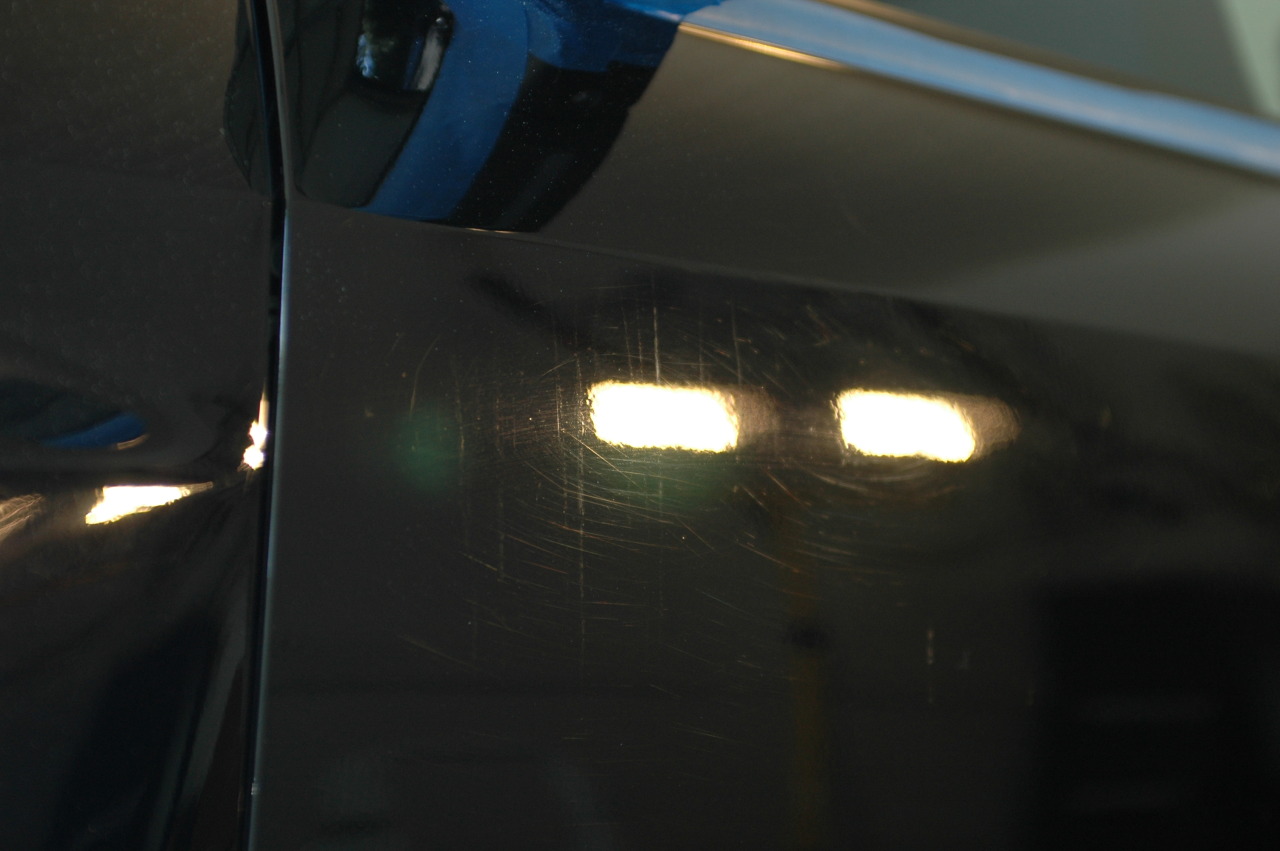
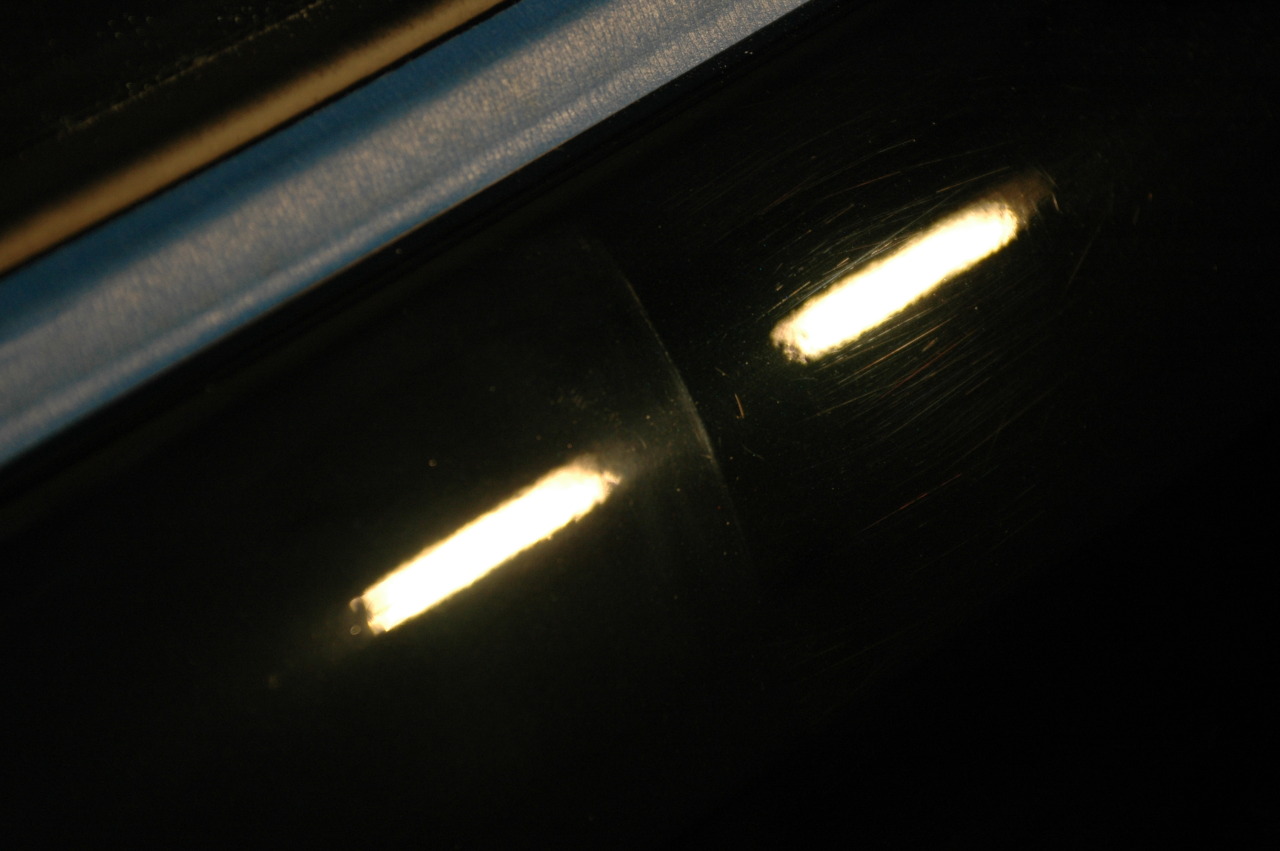
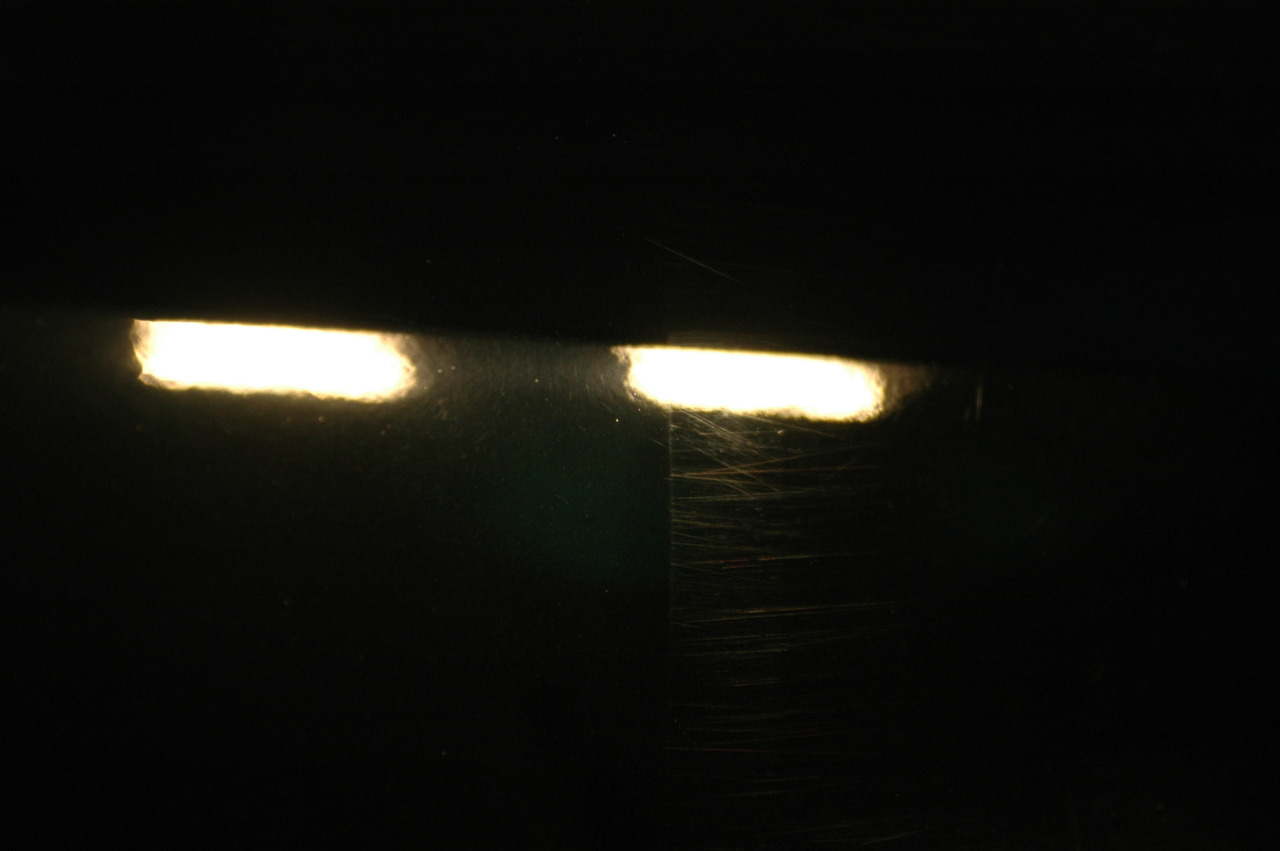
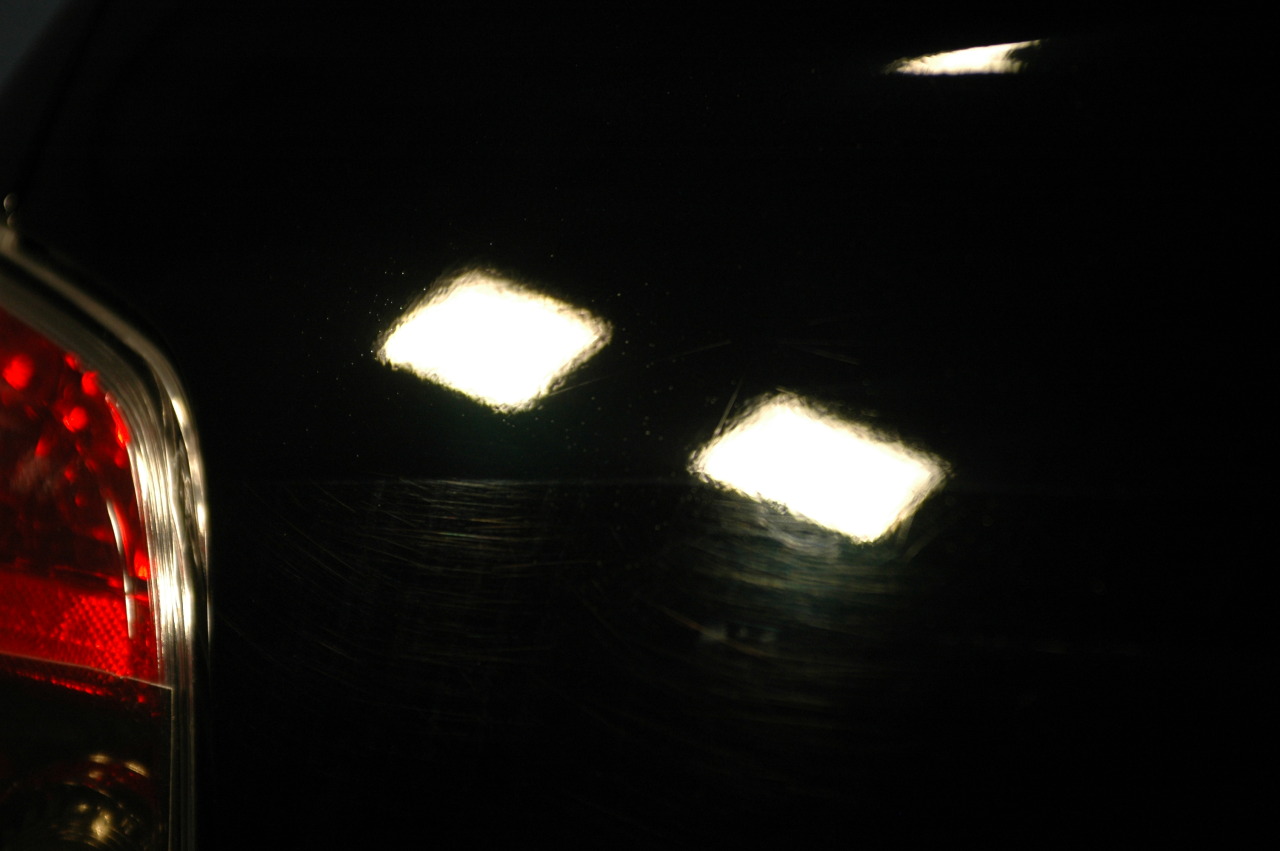
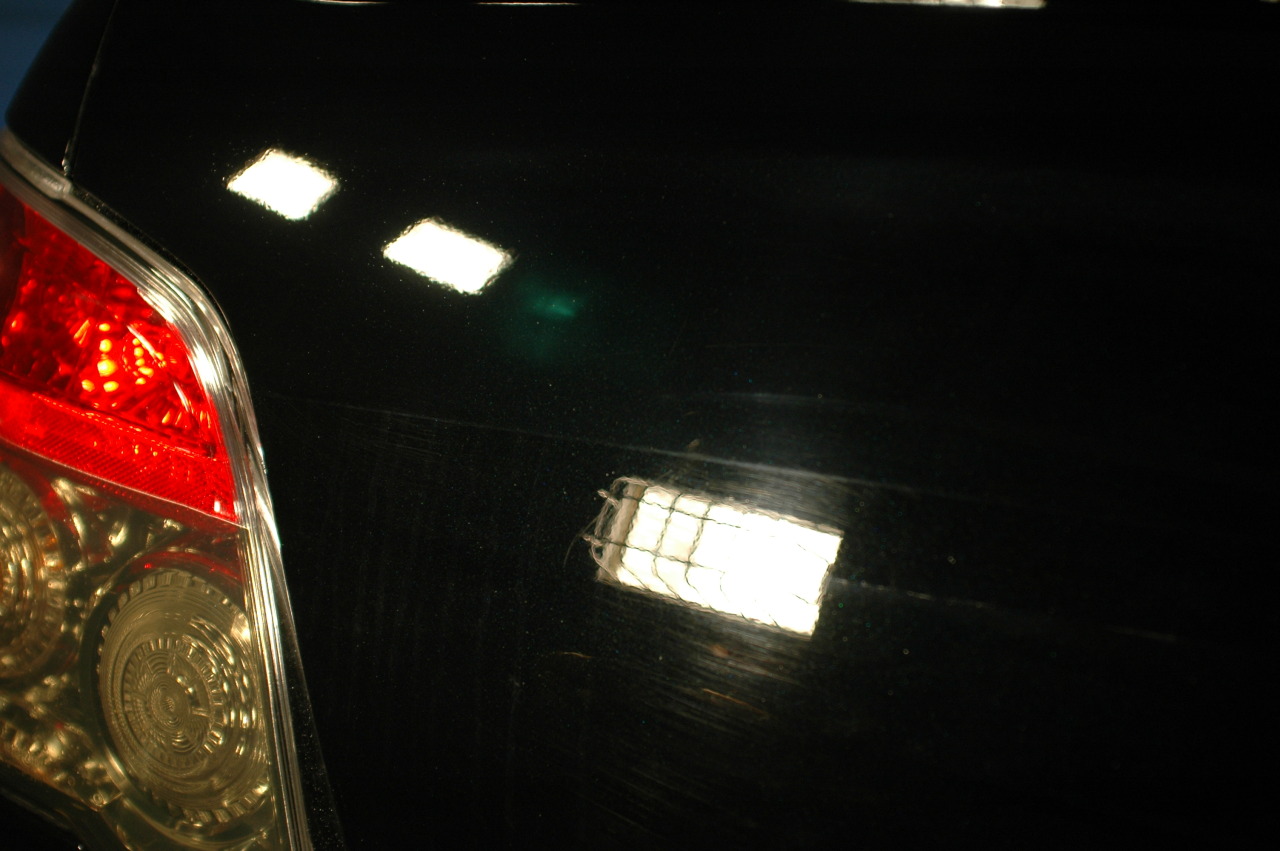
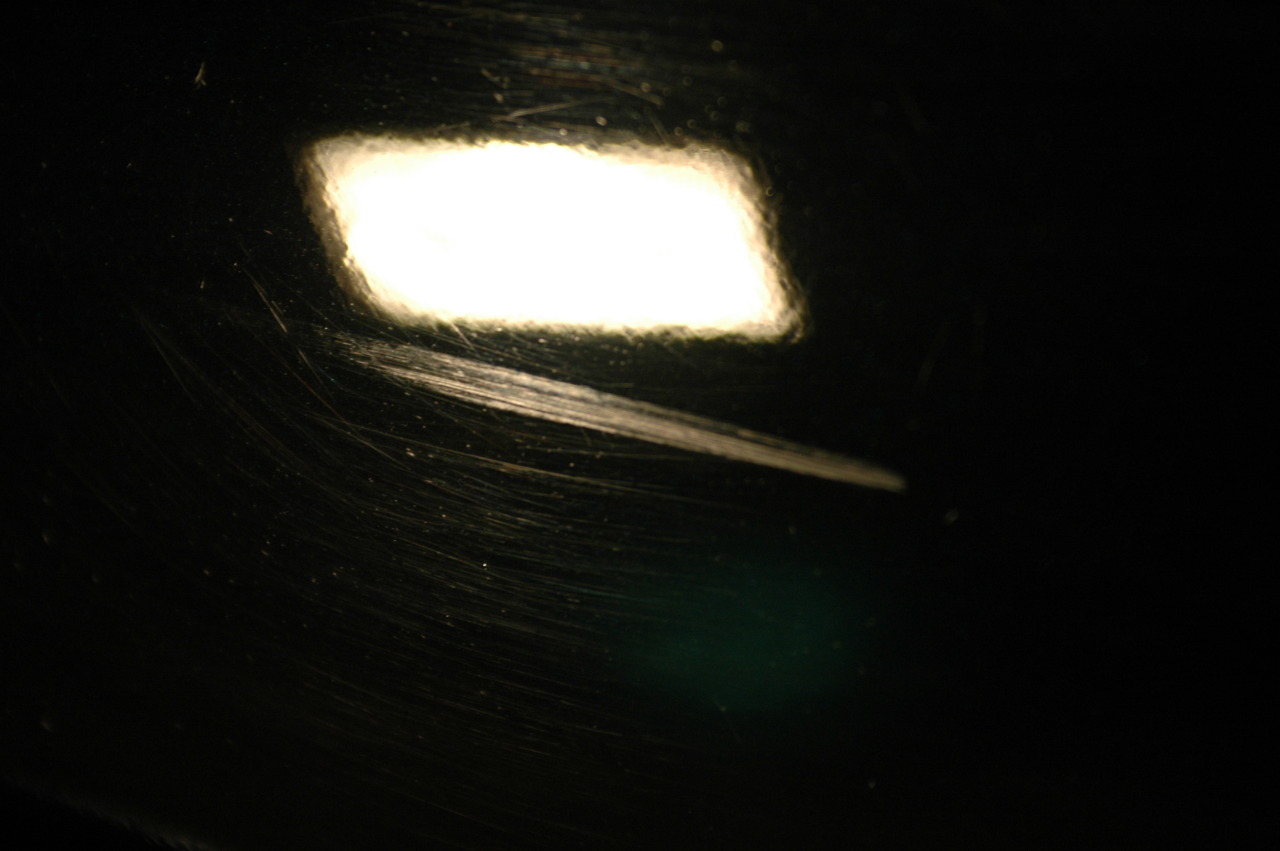
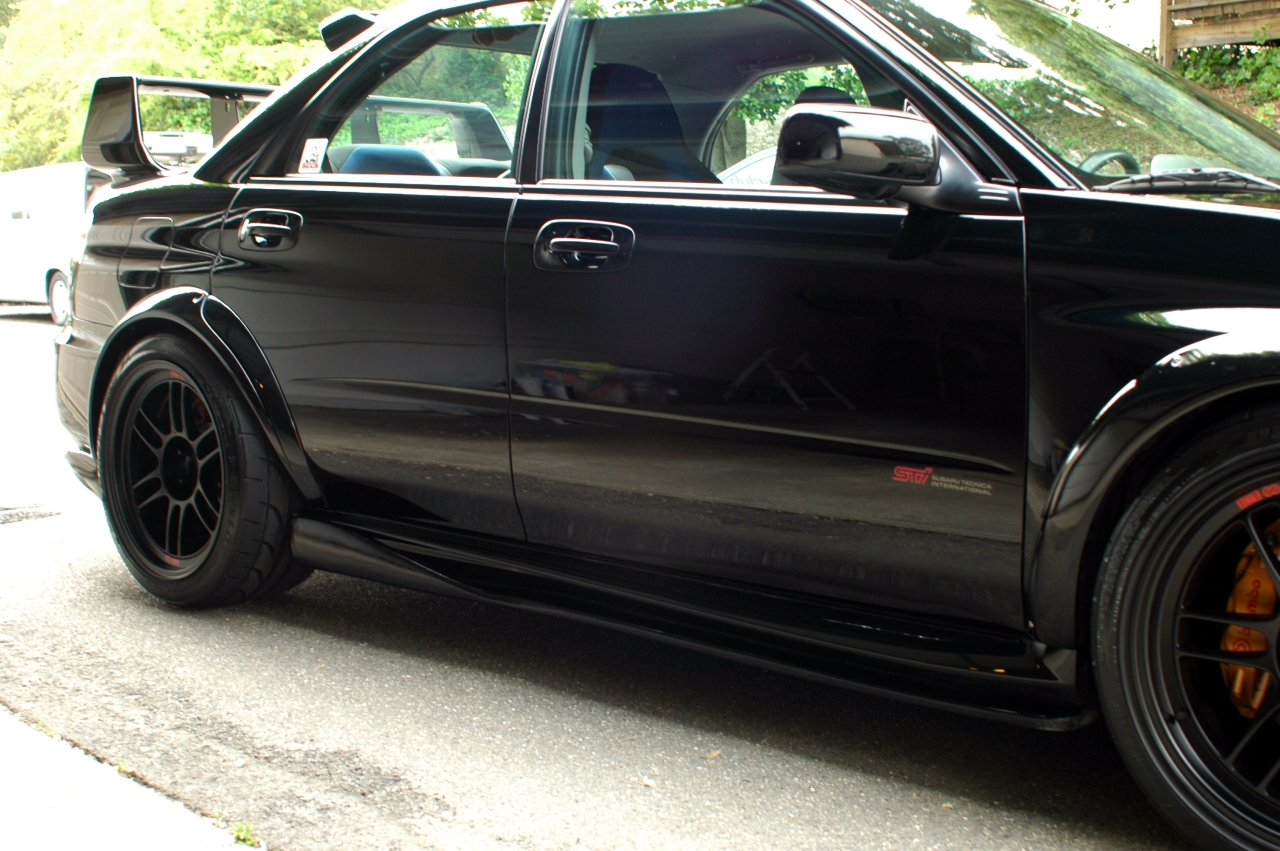
You can see mild swirling and scratches from the sunlight from panel to panel.
Water spots from spoiler crevices.
Dual bucket multi step wash and rinse down.
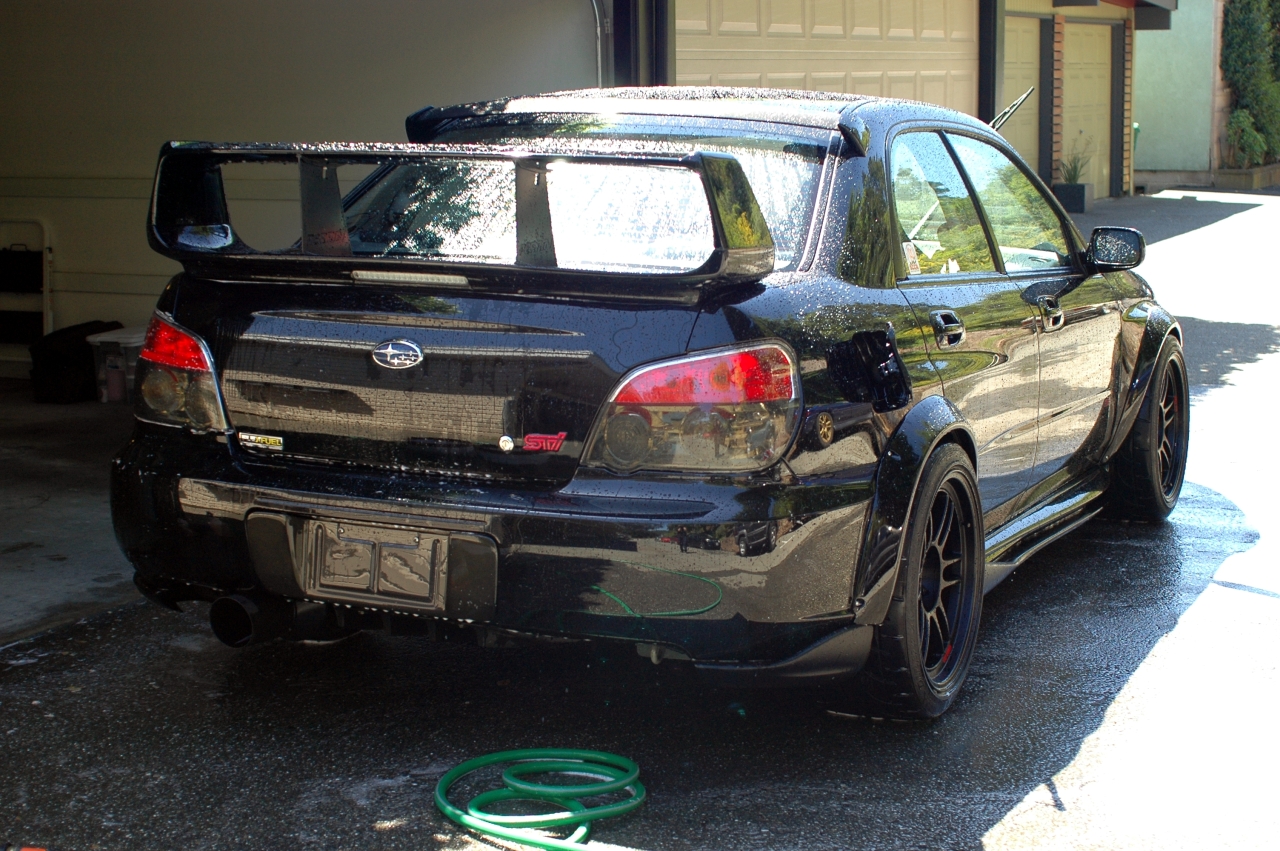
Now that the car is washed of all surface debris, we inspect the exterior again for a better understanding of it's condition. Inspection shows what is expected for black cars.
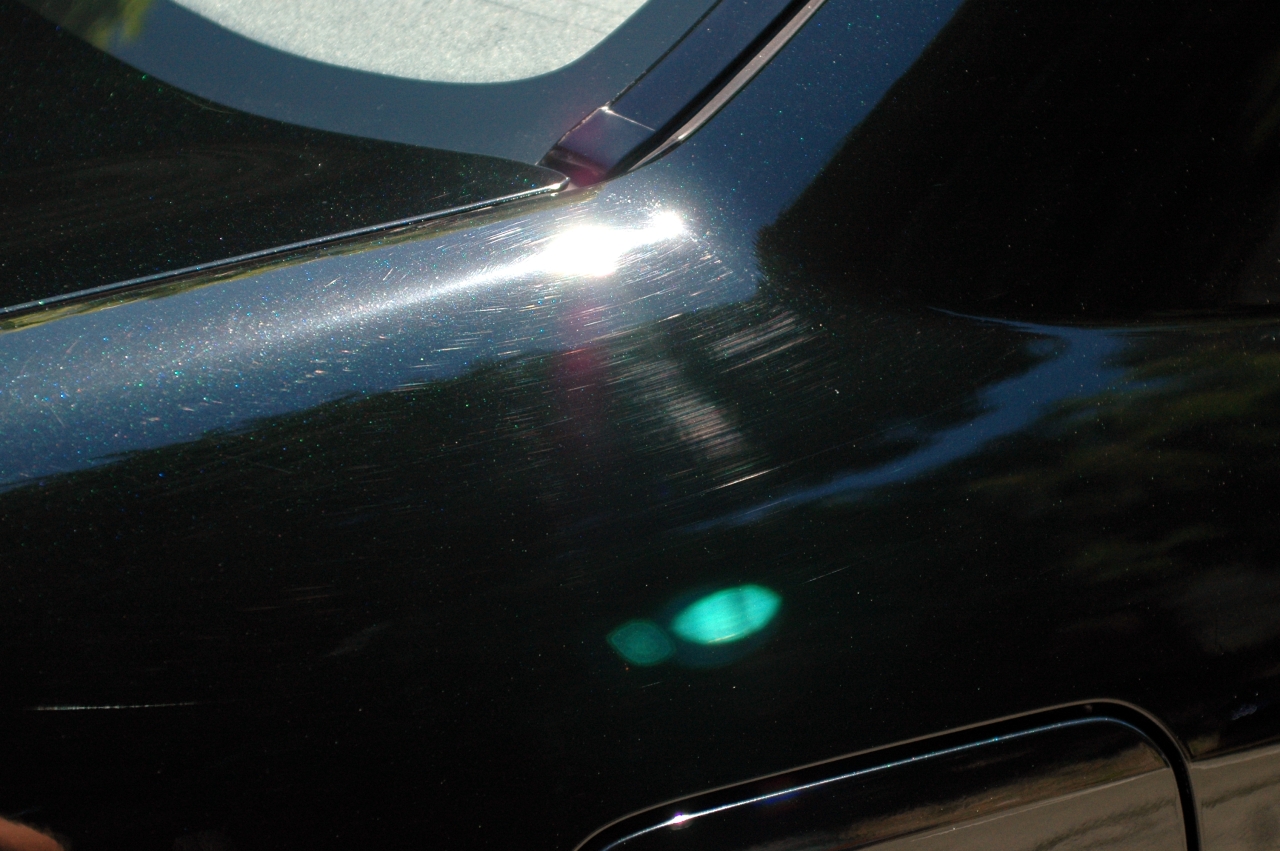
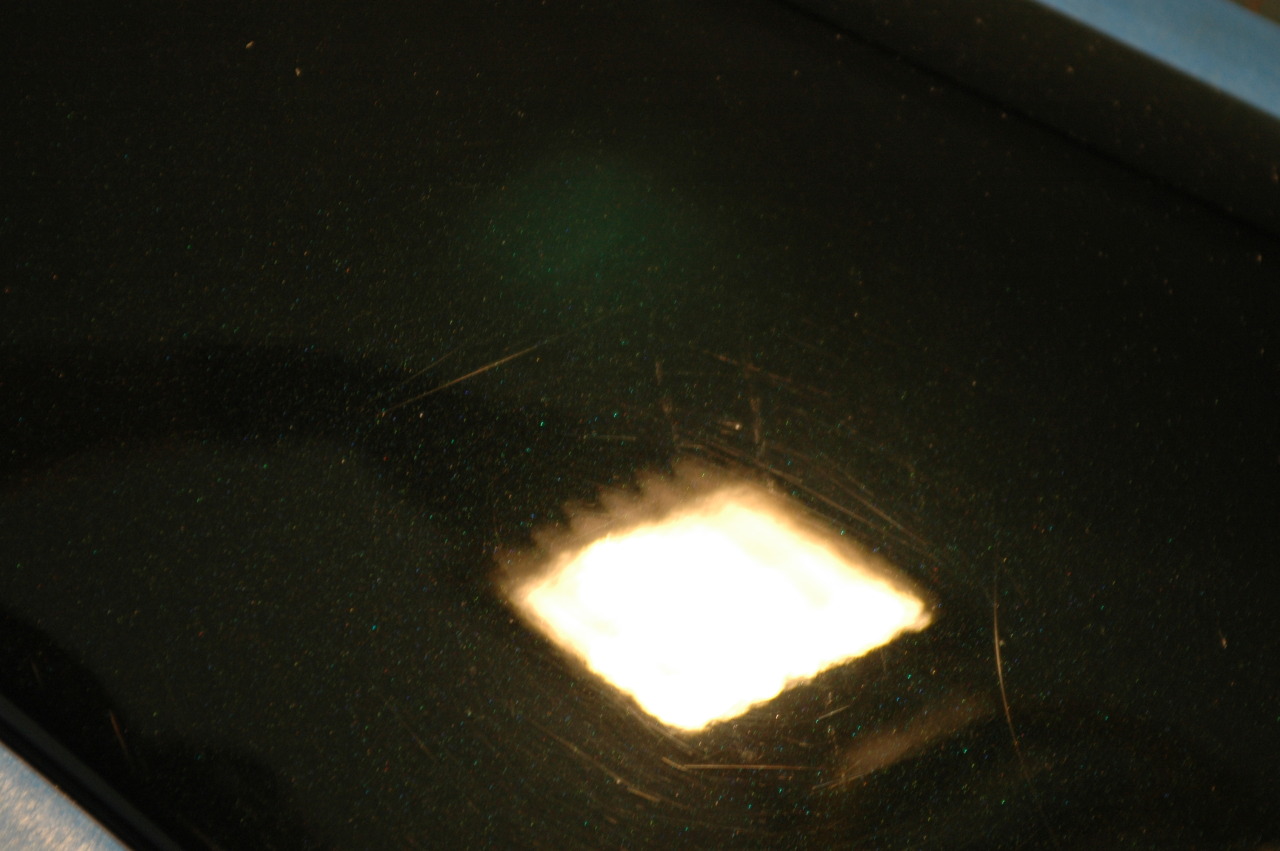
Hood has some hazing over some spots, etched water spots, swirls and cobwebbing.
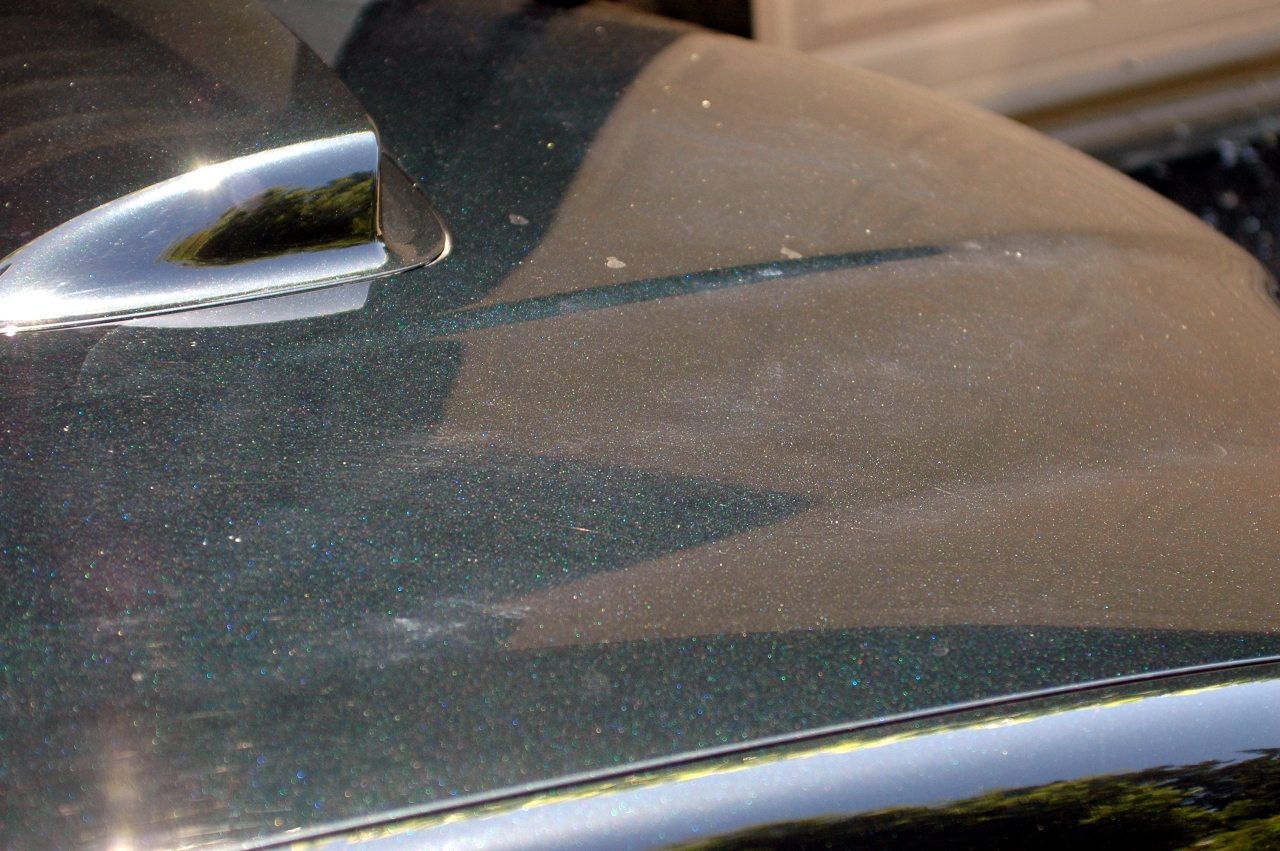
More cobwebbing on the hood.
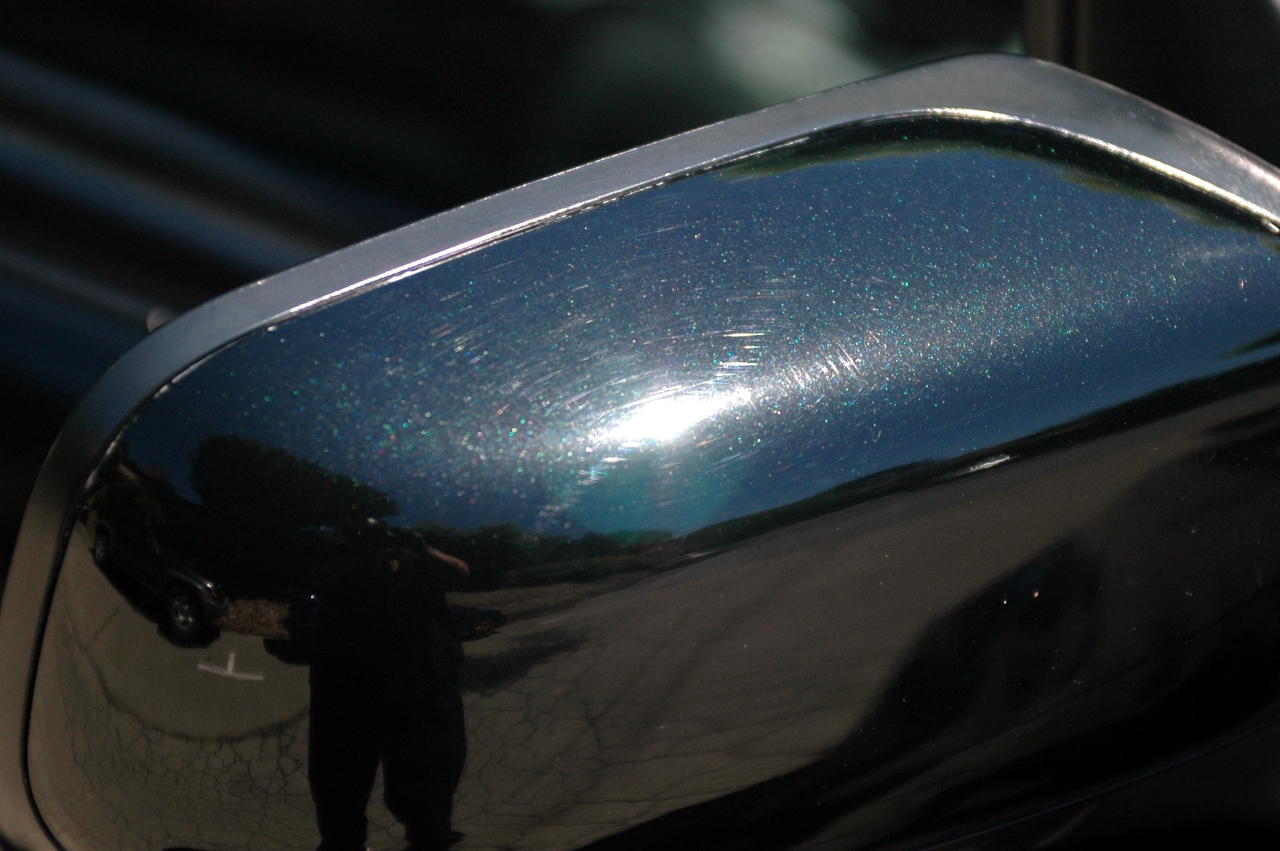
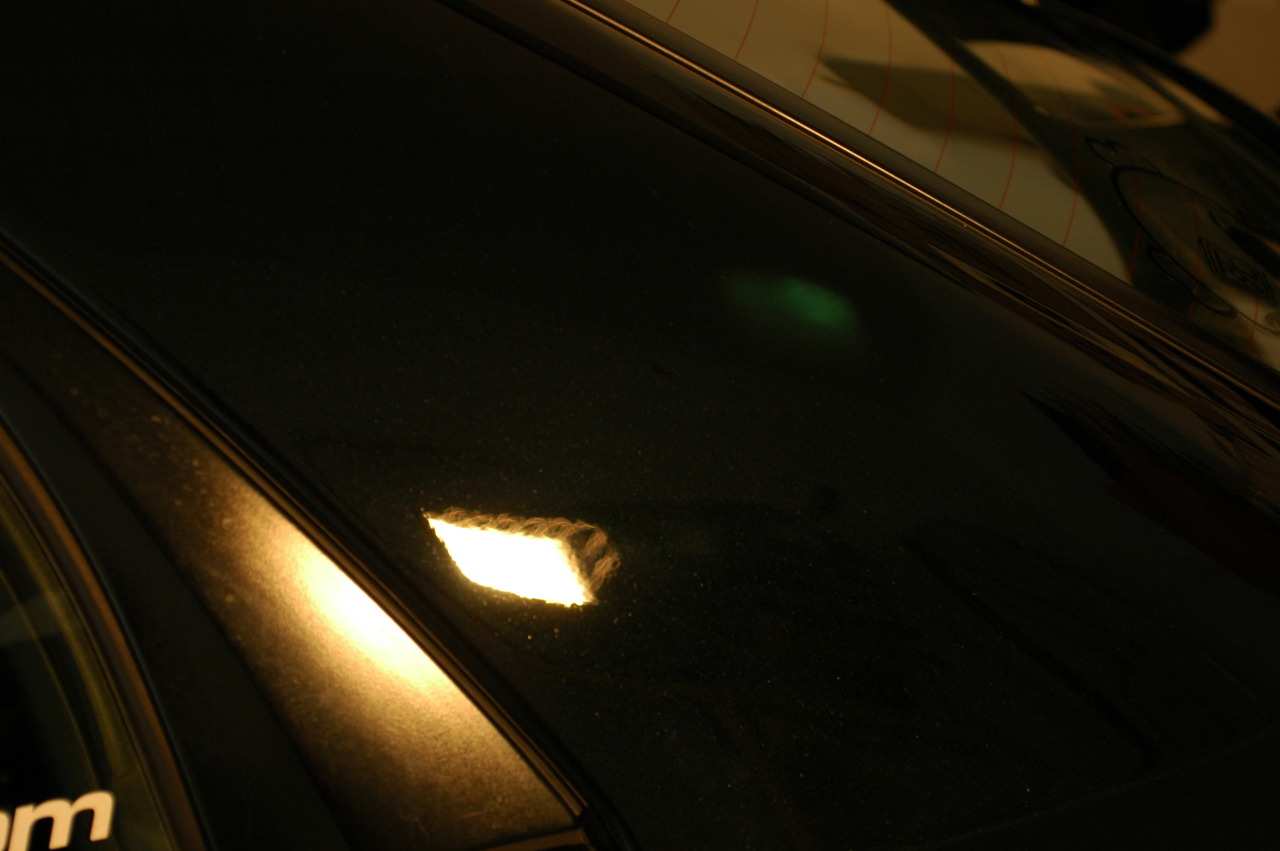
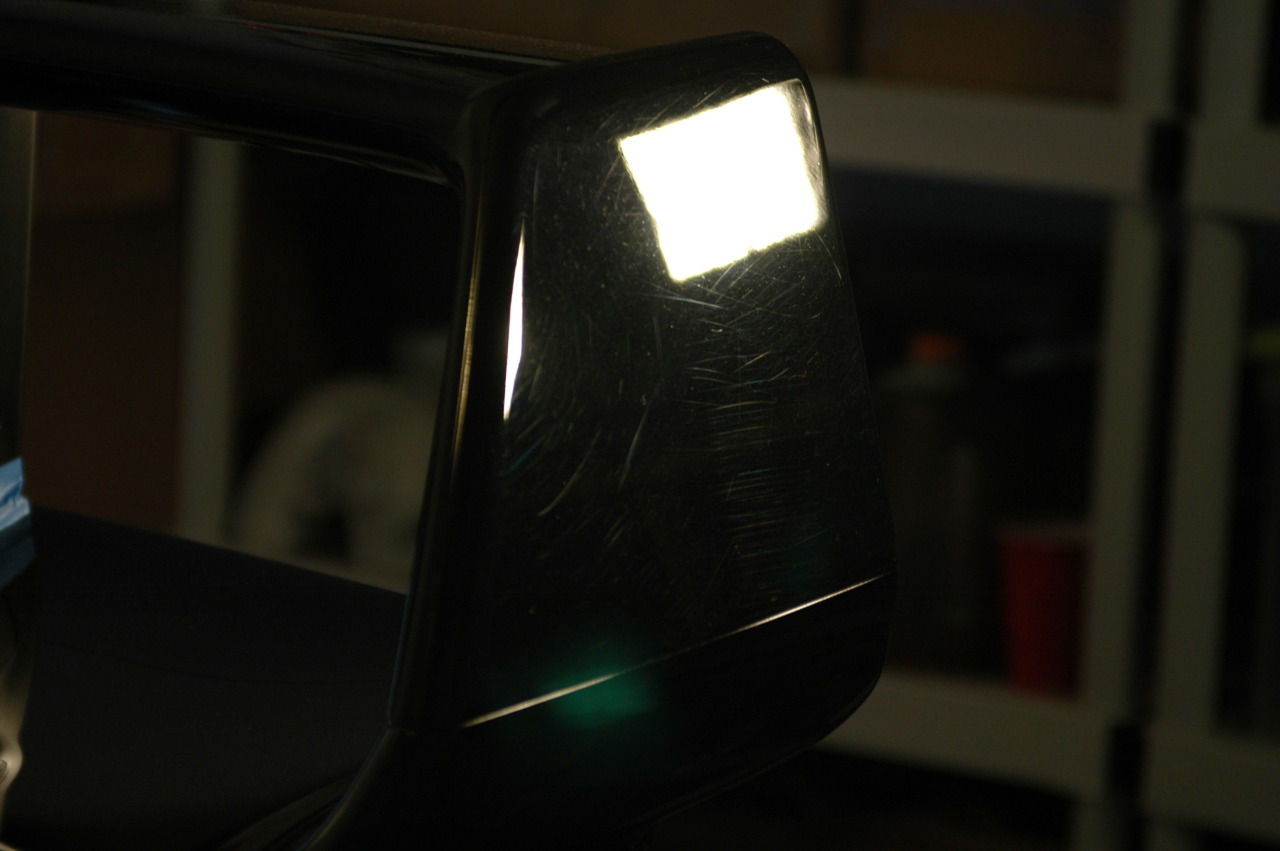
Same on the mirrors!
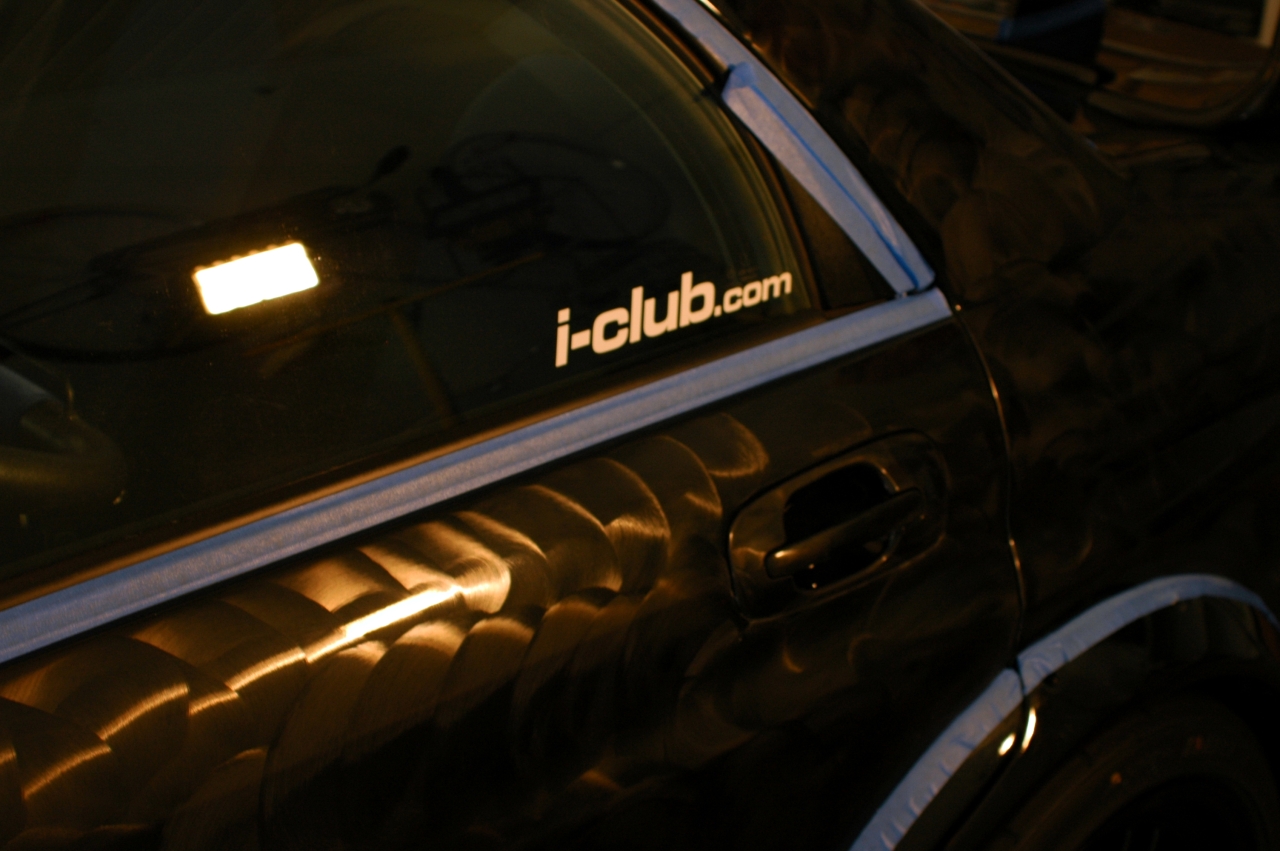
More on the doors
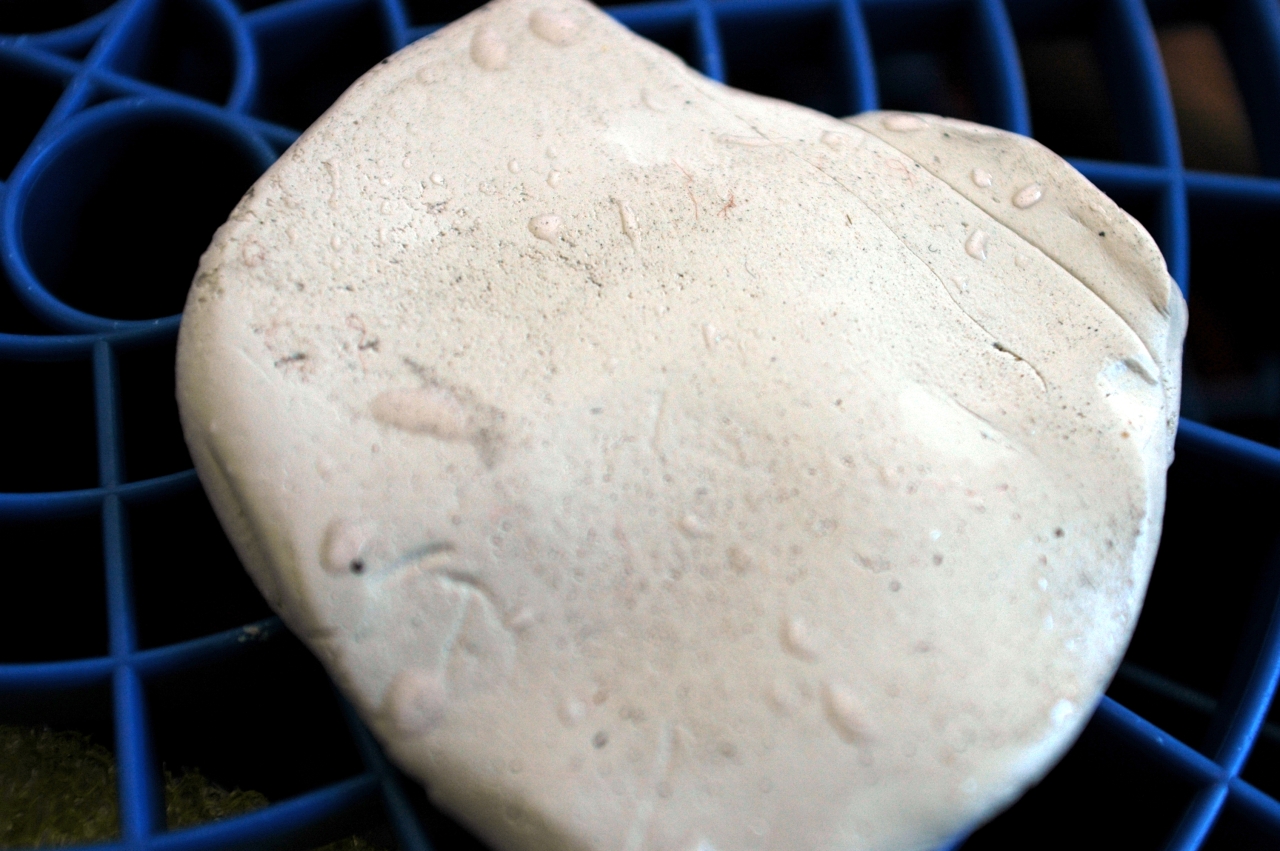
Vehicle has been claybarred twice a year and garage kept. After claying the hood section, not much build up at all.
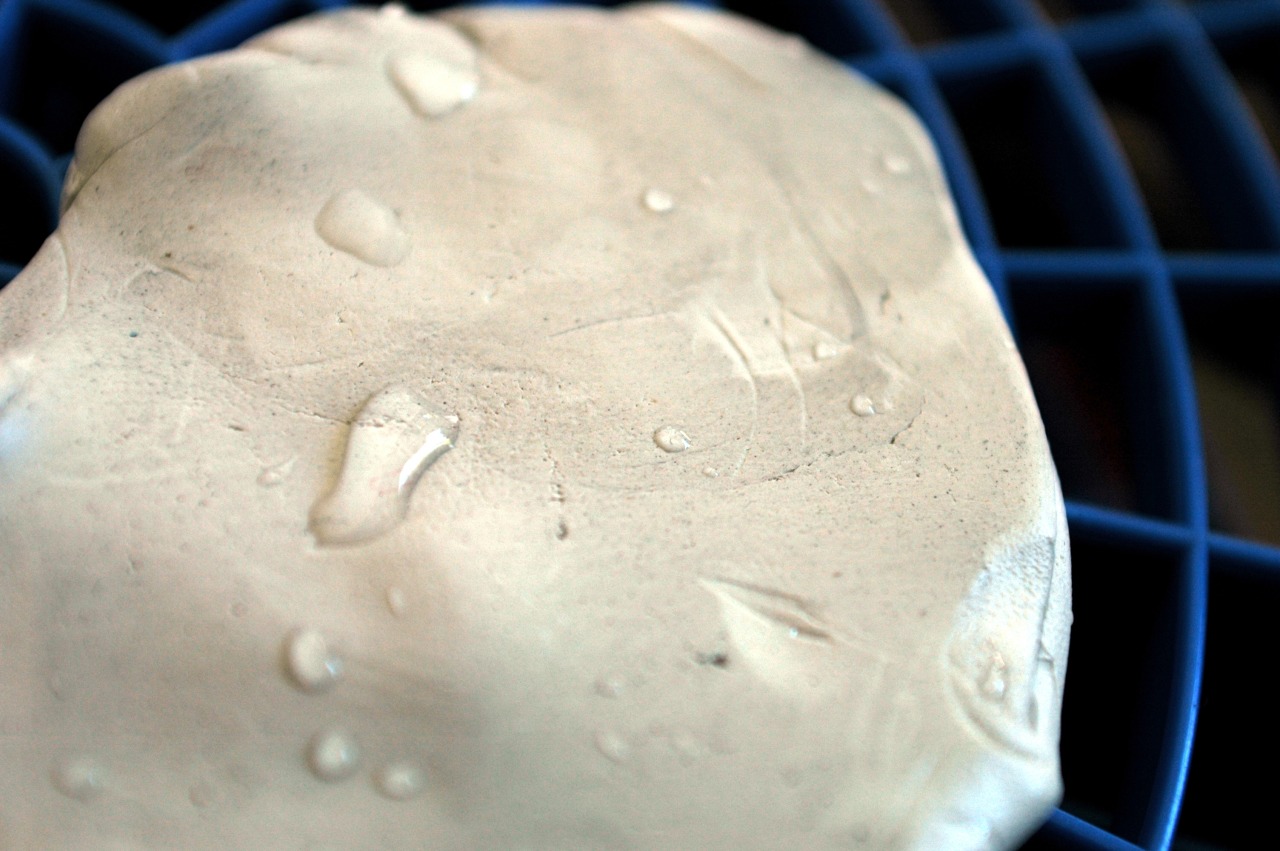
After claying part of the roof, a little bit more contamination, but not much.
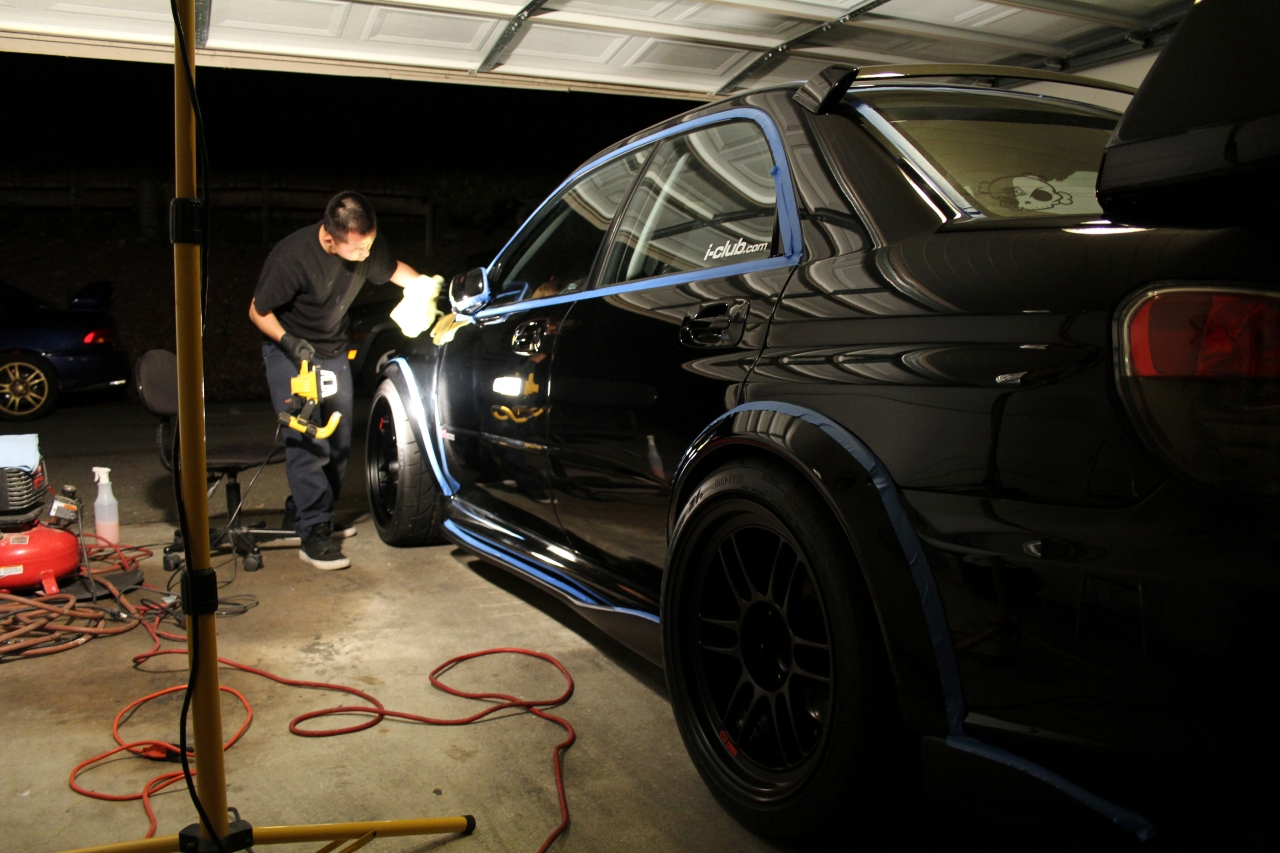
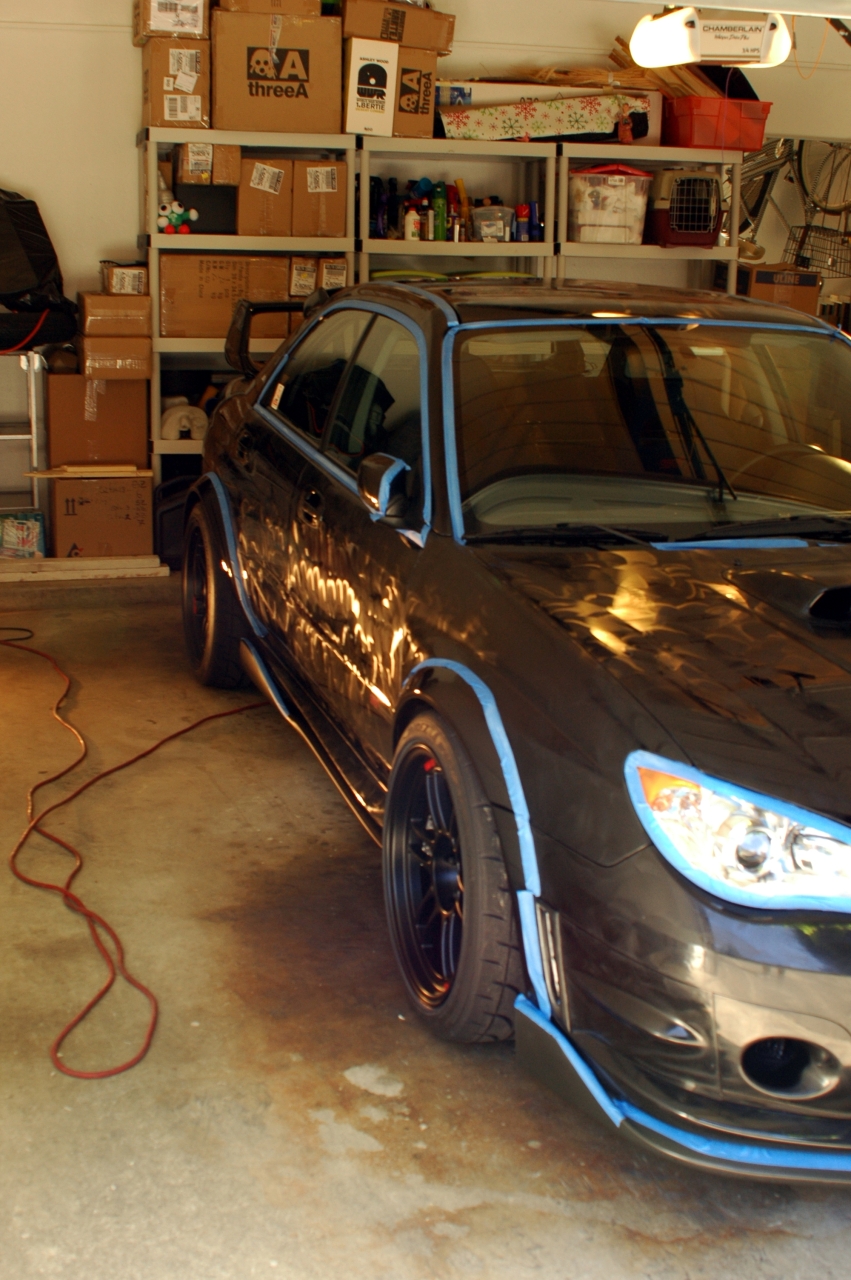
All masked up and ready for the paint correction to begin!
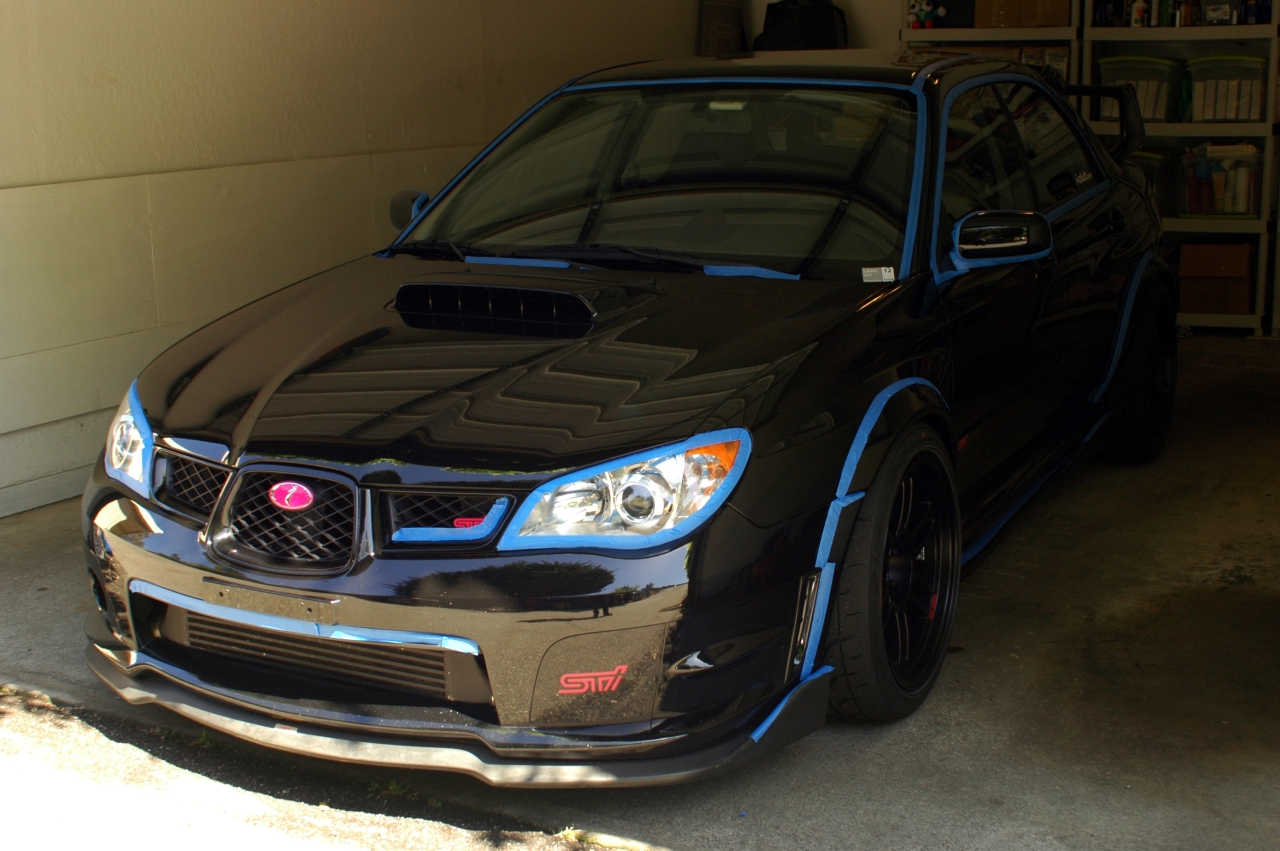
Masked up all around.

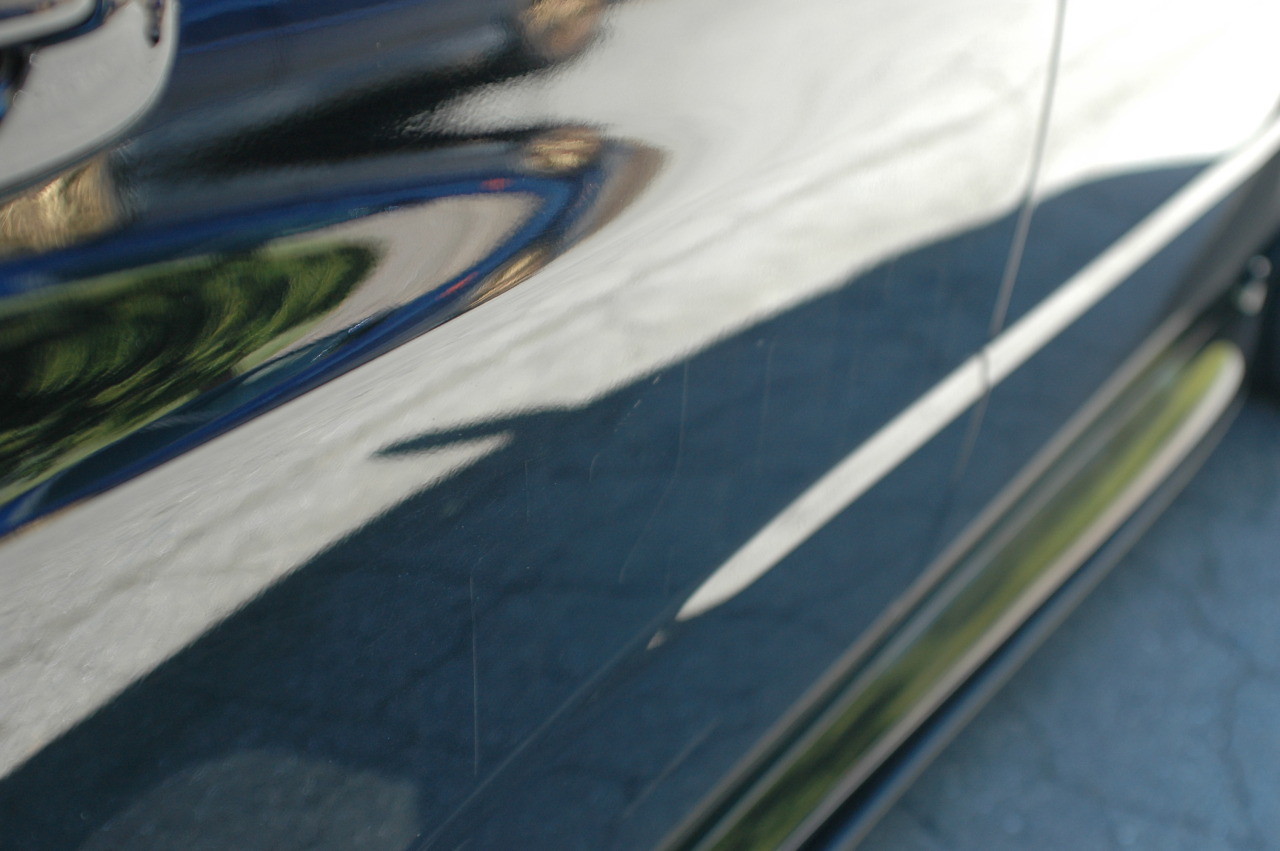
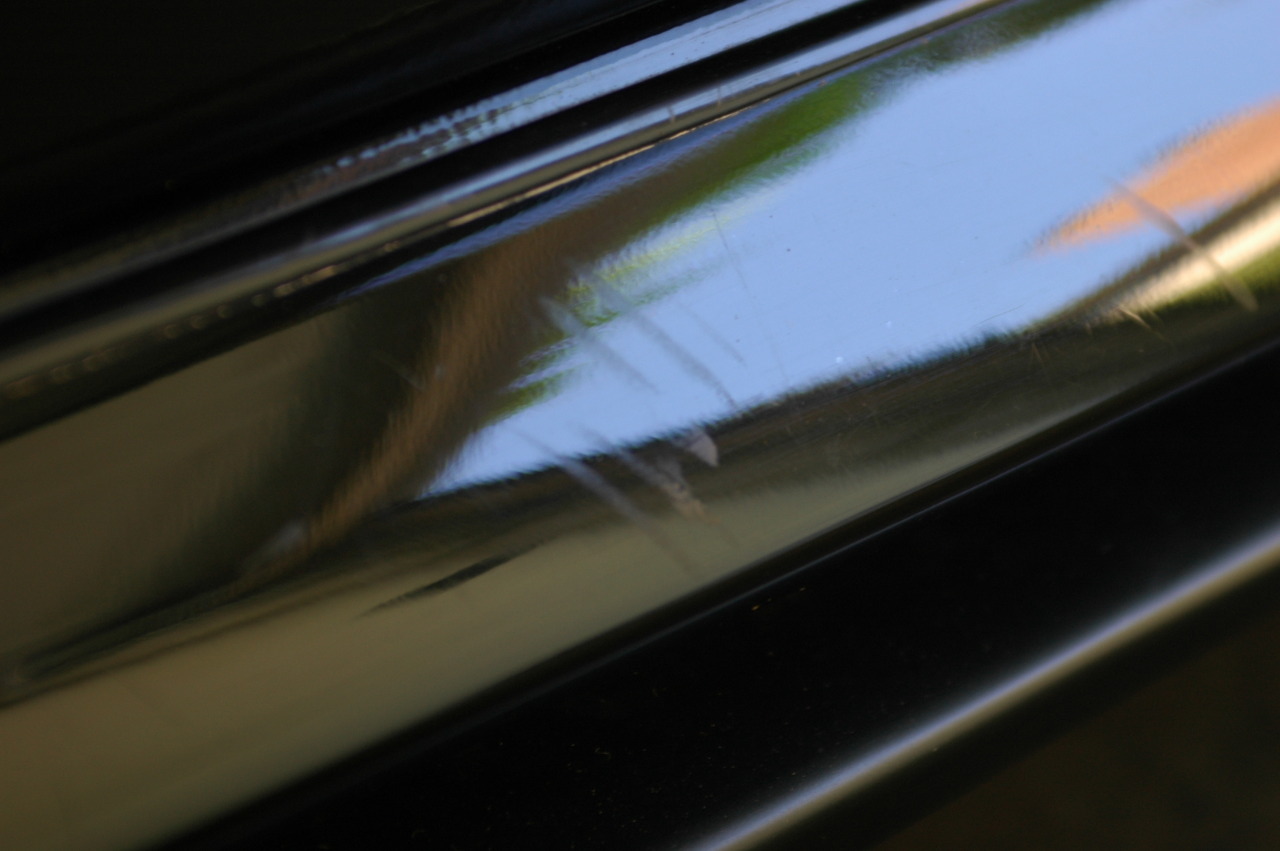
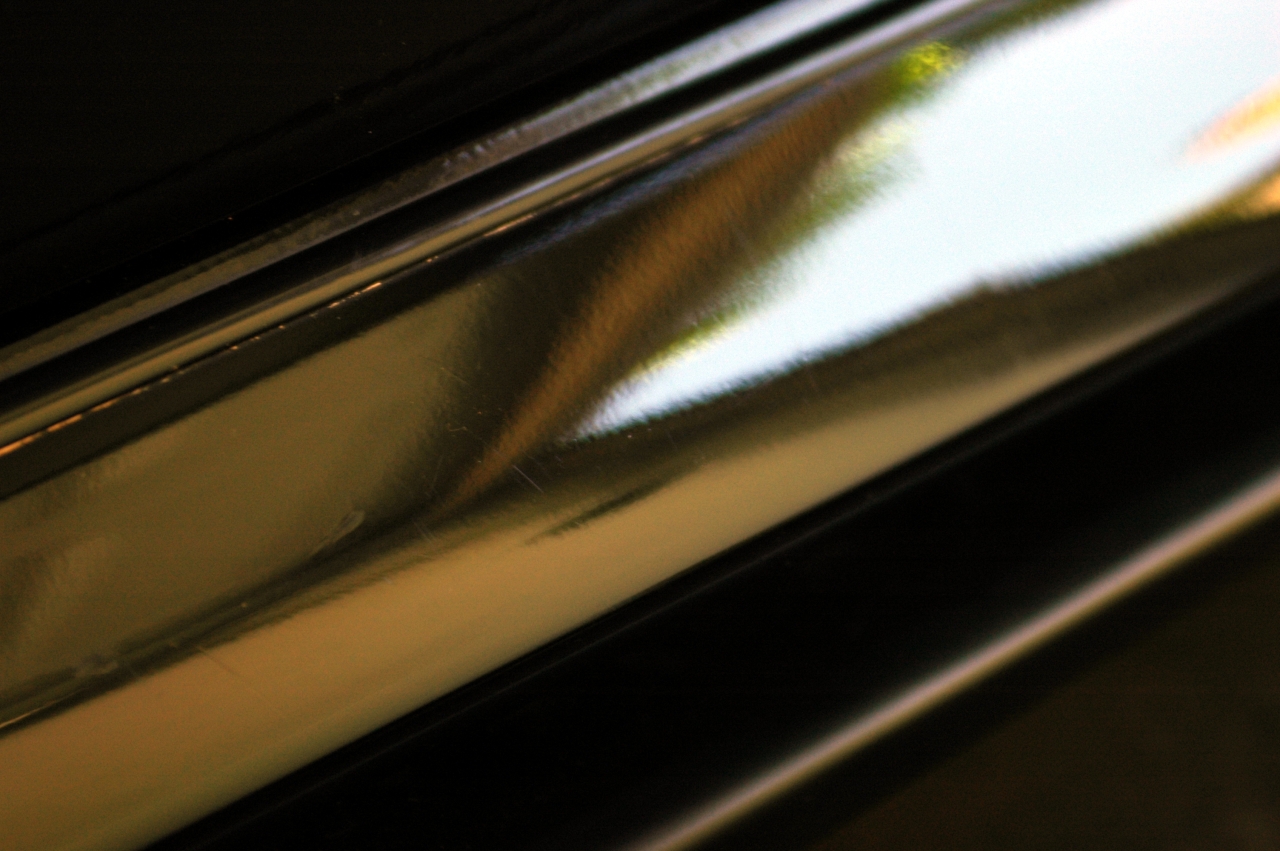
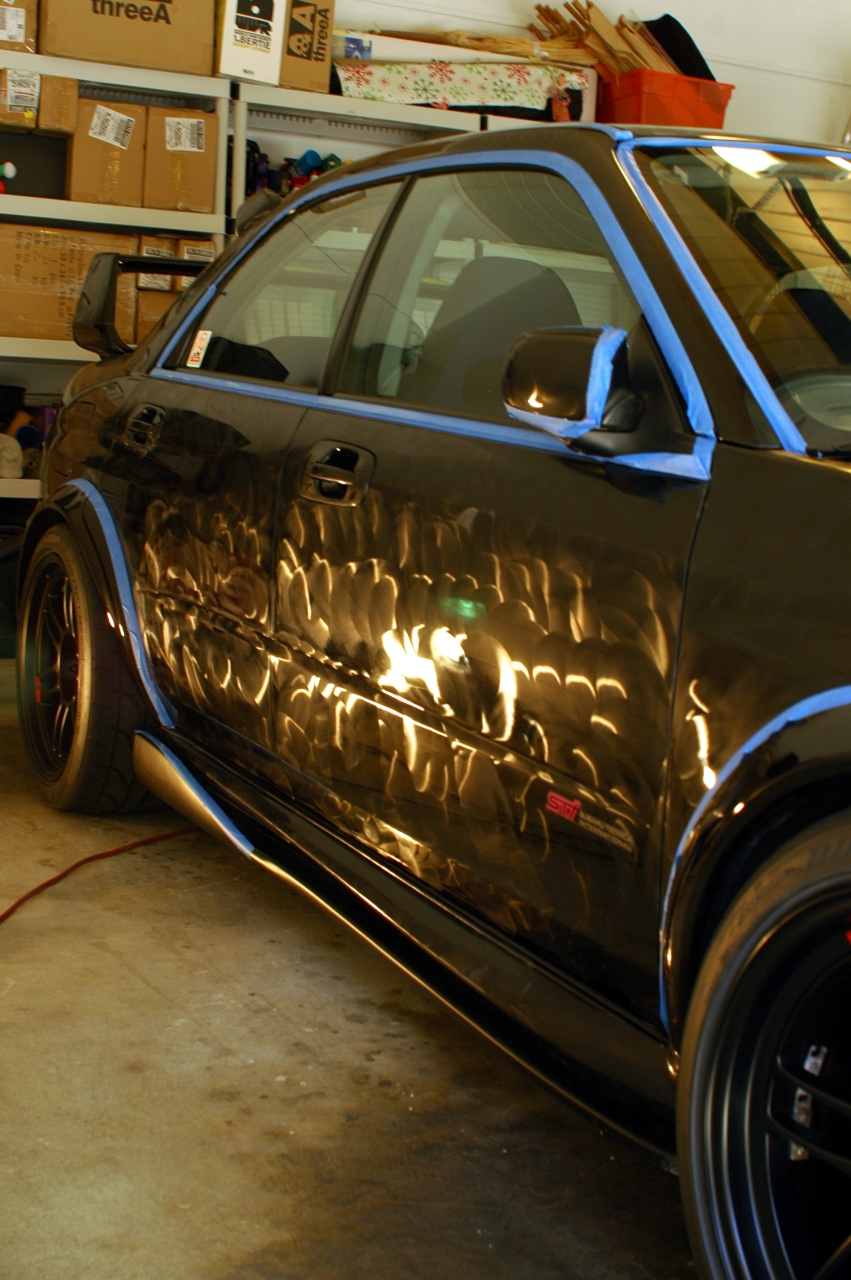
Front driver door with moderate swirling all around.

Front of door shows etched water spots from trapped water drippings.
50/50 with M105 Cutting compound and yellow cutting pad.
Before and after of door panel, as you can see the majority of the swirls and defects on the clear coat have been corrected. Dull at first because this is only one step of a dual step polishing procedure.
Before shot on left side C pillar.
After corrected C pillar with M105 & M205
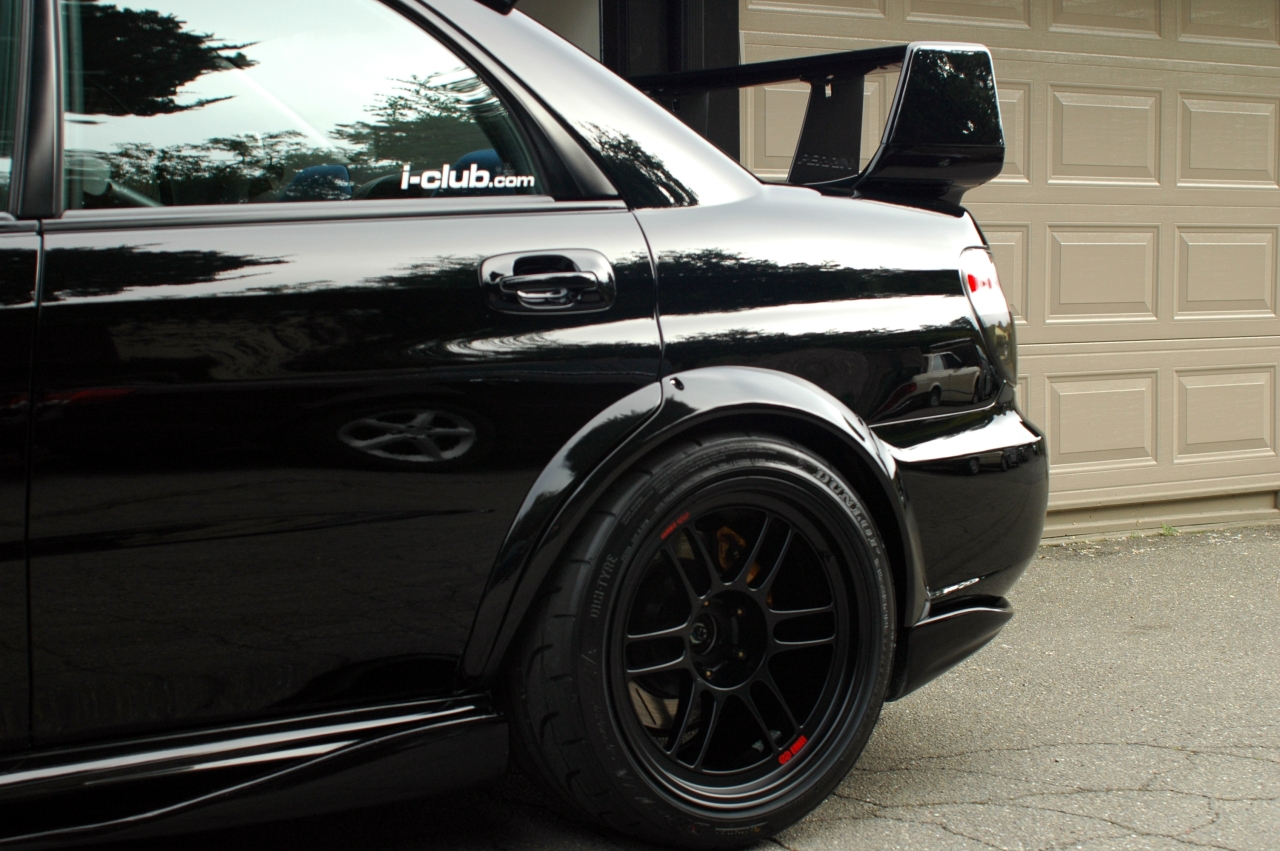
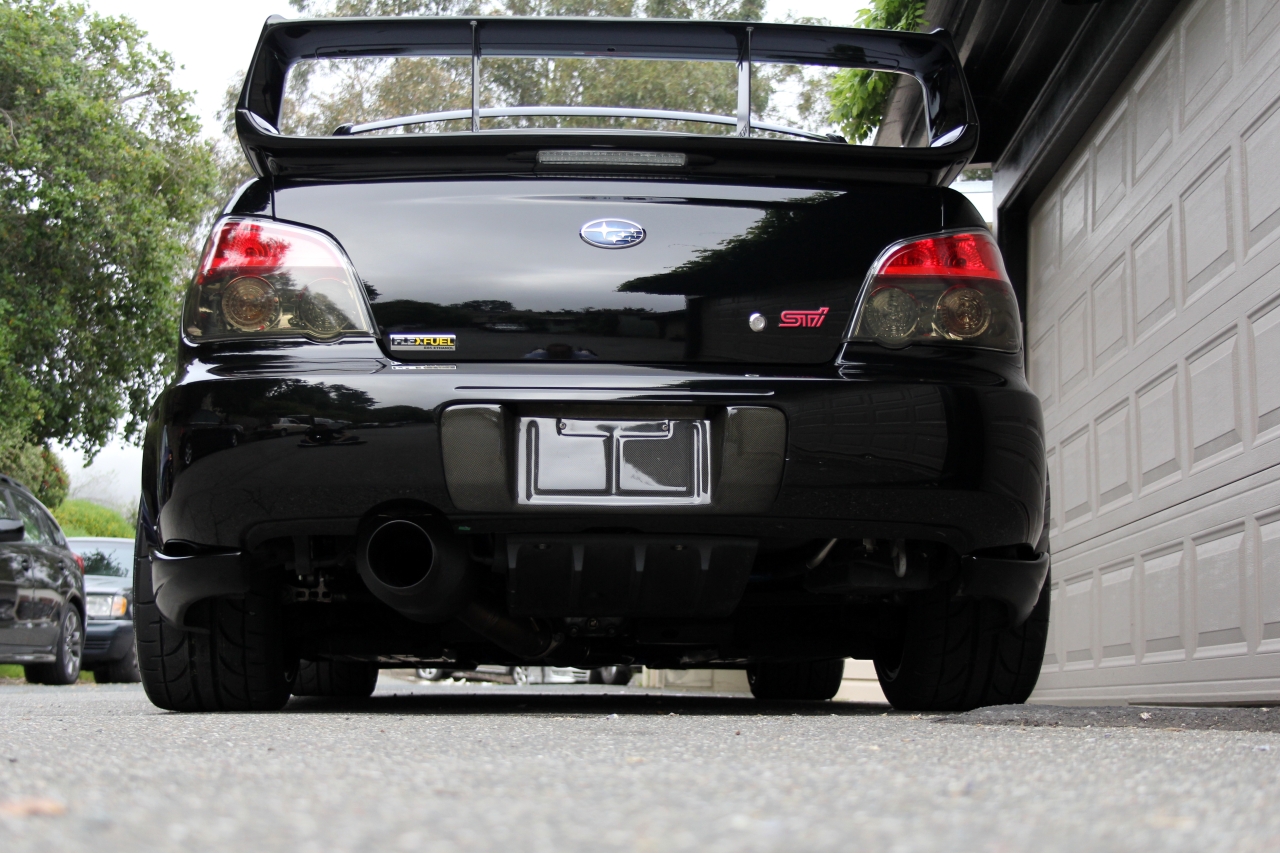
Rear window spoiler before
Rear window spoiler after
Rear spoiler also had many swirls.
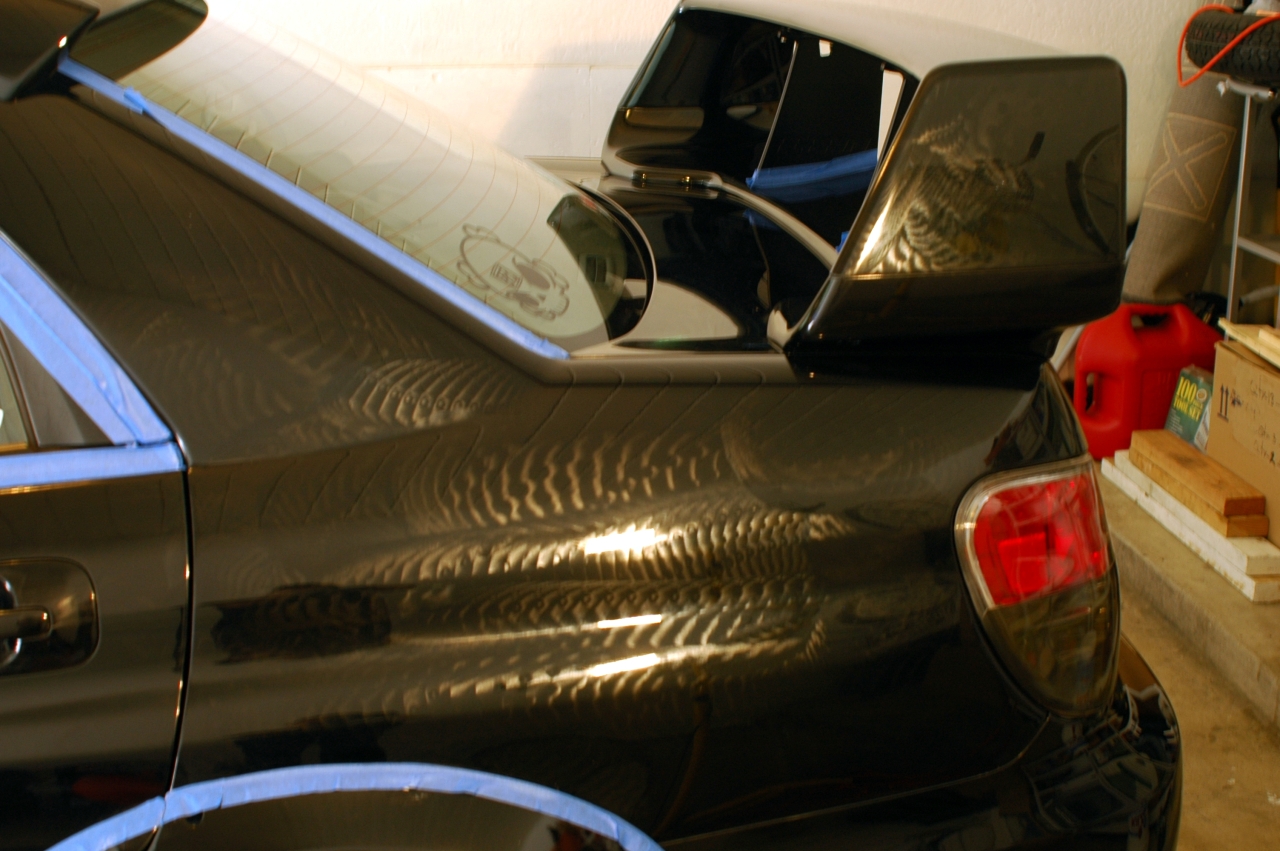
50/50 Before and after shot of trunk panel. After first step M105 with yellow cutting pad.
You can see the water etching has also been corrected.
Another RIDS that had to be corrected on one of the doors.
Prepping to work on another panel.
Inspecting the panel post correction
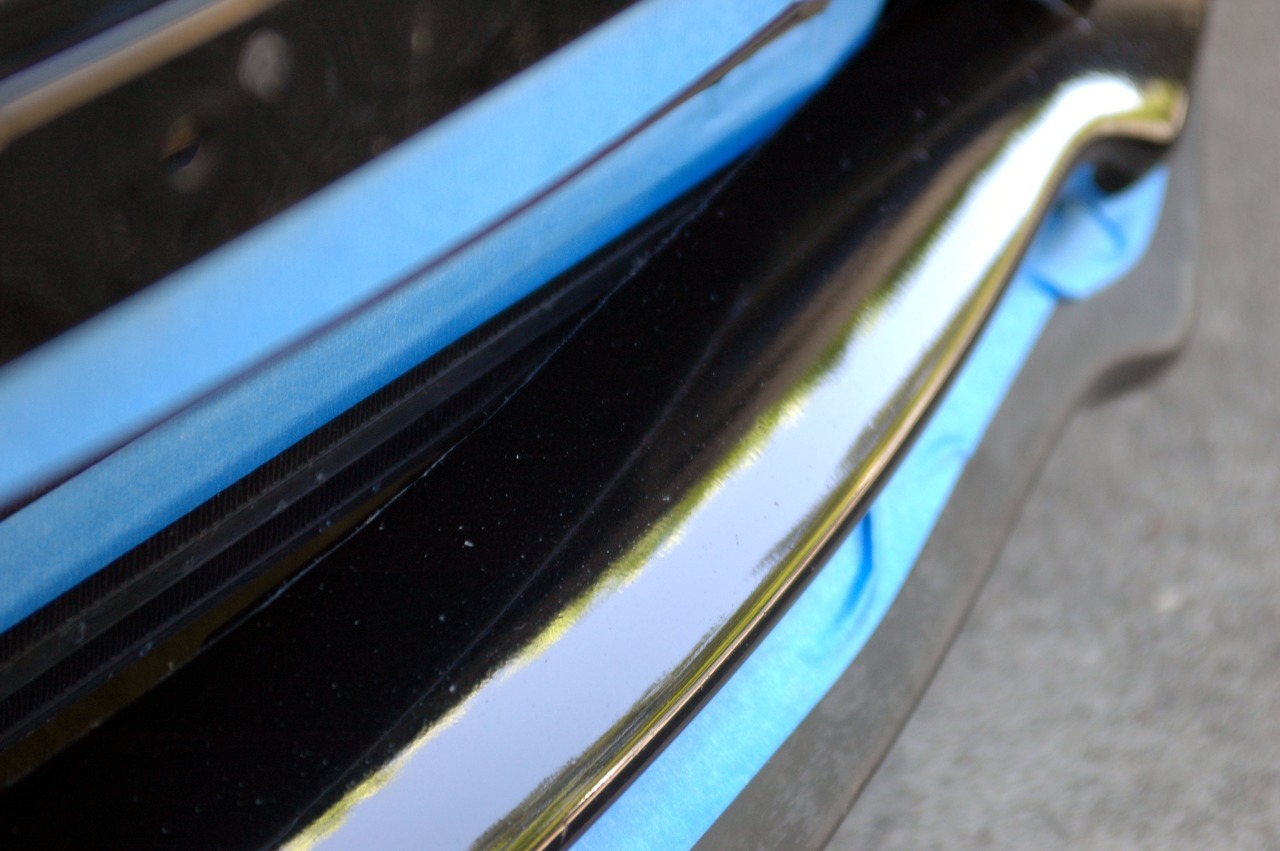
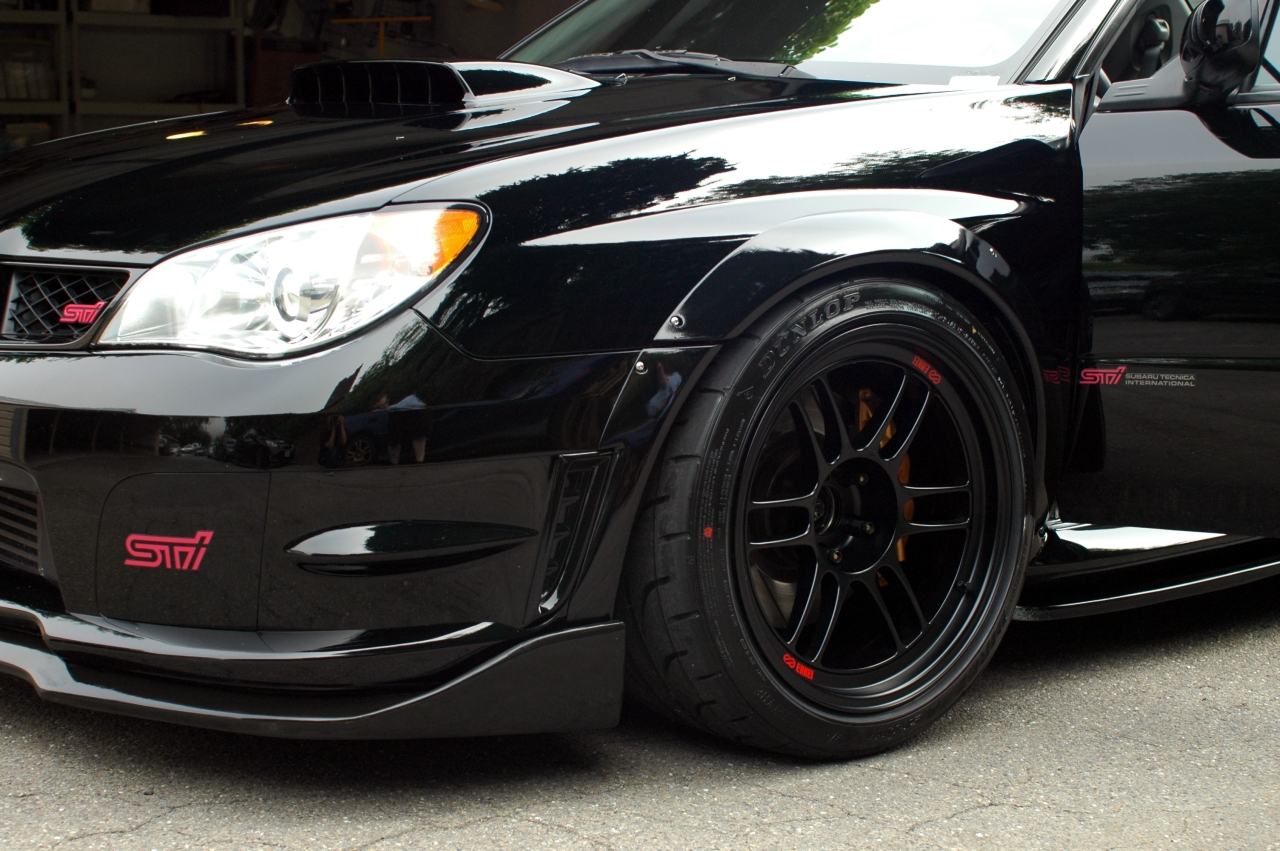
Front bumper with more scratches and etching.
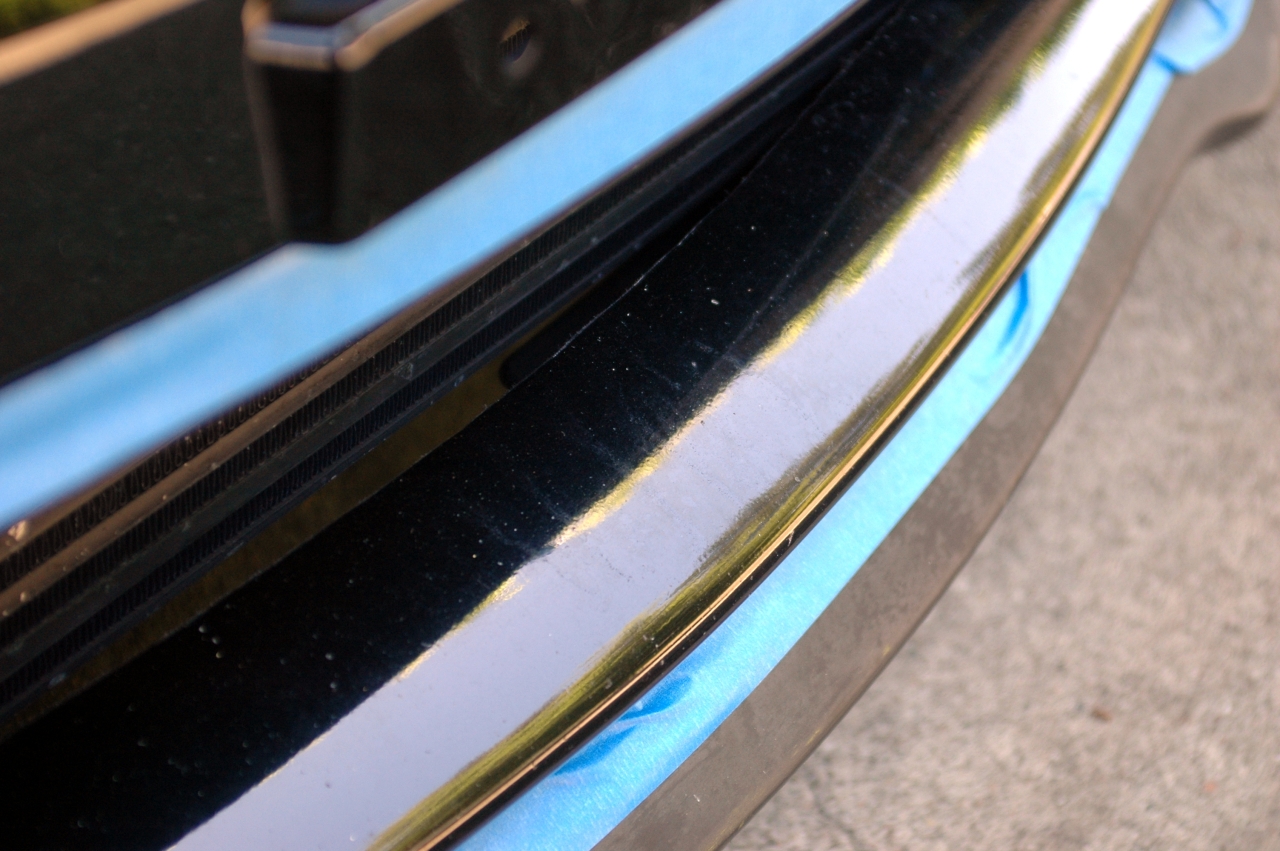
After correction with M205 and orange polishing pad.
Another usual one, scuff marks on passenger side skirt area from shoes. Before
After with M205 & orange polishing pad.
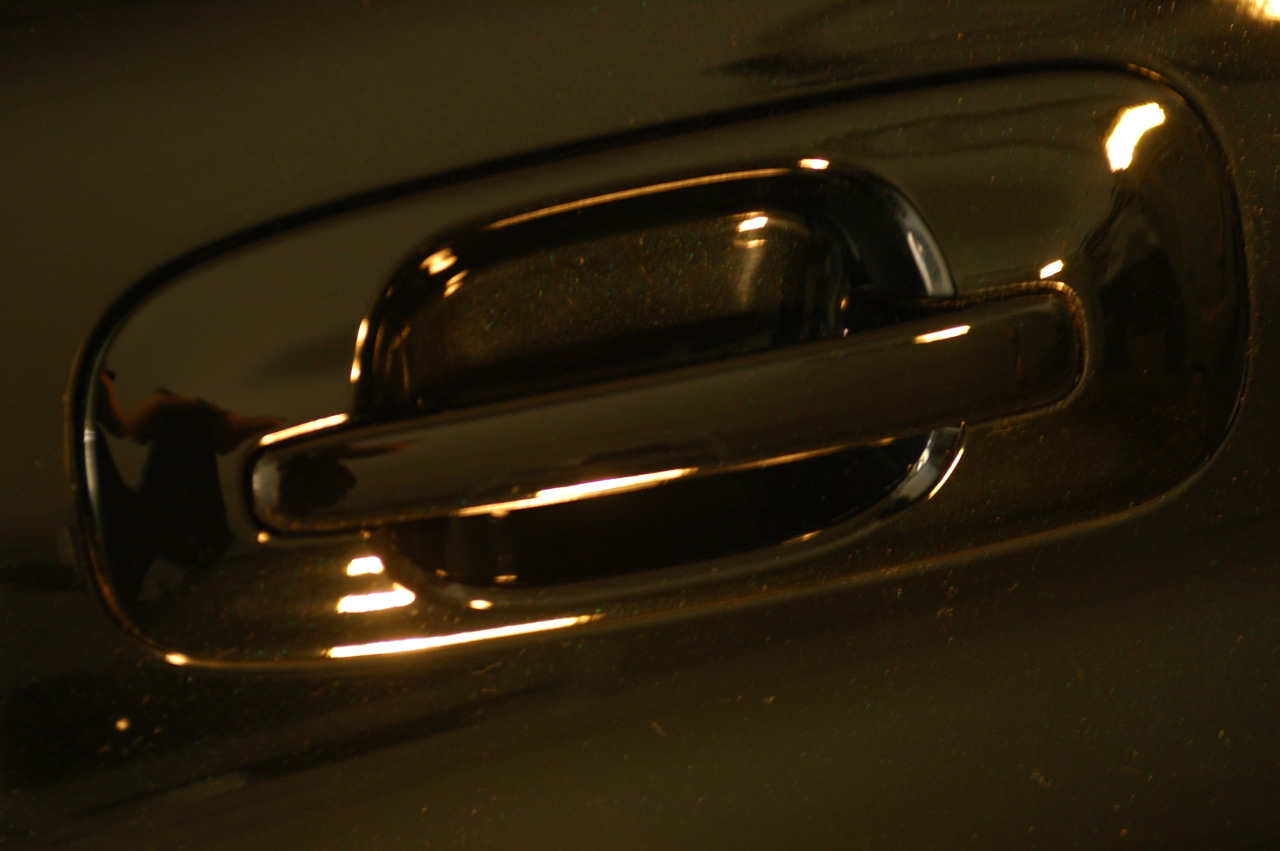
Dont forget the door cups.
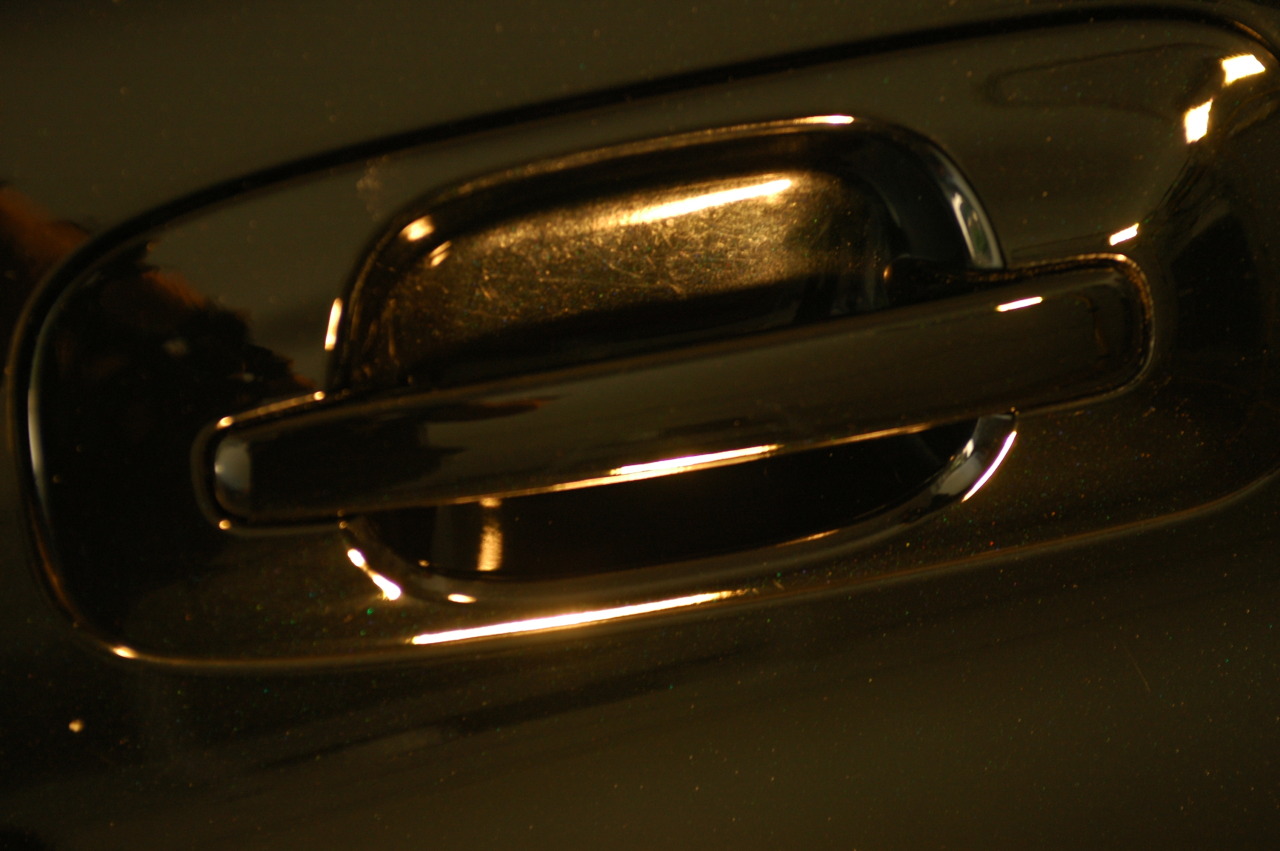
After hand polishing door cups.
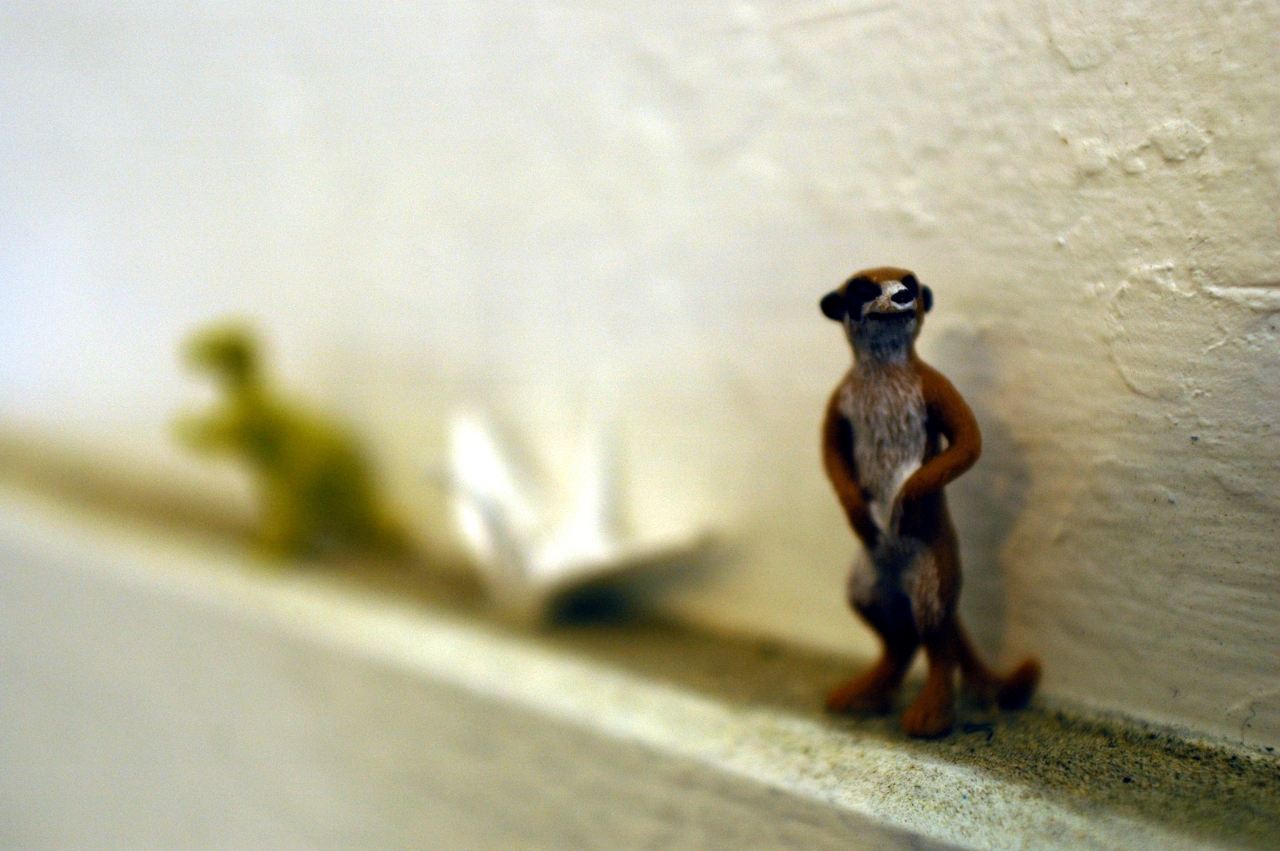
These little guys were watching me the whole time I was correcting apetron's mistress.
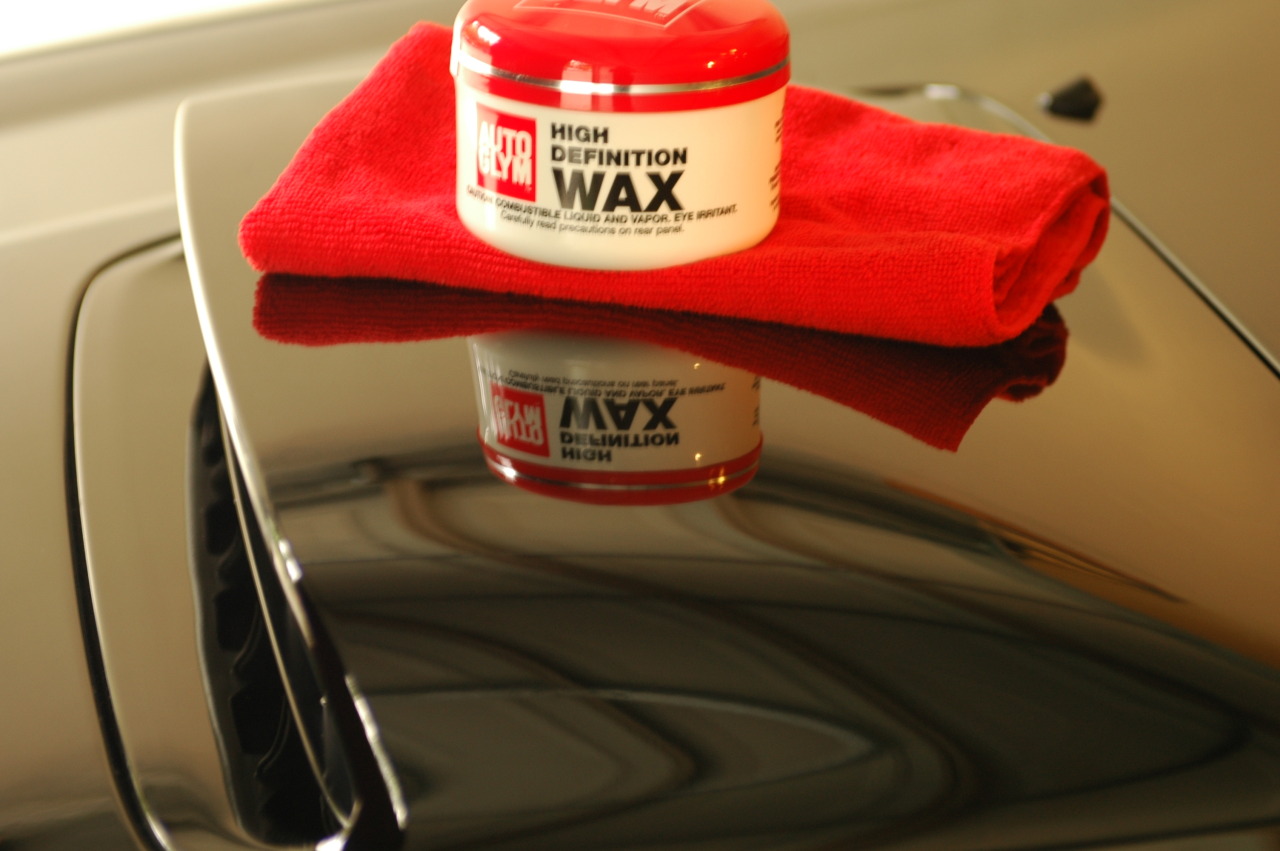
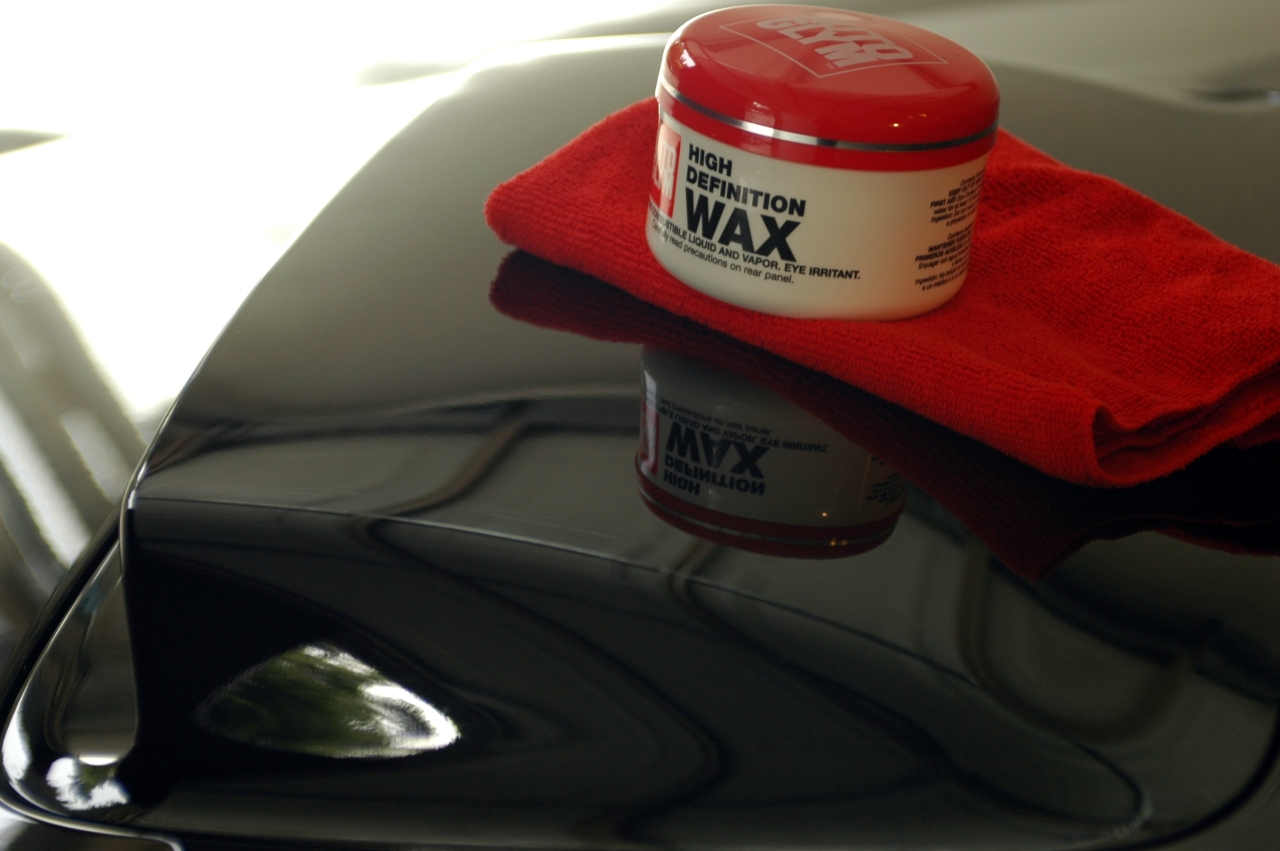
Sealed and waiting to cure.
Waxed all around and waiting to cure.
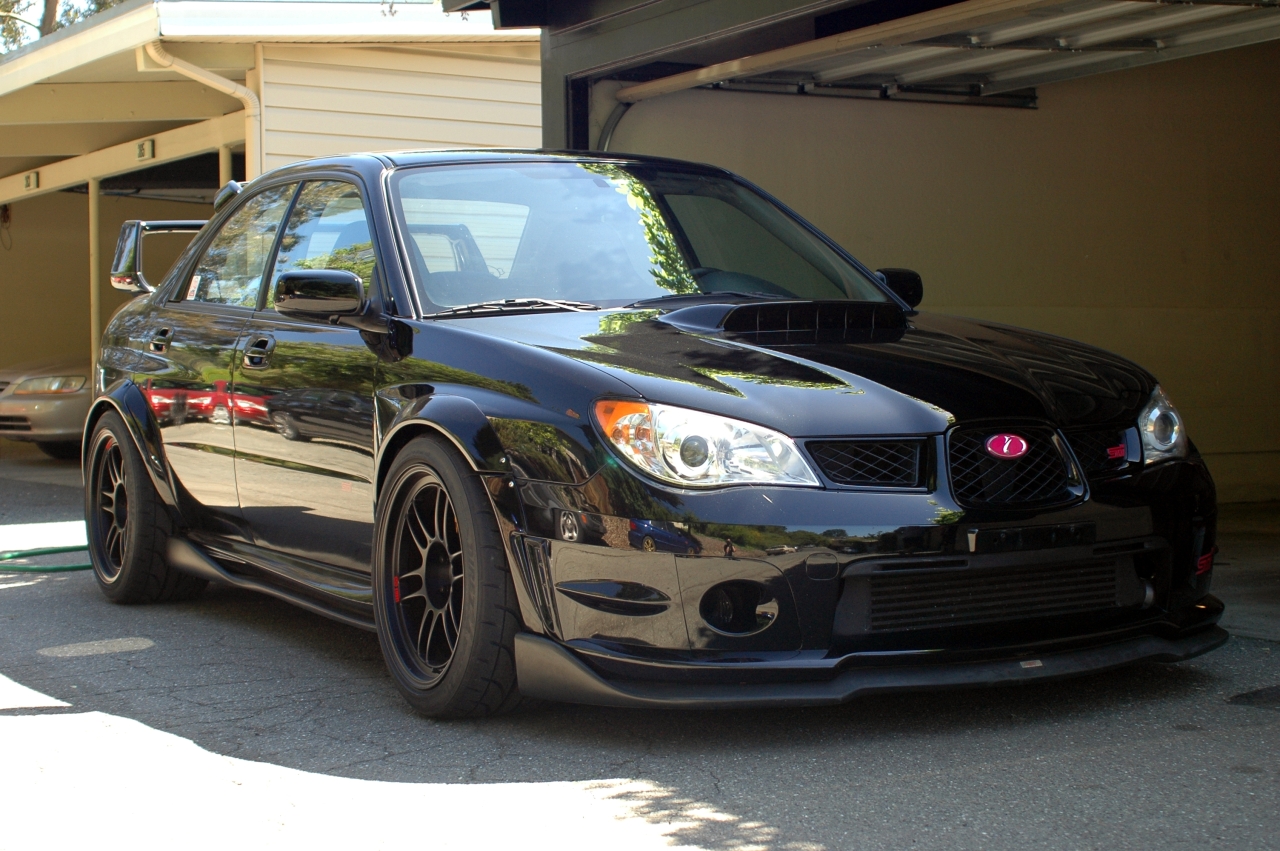
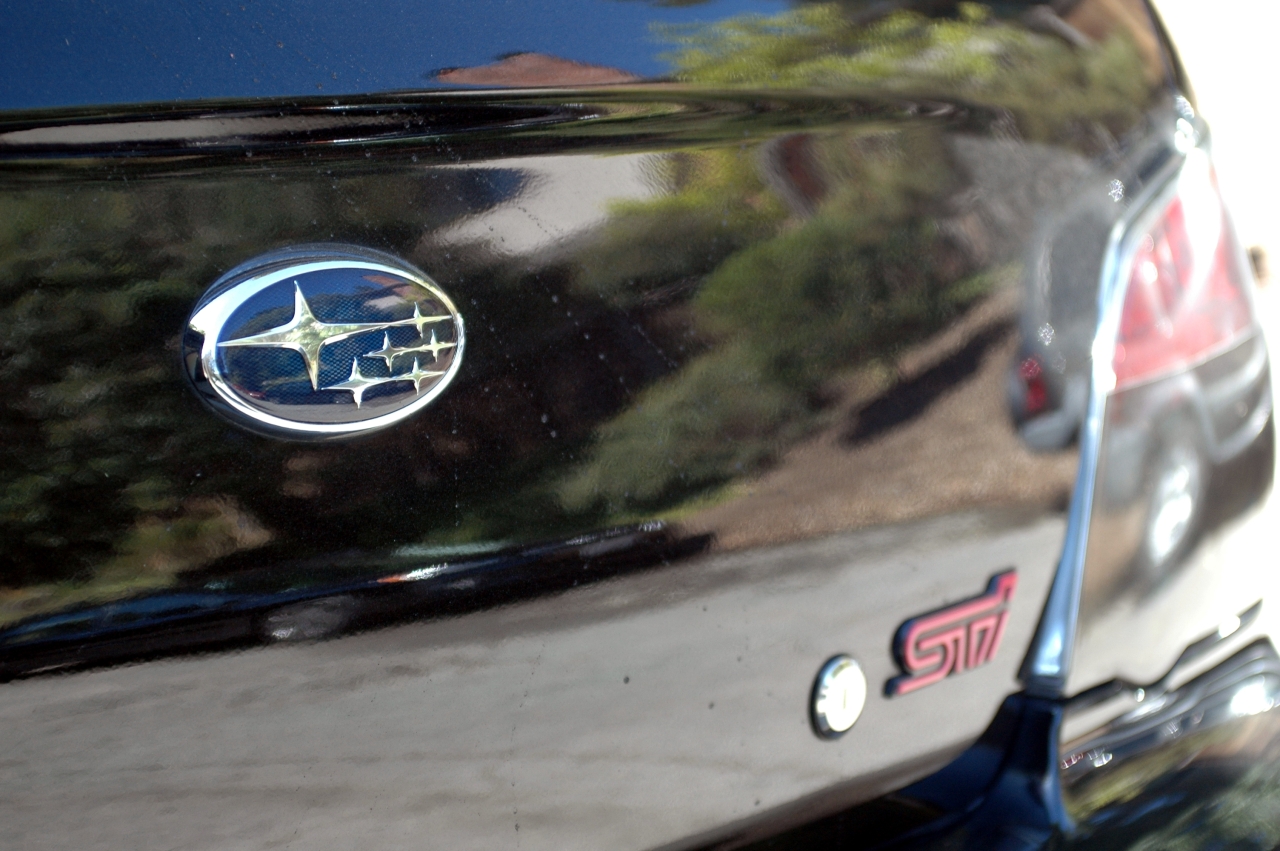
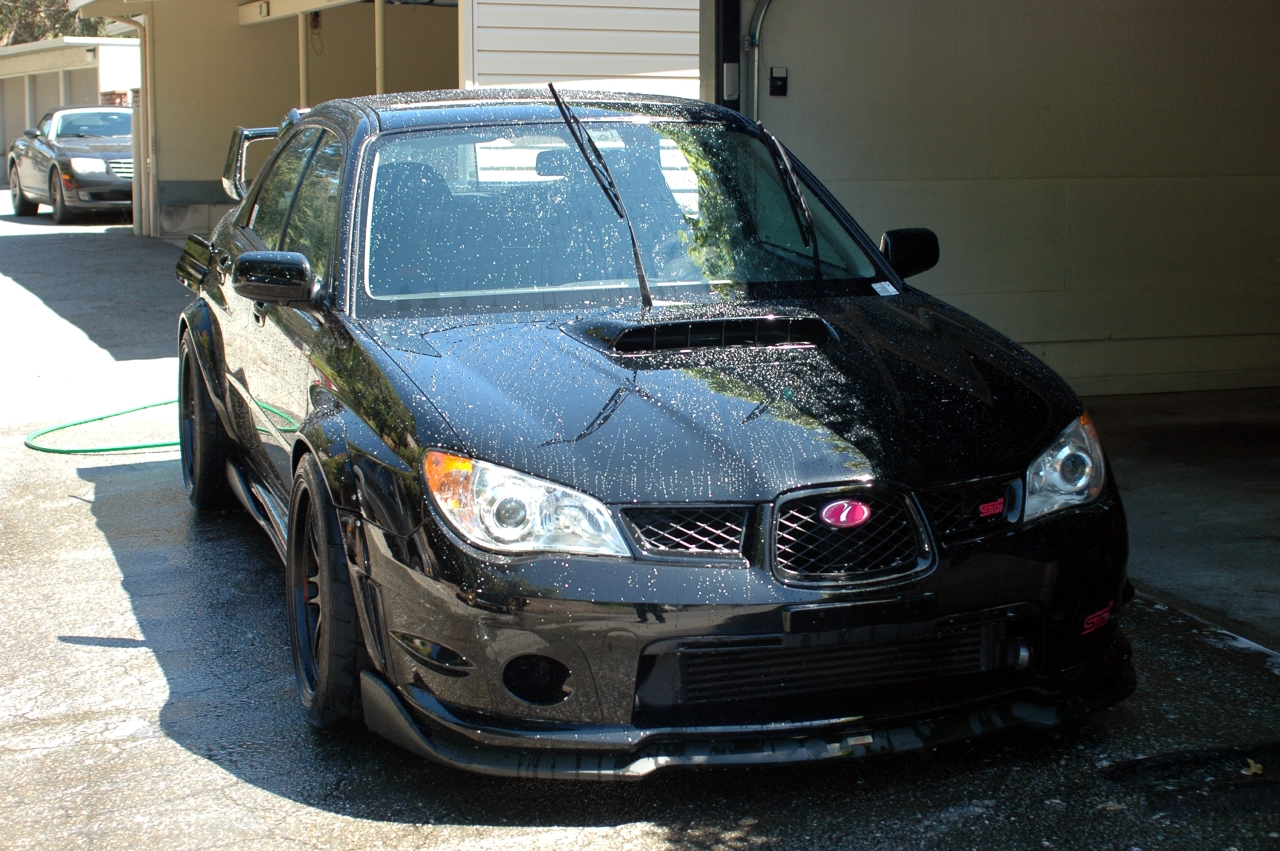
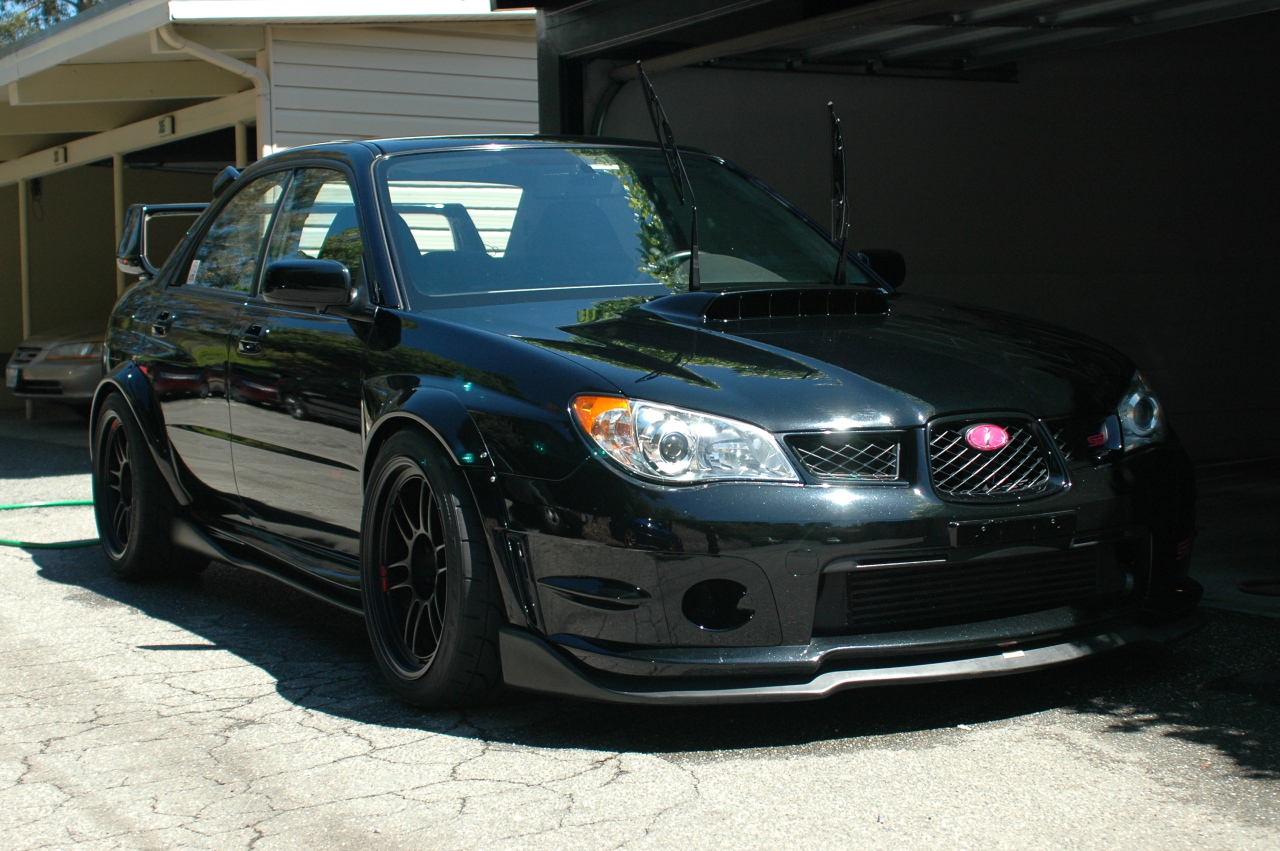
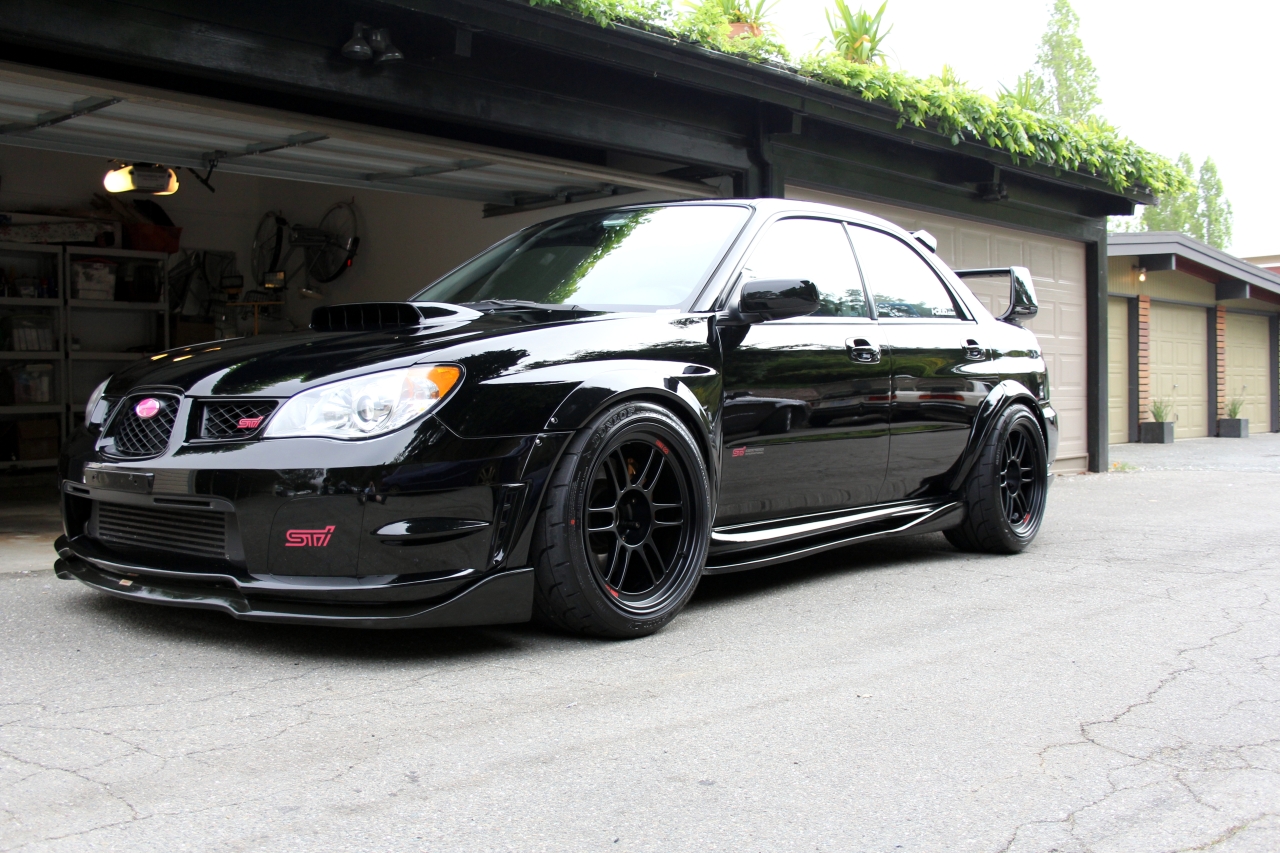
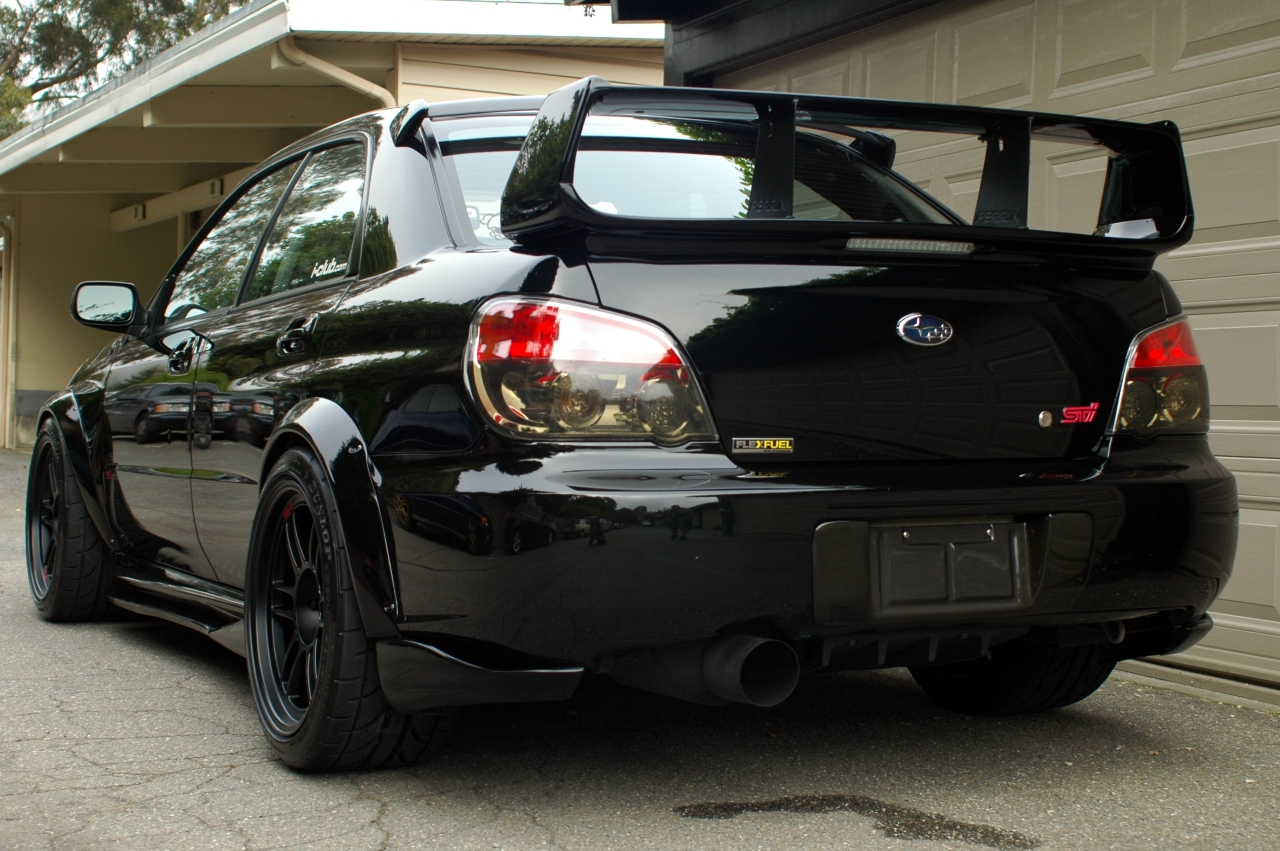
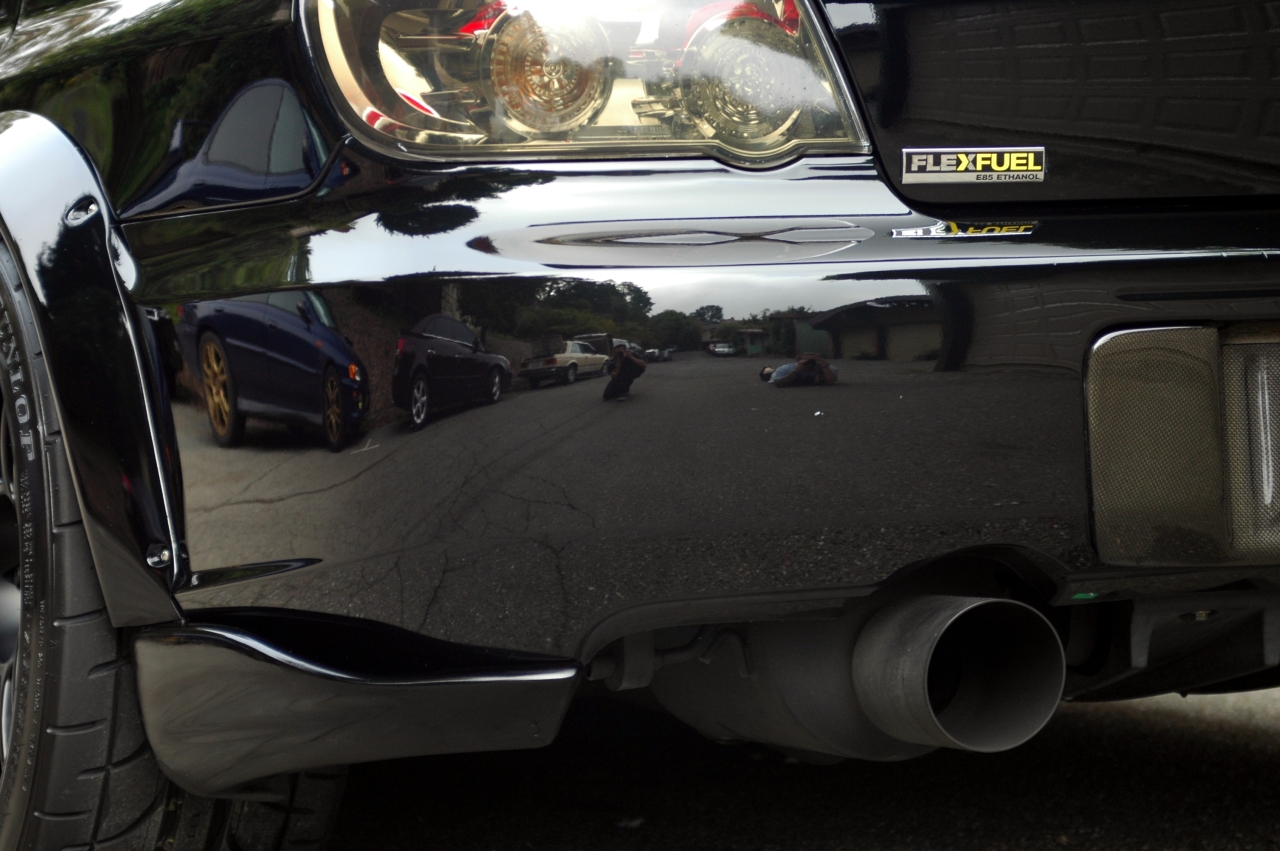
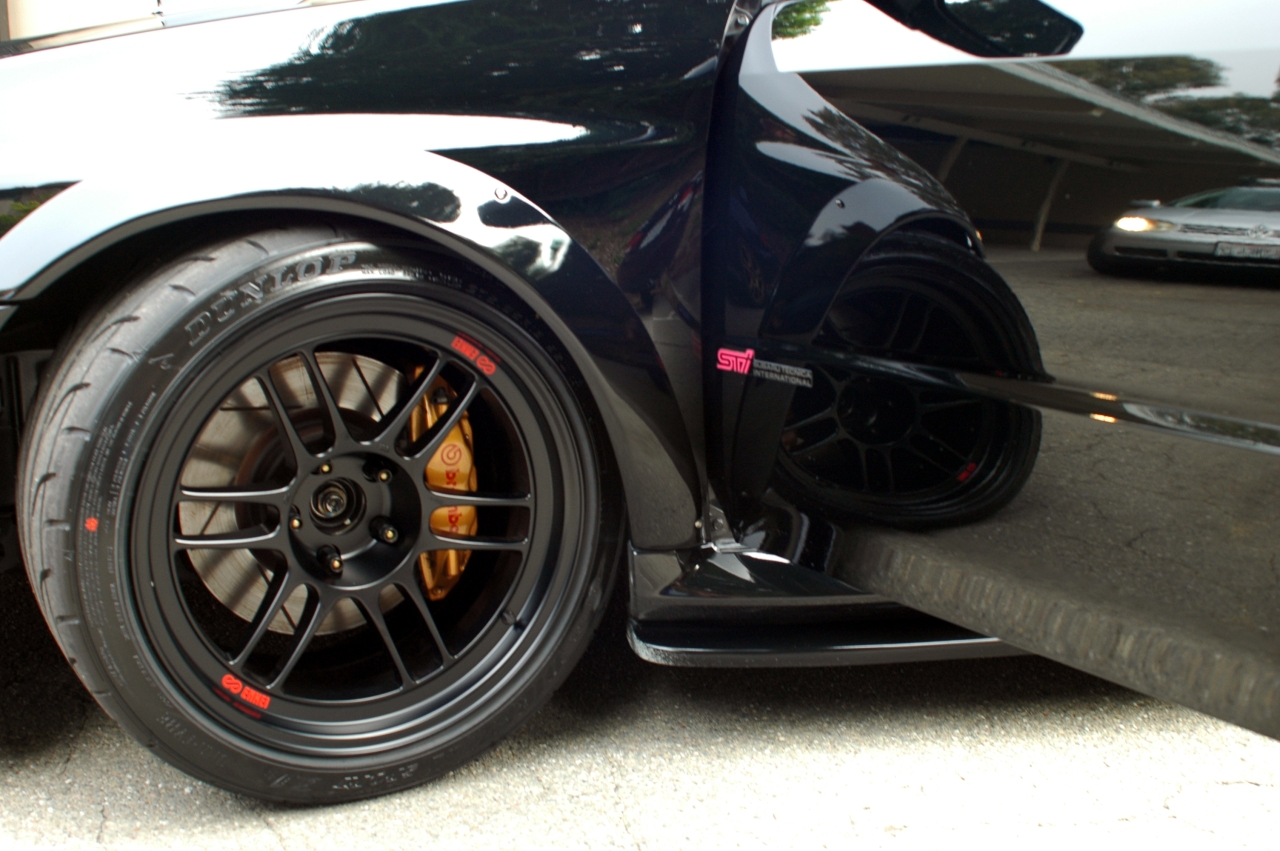
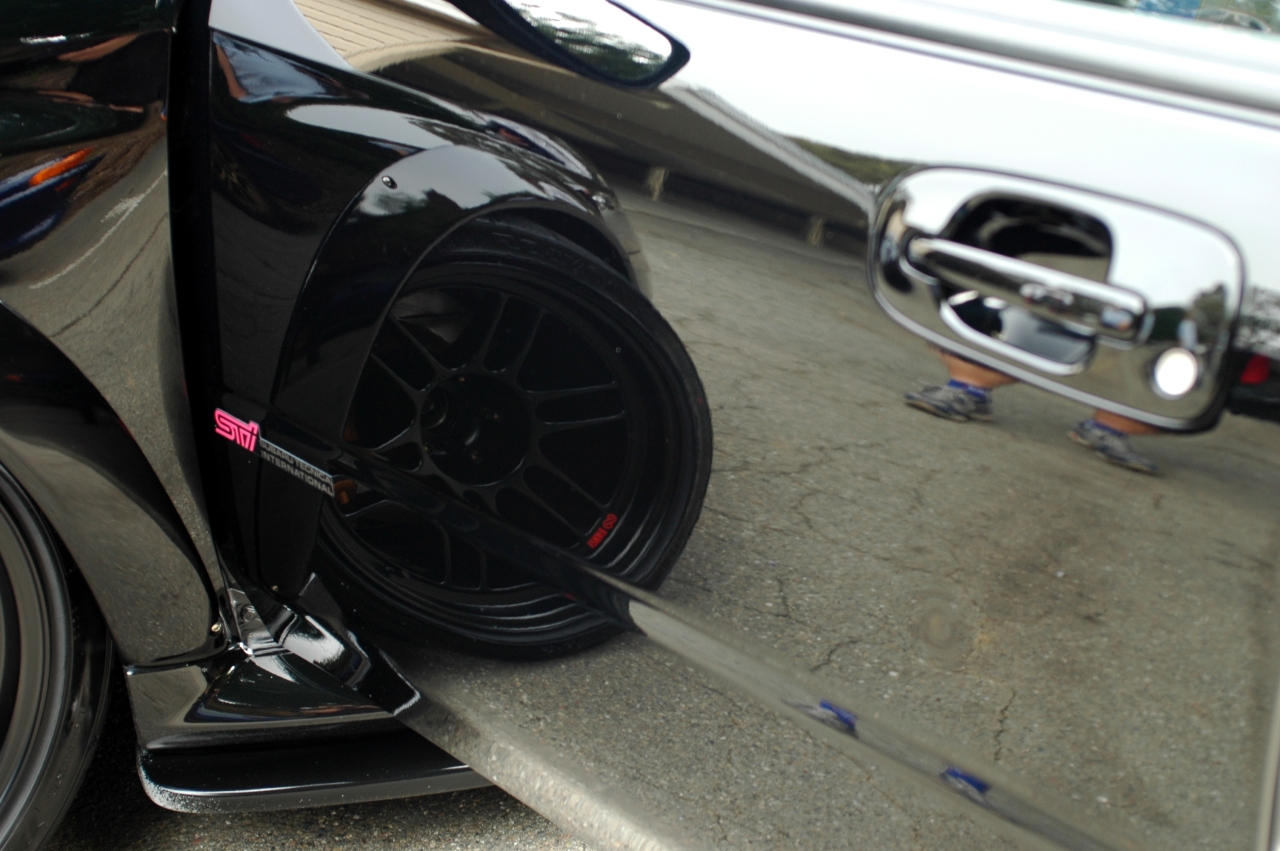
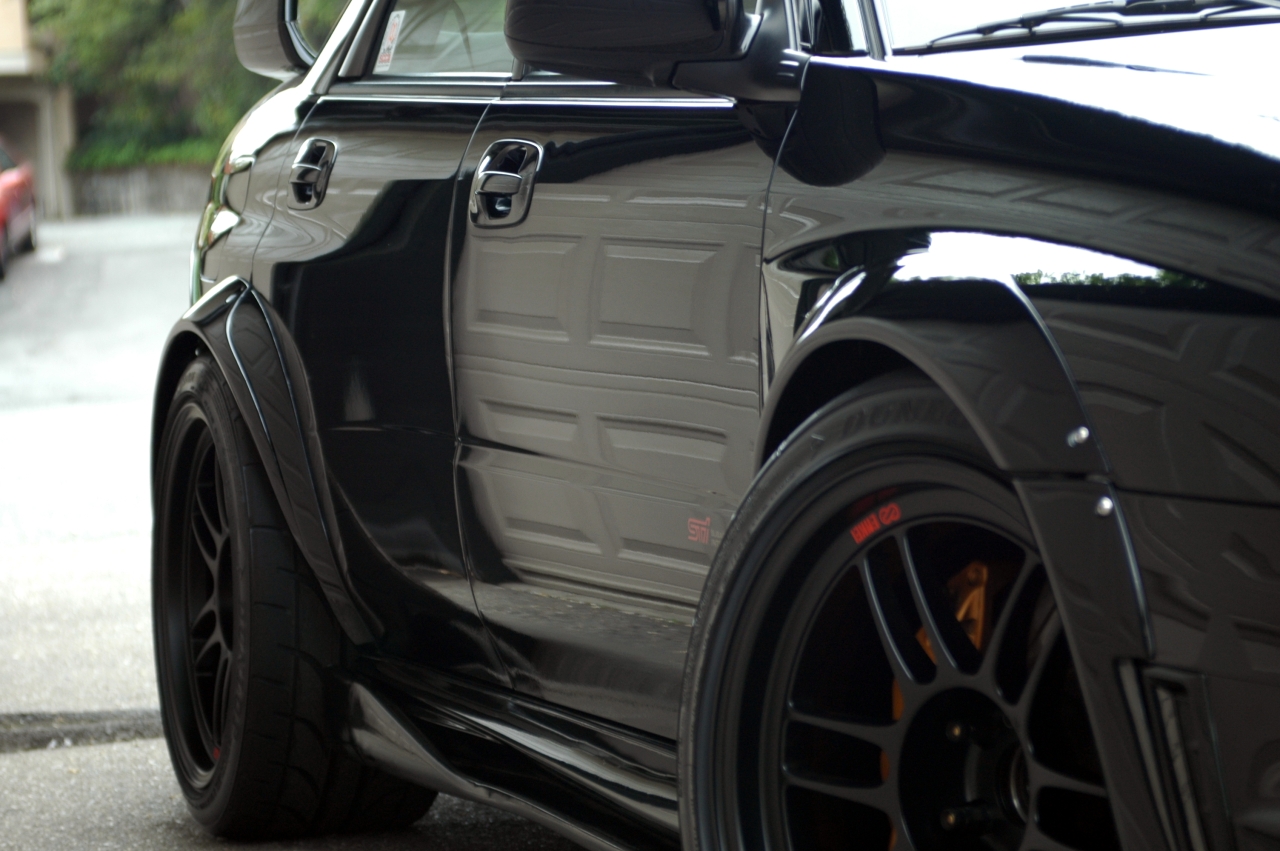
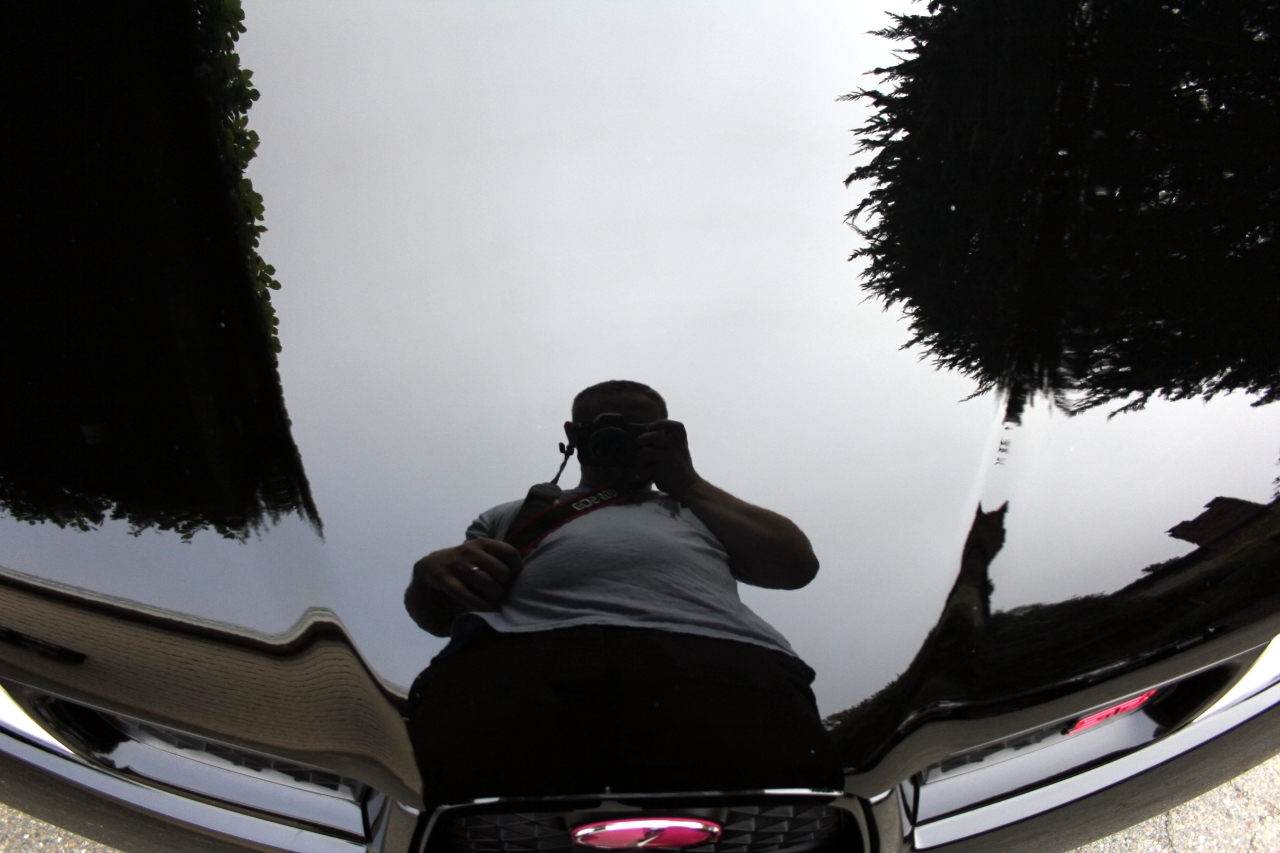
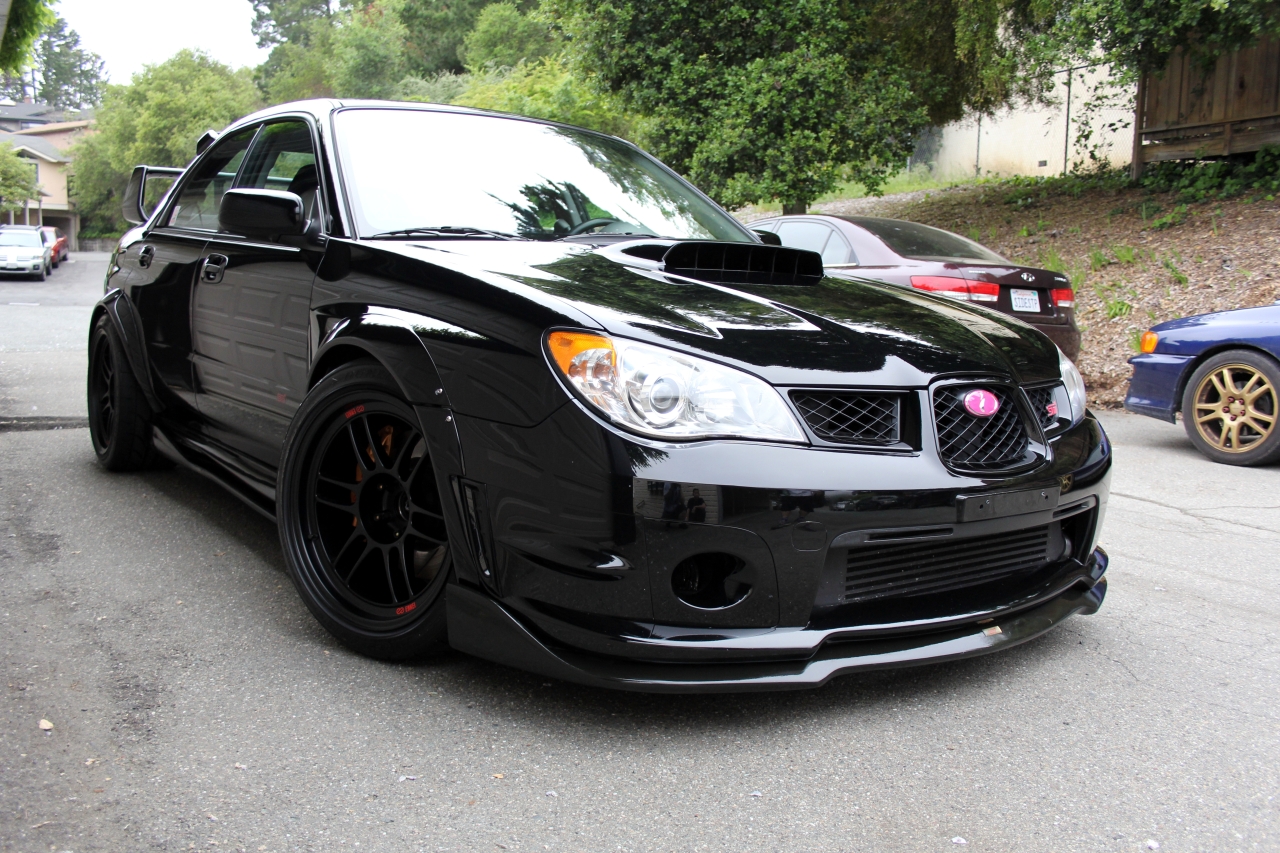
Finished. Rich and deep wet reflection.
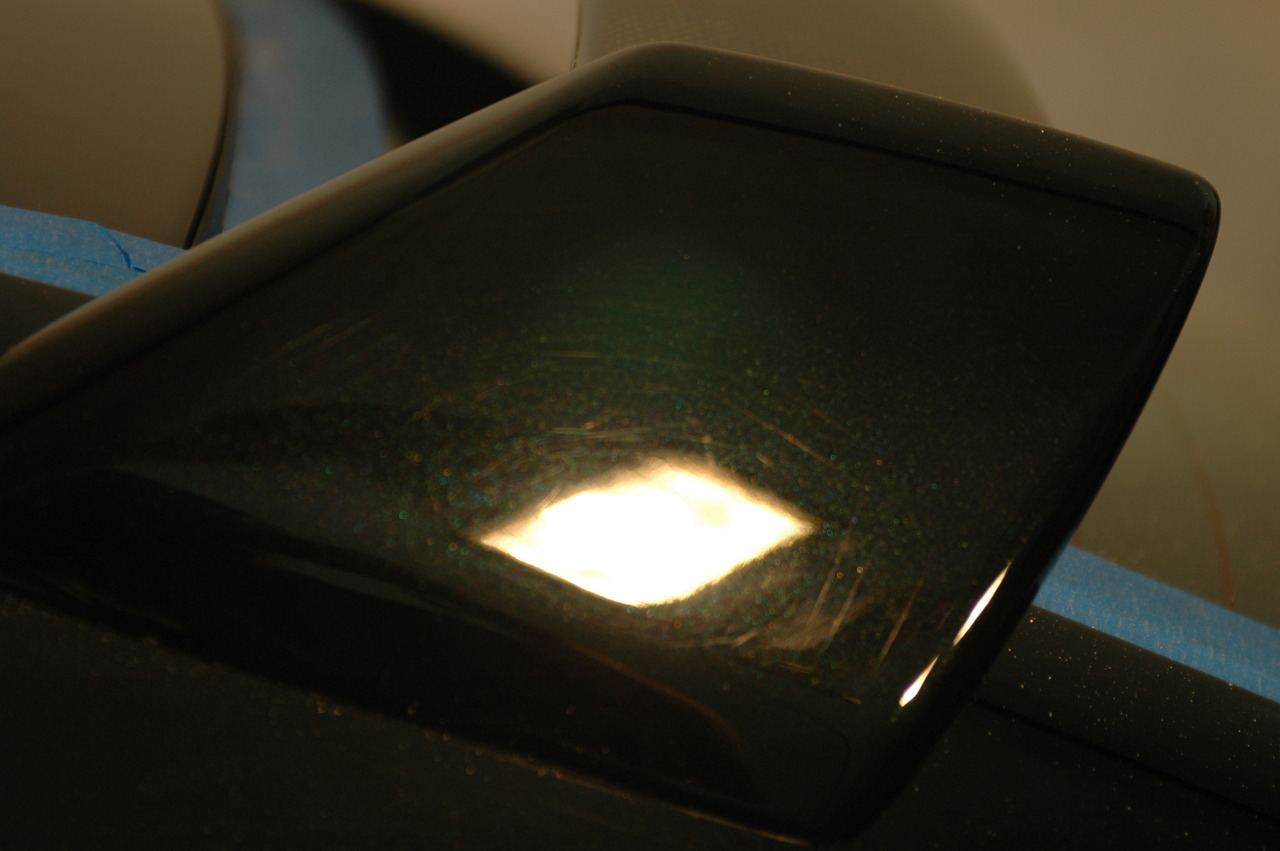
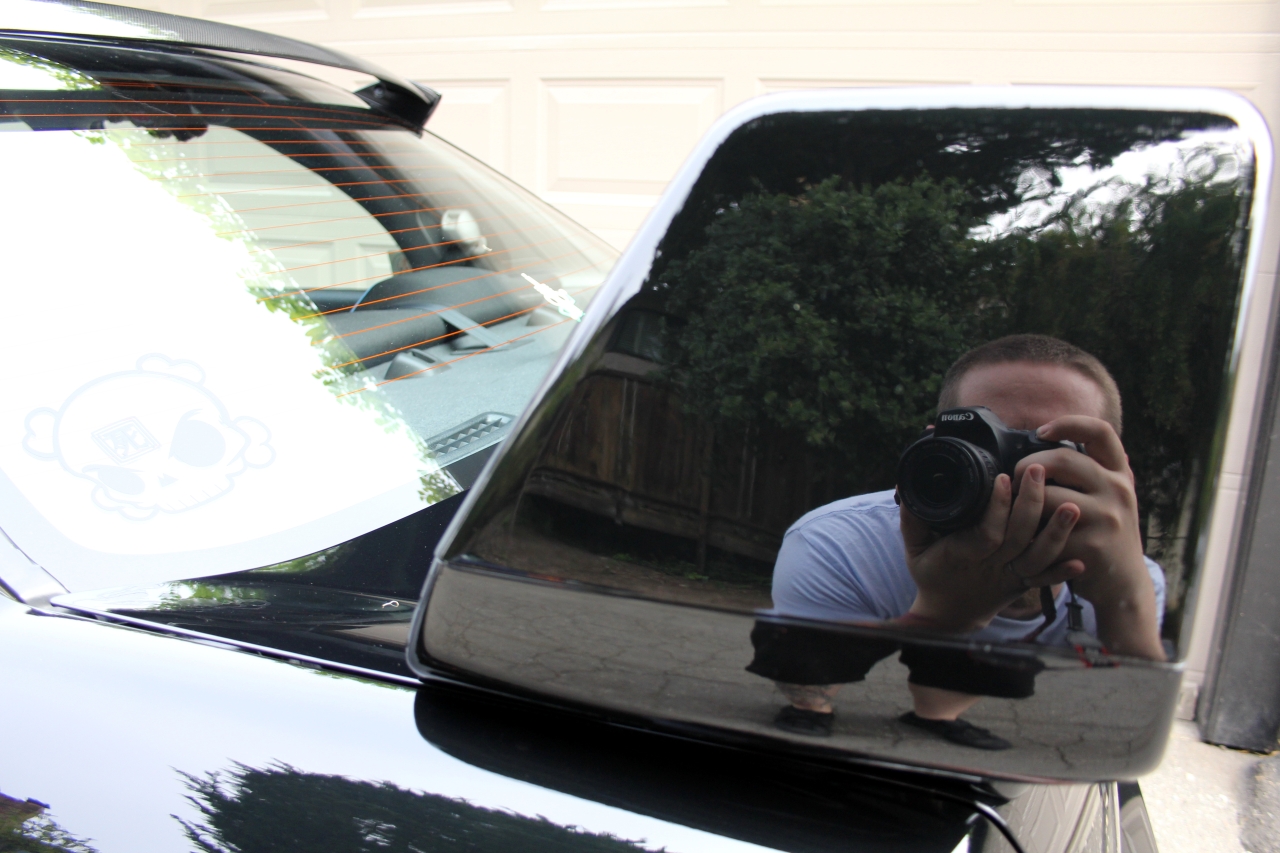
Side view mirrors after.
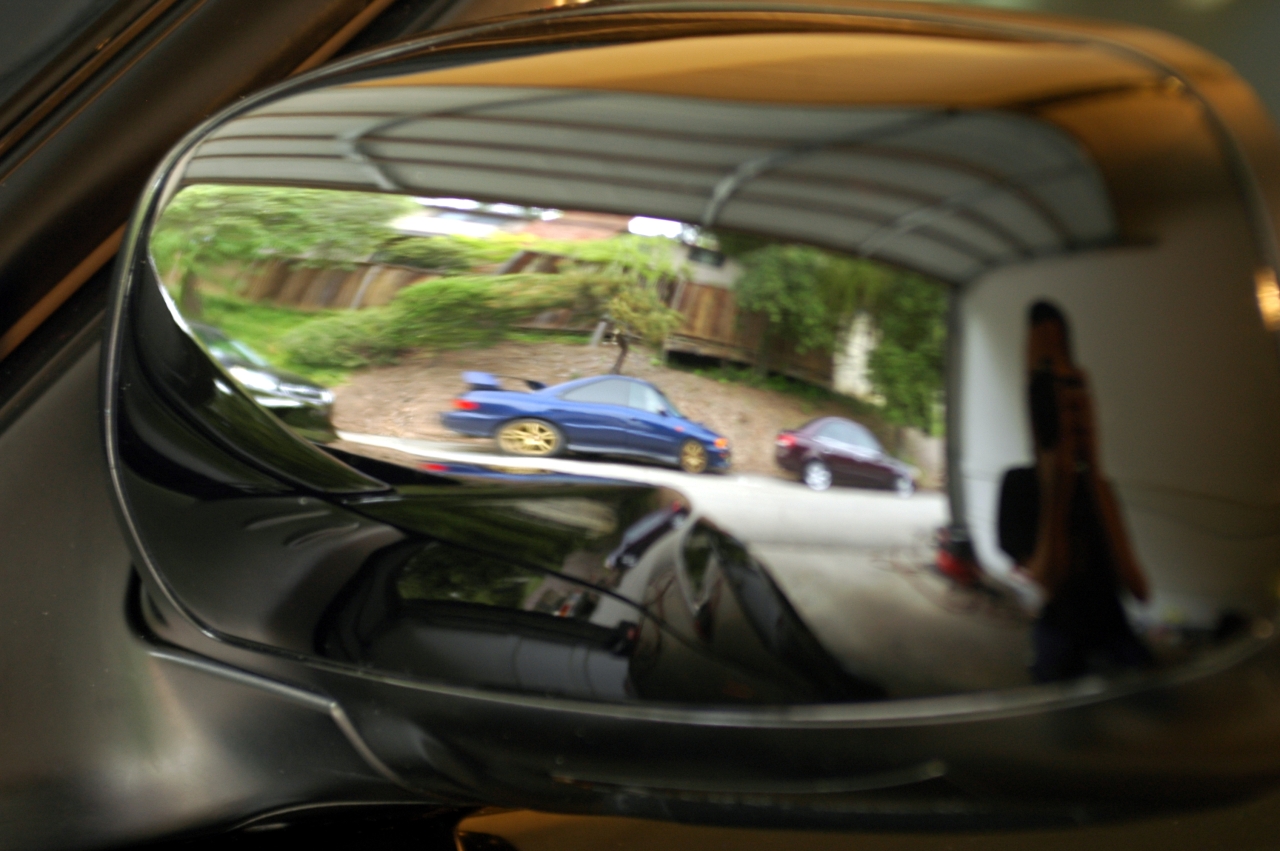
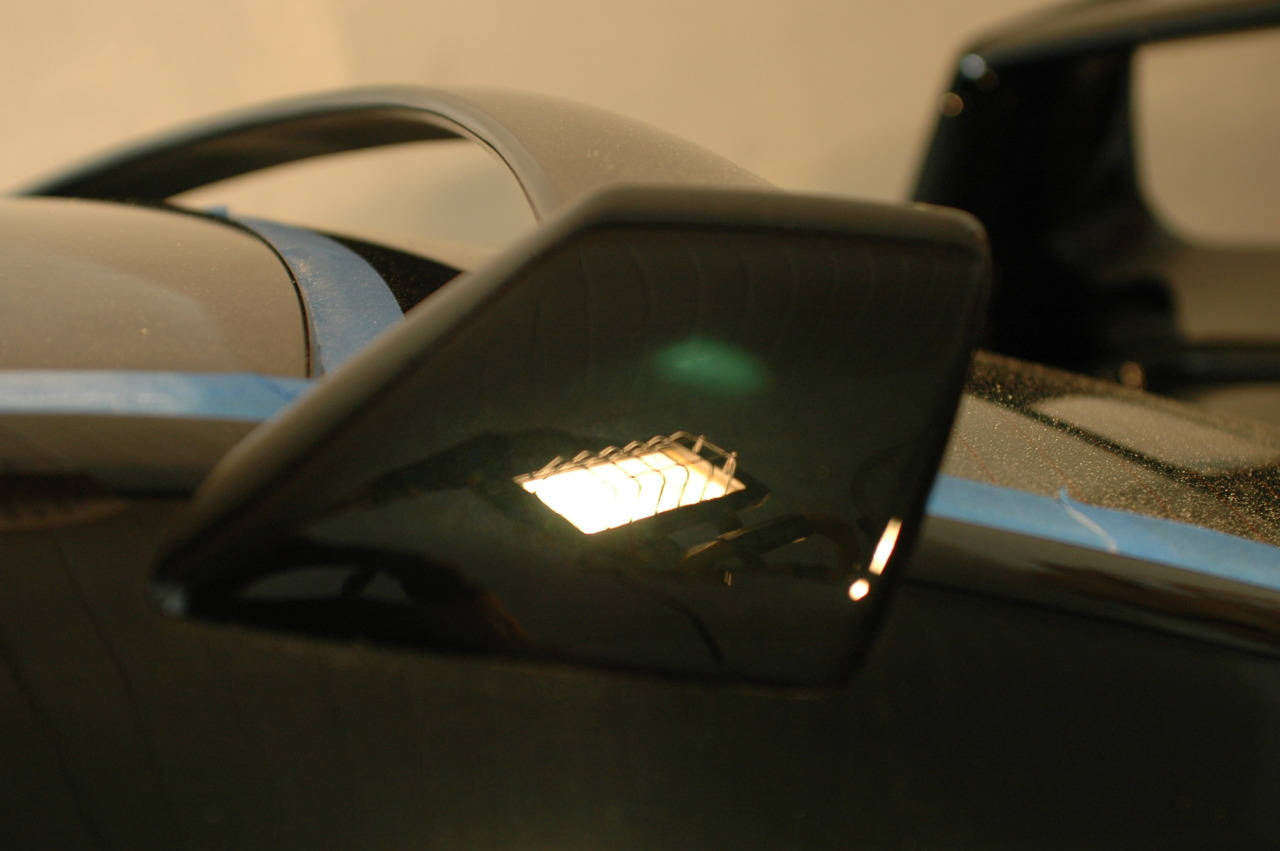
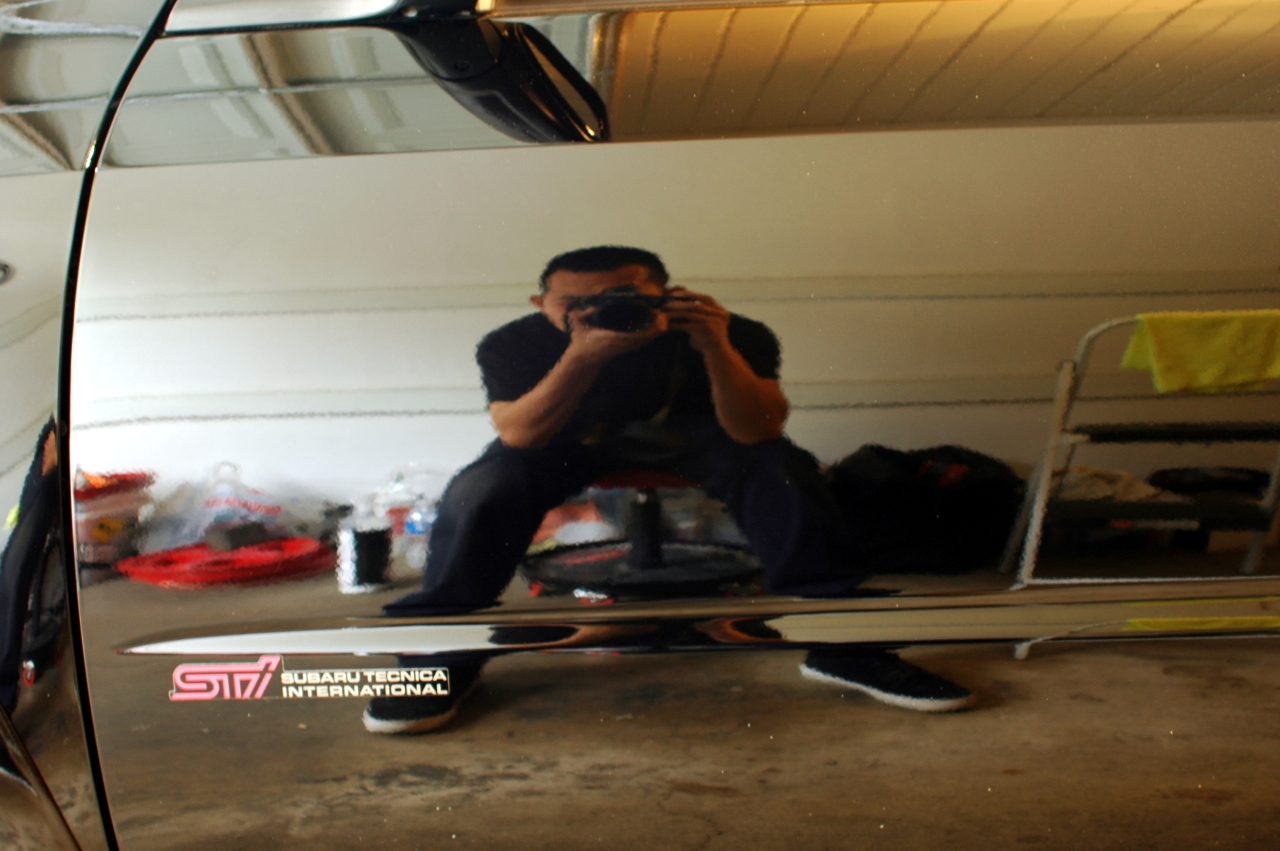
Hey I can see myself.
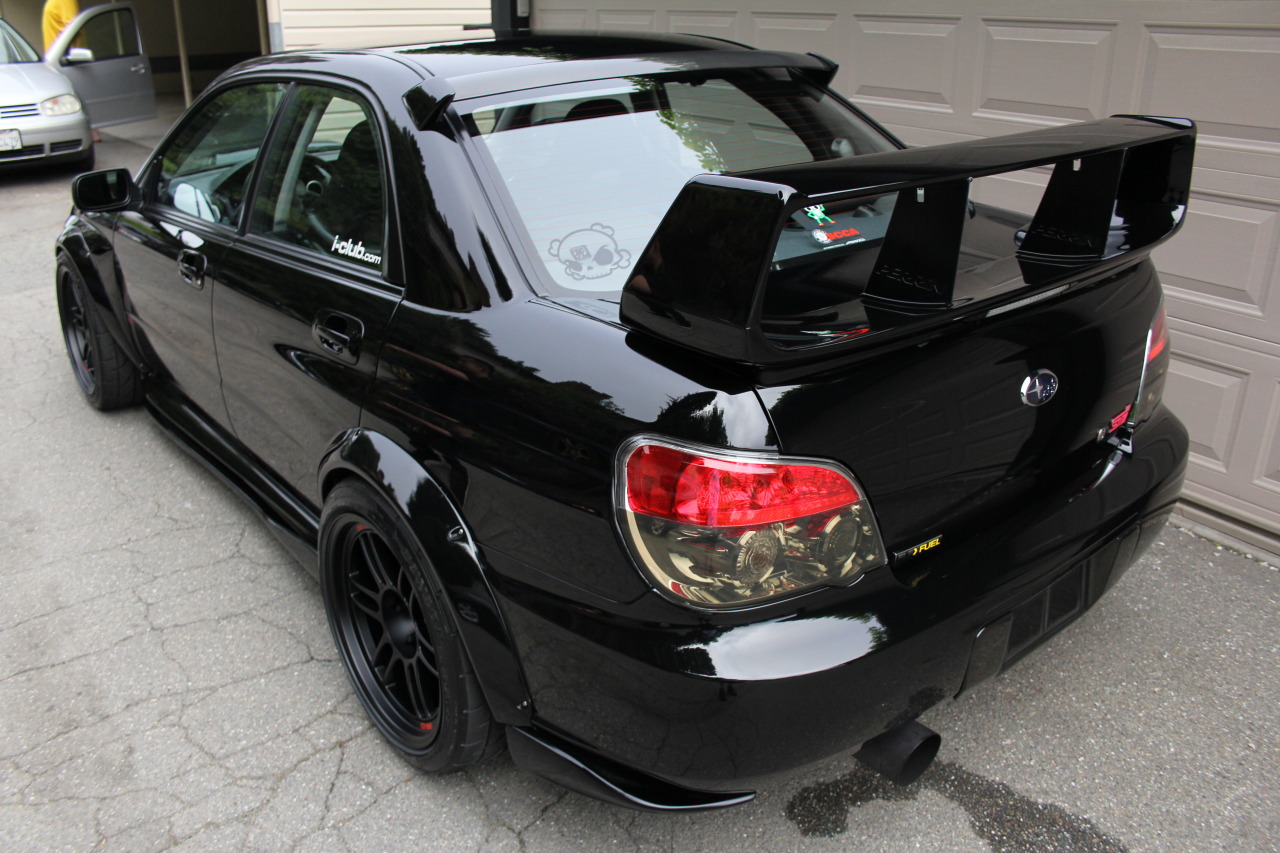
Time to pull her out for the unveiling.
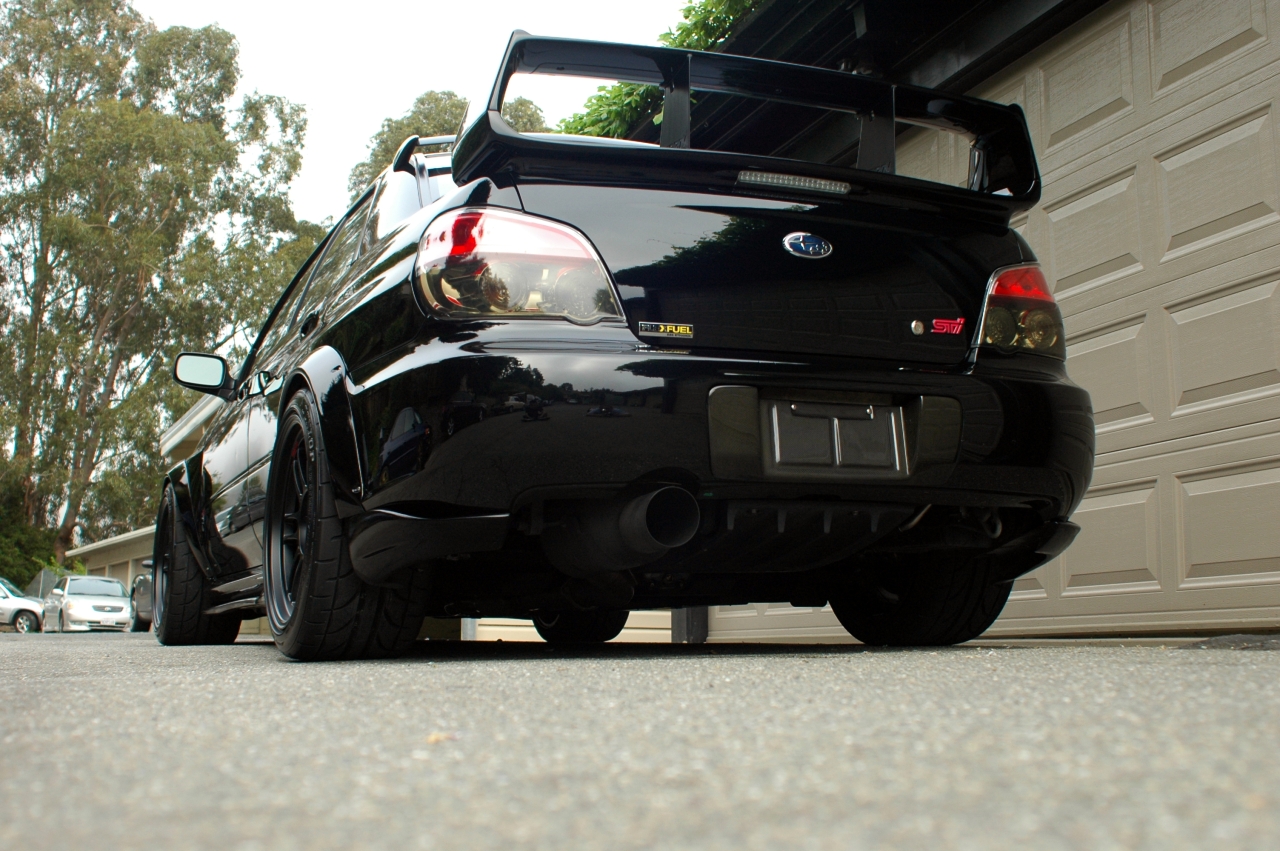
Tires dressed with FKTK #108.
Hope you guys enjoy the pictures as much as I enjoyed the finish on this paint.
This was a Stage 3 level detail with a dual step paint correction procedure.
Length of detail: 17 hrs
Upon inspection. Vehicle was not too dirty since previously washed a couple of weeks prior. Paint condition still seems healthy for a black car. Garaged kept and maintained.
Full body inspection points out old residues from autox race stickers.
You can see mild swirling and scratches from the sunlight from panel to panel.
Water spots from spoiler crevices.
Dual bucket multi step wash and rinse down.
Now that the car is washed of all surface debris, we inspect the exterior again for a better understanding of it's condition. Inspection shows what is expected for black cars.
Hood has some hazing over some spots, etched water spots, swirls and cobwebbing.
More cobwebbing on the hood.
Same on the mirrors!
More on the doors
Vehicle has been claybarred twice a year and garage kept. After claying the hood section, not much build up at all.
After claying part of the roof, a little bit more contamination, but not much.
All masked up and ready for the paint correction to begin!
Masked up all around.
Front driver door with moderate swirling all around.
Front of door shows etched water spots from trapped water drippings.
50/50 with M105 Cutting compound and yellow cutting pad.
Before and after of door panel, as you can see the majority of the swirls and defects on the clear coat have been corrected. Dull at first because this is only one step of a dual step polishing procedure.
Before shot on left side C pillar.
After corrected C pillar with M105 & M205
Rear window spoiler before
Rear window spoiler after
Rear spoiler also had many swirls.
50/50 Before and after shot of trunk panel. After first step M105 with yellow cutting pad.
You can see the water etching has also been corrected.
Another RIDS that had to be corrected on one of the doors.
Prepping to work on another panel.
Inspecting the panel post correction
Front bumper with more scratches and etching.
After correction with M205 and orange polishing pad.
Another usual one, scuff marks on passenger side skirt area from shoes. Before
After with M205 & orange polishing pad.
Dont forget the door cups.
After hand polishing door cups.
These little guys were watching me the whole time I was correcting apetron's mistress.
Sealed and waiting to cure.
Waxed all around and waiting to cure.
Finished. Rich and deep wet reflection.
Side view mirrors after.
Hey I can see myself.
Time to pull her out for the unveiling.
Tires dressed with FKTK #108.
Hope you guys enjoy the pictures as much as I enjoyed the finish on this paint.
04-25-2012, 08:45 AM
#27
If in doubt, FLAT OUT
iTrader: (33)
Join Date: Oct 2010
Location: Nor Cal SJ
Posts: 7,035
Car Info: 2010 Hatch, 2011 Sedan
Wow! Forking awesome work!! I took care of my black cars (I had 5 of them) pretty much the same way. I use a combination of Meguiars Pro and Griot's Garage for clay, polish, glaze and wax. I LOVE being able to make a black car look spectacular, but man it takes a lot of work. I've considered offering this service too, since I really like doing it.
I actually usually tell the dealer/shop "Don't wash my car." when they have it. I don't like anyone touching my paint but me.
I actually usually tell the dealer/shop "Don't wash my car." when they have it. I don't like anyone touching my paint but me.
04-25-2012, 10:55 AM
#30